How to create an RDS Instance using Python Boto3 on AWS
In this article, we will see how to create an RDS MySql Instance using the Boto3 Library. We will use "create_db_instance" method to create an Instance.
Before we proceed, I assume that you are familiar with AWS RDS Service. If you are not familiar with it and what to first learn to create an RDS MySql Instance from the AWS Console, search for "How to setup an RDS MySql (Relation Database MySql ) instance on AWS?".
Pre-requisites
- AWS Account (Create if you don’t have one)
- Basic understanding of RDS.
- Basic understanding of Python.
- Python is available on the system.
What we will do
- Install Dependencies.
- Know the required method.
- Create an RDS MySql Instance using Python Boto3.
Install Dependencies
Python comes by default in Ubuntu Server, so you do not need to install it.
To check the Python version on your system, use the following command.
which python
/usr/bin/python --version
OR
python --version
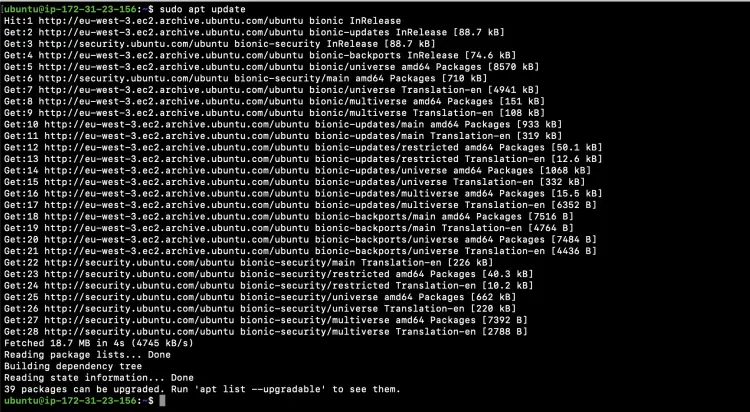
If you do not have pip and you are using Ubuntu 18.04, execute the following command to first update the local repo.
sudo apt update
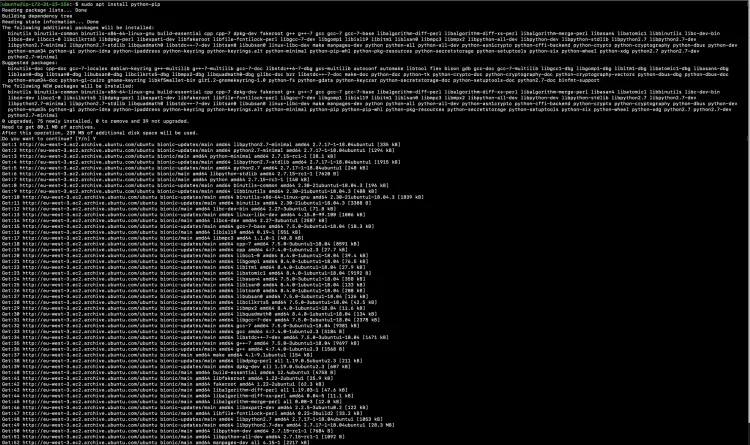
To install pip, use the following command.
sudo apt install python-pip
To check the version of Pip installed, execute the following command.
pip --version
Once you have python and pip, you can install Boto3.
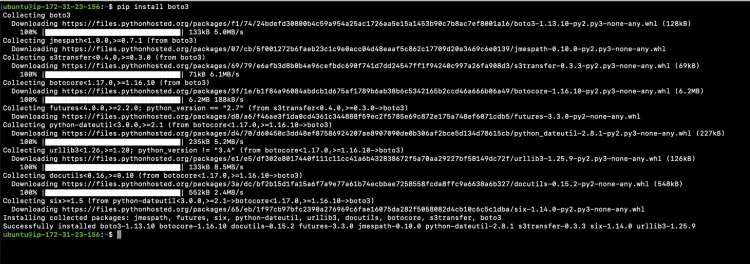
Installing Boto3 is very simple and straight. To install Boto3 use the following command.
pip install boto3
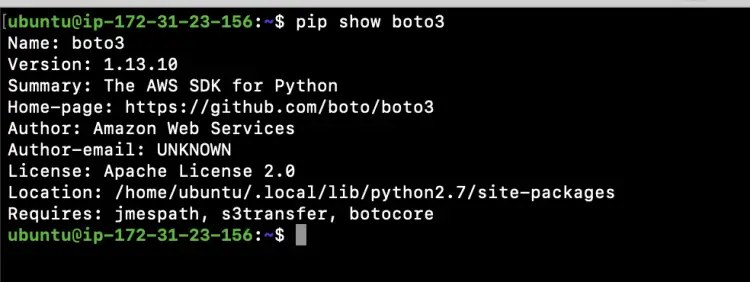
To check if the Boto3 is installed and its version, execute the following command.
pip show boto3
Know the required method
To create an RDS Instance, we shall use "create_db_instance" method. Following is the syntax of the method with all the parameters which it accepts. We shall not use all these parameters to create an instance but you can give it a try if you want.We shall use only the required and mandatory parameters. If you want to learn more about all the parameters available, you can visit the official page of Boto3 here.
Request Syntax
response = client.create_db_instance(
    DBName='string',
    DBInstanceIdentifier='string',
    AllocatedStorage=123,
    DBInstanceClass='string',
    Engine='string',
    MasterUsername='string',
    MasterUserPassword='string',
    DBSecurityGroups=[
        'string',
    ],
    VpcSecurityGroupIds=[
        'string',
    ],
    AvailabilityZone='string',
    DBSubnetGroupName='string',
    PreferredMaintenanceWindow='string',
    DBParameterGroupName='string',
    BackupRetentionPeriod=123,
    PreferredBackupWindow='string',
    Port=123,
    MultiAZ=True|False,
    EngineVersion='string',
    AutoMinorVersionUpgrade=True|False,
    LicenseModel='string',
    Iops=123,
    OptionGroupName='string',
    CharacterSetName='string',
    PubliclyAccessible=True|False,
    Tags=[
        {
            'Key': 'string',
            'Value': 'string'
        },
    ],
    DBClusterIdentifier='string',
    StorageType='string',
    TdeCredentialArn='string',
    TdeCredentialPassword='string',
    StorageEncrypted=True|False,
    KmsKeyId='string',
    Domain='string',
    CopyTagsToSnapshot=True|False,
    MonitoringInterval=123,
    MonitoringRoleArn='string',
    DomainIAMRoleName='string',
    PromotionTier=123,
    Timezone='string',
    EnableIAMDatabaseAuthentication=True|False,
    EnablePerformanceInsights=True|False,
    PerformanceInsightsKMSKeyId='string',
    PerformanceInsightsRetentionPeriod=123,
    EnableCloudwatchLogsExports=[
        'string',
    ],
    ProcessorFeatures=[
        {
            'Name': 'string',
            'Value': 'string'
        },
    ],
    DeletionProtection=True|False,
    MaxAllocatedStorage=123
)
- DBName: The meaning of this parameter differs according to the database engine you use.
- DBInstanceIdentifier: This is a mandatory parameter. It is a DB instance identifier. This parameter is stored as a lowercase string.
- DBInstanceClass: This is a mandatory parameter. It specifies the compute and memory capacity of the DB instance.
- Engine: The name of the database engine to be used for the instance to be created. This is a mandatory field
- MasterUsername: The name for the master user. This is the user of the DB in the Instance
- MasterUserPassword: The password for the master user that we create in the instance.
- VpcSecurityGroupIds: A list of Amazon EC2 VPC security groups to associate with this DB instance. This Security Group has rules which allow the connection on the specified ports in it.
- Port: The port number on which the database accepts connections. If you want to allow the connection on this port, you have to specify this port in the Security Group.
Create an RDS MySql Instance using Python Boto3
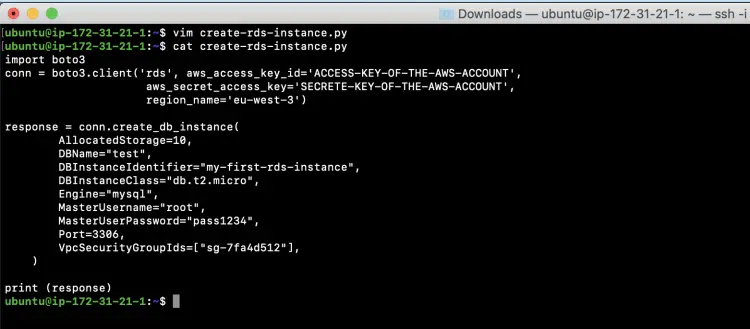
To create an RDS Instance, create a file "create-rds-instance.py" and copy-paste the following code in it.
Do not forget to change the values of "aws_access_key_id_value" and "aws_secret_access_key_value" with your own access_key_id and access_key_value respectively.
If you want to create the instance in a region of your choice, change the value of "region_name" too else keep it unchanged.
Also, make sure to assign the exiting security group id to "VpcSecurityGroupIds".
import boto3
conn = boto3.client('rds', aws_access_key_id='ACCESS-KEY-OF-THE-AWS-ACCOUNT',
                     aws_secret_access_key='SECRETE-KEY-OF-THE-AWS-ACCOUNT',
                     region_name='eu-west-3')

response = conn.create_db_instance(
        AllocatedStorage=10,
        DBName="test",
        DBInstanceIdentifier="my-first-rds-instance",
        DBInstanceClass="db.t2.micro",
        Engine="mysql",
        MasterUsername="root",
        MasterUserPassword="pass1234",
        Port=3306,
        VpcSecurityGroupIds=["sg-7fa4d512"],
    )

print (response)
Now, you are ready to create an Instance. Execute the python script using the following command.
python create-rds-instance.py
You will see the response on the terminal.
To verify the instance state from the AWS Console, go to RDS Dashboard.
Conclusion
We learned to create an RDS MySql Instance in this article using Boto3 Library in Python. You can customize the code and create an instance of your choice. We also saw how to install the dependencies required to write and execute the Python code.


