How To Create A LAMP Setup (Apache2, PHP, MySQL) On CentOS 5.x In An Amazon Linux AMI 32bits Or 64bits - Page 2
On this page
Install MySQL
To install MySQL we need to have an open console and put in the next instructions.
Get root privileges:
sudo -i
Install MySQL:
yum install mysql mysql-server mysql-libs
Start the service and configure it to start automatically at boot time:
/sbin/service mysqld start
chkconfig --levels 235 mysqld on
Set a MySQL root password:
mysqladmin -u root password 'new-password'
Install Apache And PHP
In the console type:
yum install httpd php php-mysql php-gd php-imap php-ldap php-odbc php-pear php-xml php-xmlrpc
/etc/init.d/httpd restart
chkconfig --levels 235 httpd on
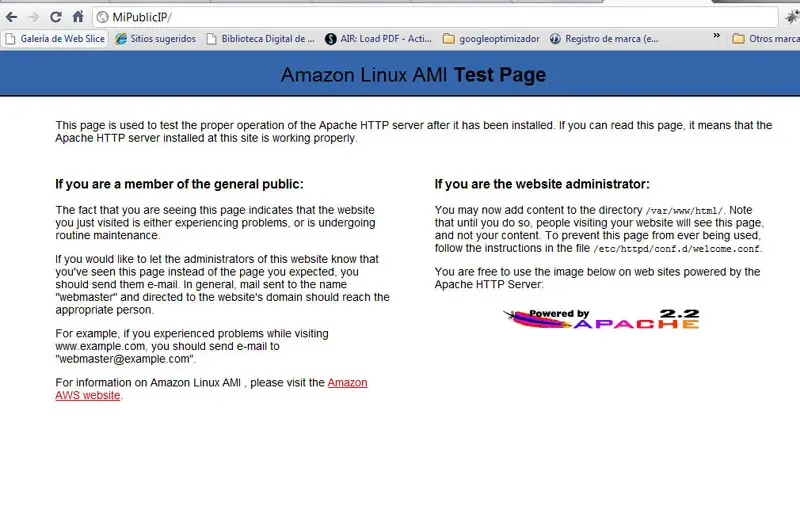
Now open a browser and go to:
http://MiPublicIP/
Install PhpMyAdmin
To install PhpMyAdmin we need a console again; please make sure that you have root privileges!
First we need to enable the RPMforge repository:
On Linux Amazon 32-bit:
wget http://packages.sw.be/rpmforge-release/rpmforge-release-0.3.6-1.el5.rf.x86_64.rpm
rpm -Uvh rpmforge-release-0.3.6-1.el5.rf.x86_64.rpm
On Linux Amazon 64-bit:
wget http://packages.sw.be/rpmforge-release/rpmforge-release-0.3.6-1.el5.rf.i386.rpm
rpm -Uvh rpmforge-release-0.3.6-1.el5.rf.i386.rpm
Then we install PhpMyAdmin:
yum install phpmyadmin
Now we modify the file /etc/httpd/conf.d/phpmyadmin.conf with nano:
nano /etc/httpd/conf.d/phpmyadmin.conf
#  Web application to manage MySQL
#  #<Directory "/usr/share/phpmyadmin">
#  Order Deny,Allow
#  Deny from all
#  Allow from 127.0.0.1
#</Directory>
Alias /phpmyadmin /usr/share/phpmyadmin
Alias /phpMyAdmin /usr/share/phpmyadmin
Alias /mysqladmin /usr/share/phpmyadmin
Then we change /usr/share/phpmyadmin/config.inc.php and change the line $cfg['Servers'][$i]['auth_type'] from cookies to http:
[...]  /* Authentication type */
$cfg['Servers'][$i]['auth_type'] = 'http';
[...]
Then we restart Apache:
/etc/init.d/httpd restart
... and go to PhpMyAdmin in the browser:
http://MiPublicIP/phpmyadmin
And that's all.
Links
- The basic idea is from this tutorial:https://www.howtoforge.com/installing-apache2-with-php5-and-mysql-support-on-centos-5.3-lamp
- Amazon documentation:http://aws.amazon.com/es/documentation/

