Configuring Compiz On Ubuntu 11.10 (Oneiric Ocelot)
Version 1.0
Author: Christian Schmalfeld <c [dot] schmalfeld [at] projektfarm [dot] de>
This tutorial shows how you can configure Compiz on an Ubuntu Linux 11.10 (Oneiric Ocelot) Unity desktop (the system must have a 3D-capable graphics card - I'm using an NVIDIA GeForce 8200 here). With Compiz you can use beautiful 3D effects like wobbly windows or a desktop cube on your desktop.
This document comes without warranty of any kind! I do not issue any guarantee that this will work for you!
1 Preliminary Note
I have tried this on a desktop computer with an NVIDIA GeForce 8200. It should work the same way with all other NVIDIA graphics cards. However dealing with Compiz may cause your graphic drivers to crash, so be careful about what you do and backup everything you might need in future.
2 Installing CompizConfig Settings Manager
The utility to use and configure Compiz is the CompizConfig Settings Manager (ccsm). Download it by opening a terminal and entering the following:
sudo apt-get install compizconfig-settings-manager
Unfortunately we are not done by now, but if it should work for you now, you are really lucky. The usual thing would be that there's still no composing working, even if you enable it and all the appropriate options in ccsm.
3 Configuring The Right Driver
The next thing to do is to make sure that your machine uses the correct driver. To ensure that, we are going to blacklist the nouveau driver first. Open a terminal and enter the following to do so:
sudo nano /etc/modprobe.d/blacklist.conf
At the end of the document, add this line:
[...]
blacklist nouveau
Afterwards update your initial ram file system by entering this into a terminal:
sudo update-initramfs -u -v
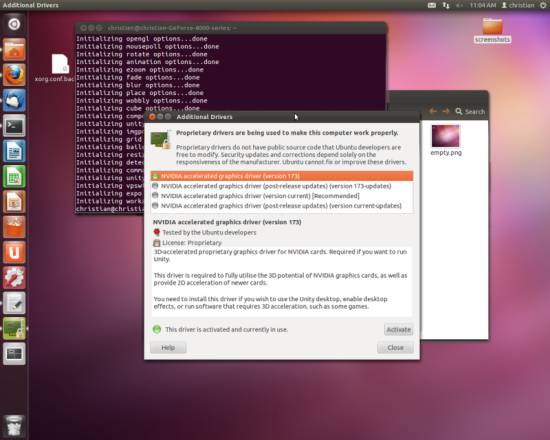
Now open the Additional Drivers tool; you will see that NVIDIA accelerated graphics driver (version 173) is currently activated (at least it should be if you have not changed anything about the default setting here).
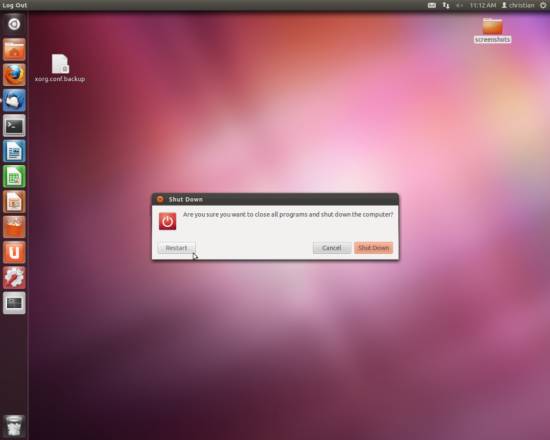
What you need however is the NVIDIA accelerated graphics card driver (version current) [Recommended], so select it and click on Activate. The drivers will then be downloaded. After that, you will need to restart your machine, but don't do that yet. You need to do one more thing, which is to specify the driver to boot with in your xorg.conf file. Back this config file up however in case anything should be broken on reboot. Afterwars open a terminal and enter:
sudo nano /etc/X11/xorg.conf
Find the Device section and make sure the driver is set to "nvidia". It should look somewhat like this:
[...]
Section "Device"
	Driver "nvidia"
	Identifier	"Default Device"
	Option	"NoLogo"	"True"
EndSection

[...]
Now save the file and exit nano. You can reboot your machine now.
4 Configure CompizConfig Settings Manager
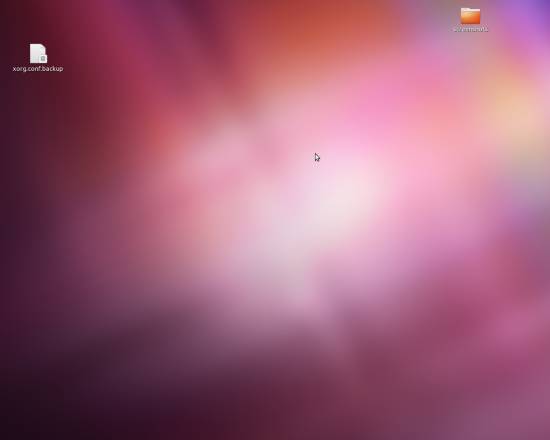
After the reboot, your screen should look like this (maybe you are given some top panel, but the rest should have vanished):
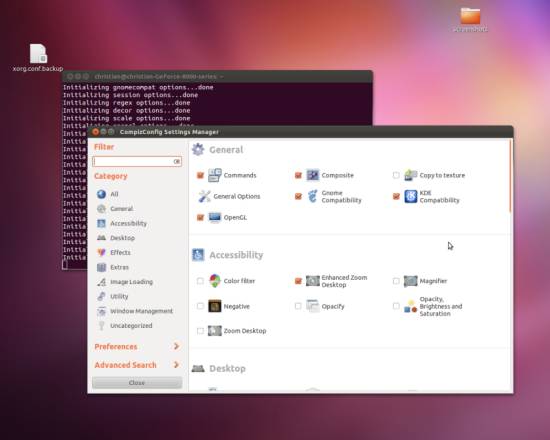
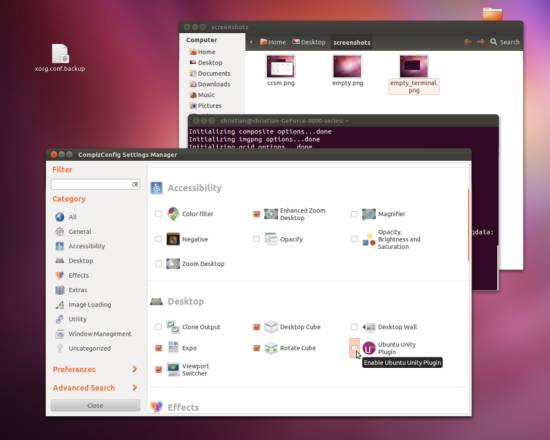
This is because the Unity Compatibility Plugin is not yet enabled in ccsm. Hit Ctrl + Alt + t to open a terminal and type
ccsm
to open the settings manager.
Here, scroll down until you find the Ubuntu Unity Plugin. Check the checkbox next to it to enable it.
After you tried to check the box, you will be prompted with a message that states that the plugin conflicts with some other plugins. These are not that important however, so click Resolve Conflict and disable the functions of the other plugins.
Now you can enable the plugins you would like to have and test them:
5 Links
- Compiz: http://www.compiz.org/
- Ubuntu: http://www.ubuntu.com/

