How To Use NTFS Drives/Partitions Under Ubuntu Edgy Eft - Page 2
2.4 Install ntfs-3g
Next we install ntfs-3g:
sudo apt-get install ntfs-3g
If you see this, please answer with y:
Reading package lists... Done
Building dependency tree
Reading state information... Done
The following extra packages will be installed:
fuse-utils libfuse2 libntfs-3g0
The following NEW packages will be installed:
fuse-utils libfuse2 libntfs-3g0 ntfs-3g
0 upgraded, 4 newly installed, 0 to remove and 82 not upgraded.
Need to get 226kB of archives.
After unpacking 659kB of additional disk space will be used.
Do you want to continue [Y/n]? Y
WARNING: The following packages cannot be authenticated!
libntfs-3g0 ntfs-3g
Install these packages without verification [y/N]? <-- y
That's it already.
2.5 Plug In The External NTFS USB Hard Disk
Now we plug in and switch on our external USB HDD again. After a few seconds its icon should appear again on the desktop:
In the terminal window, type
sudo mount
to see what our external HDD looks like now:
/dev/hda1 on / type ext3 (rw,errors=remount-ro)
proc on /proc type proc (rw,noexec,nosuid,nodev)
/sys on /sys type sysfs (rw,noexec,nosuid,nodev)
varrun on /var/run type tmpfs (rw,noexec,nosuid,nodev,mode=0755)
varlock on /var/lock type tmpfs (rw,noexec,nosuid,nodev,mode=1777)
procbususb on /proc/bus/usb type usbfs (rw)
udev on /dev type tmpfs (rw,mode=0755)
devshm on /dev/shm type tmpfs (rw)
devpts on /dev/pts type devpts (rw,gid=5,mode=620)
lrm on /lib/modules/2.6.17-10-generic/volatile type tmpfs (rw)
binfmt_misc on /proc/sys/fs/binfmt_misc type binfmt_misc (rw)
/dev/sda1 on /media/BACKUP type fuse (rw,nosuid,nodev,noatime,allow_other)
As you see, it's not of type ntfs anymore, but of type fuse which means it has been mounted with ntfs-3g.
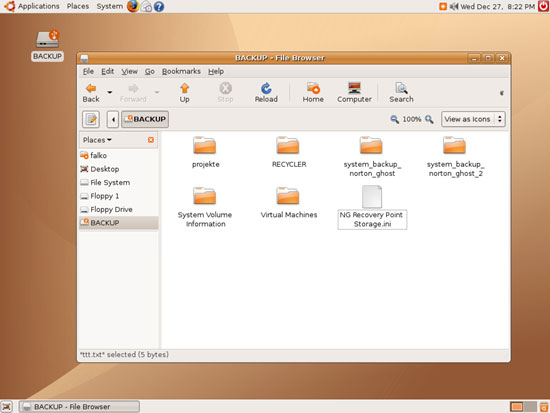
Again, you should see the contents of the drive in the file browser which means we are still able to read from the drive:
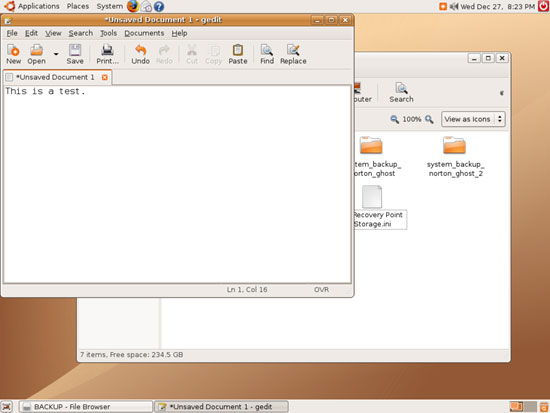
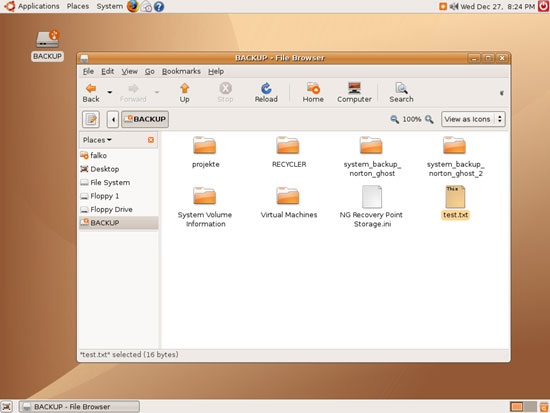
Now let's check if we can write to it. Open a text editor (e.g. gedit) and write some text:
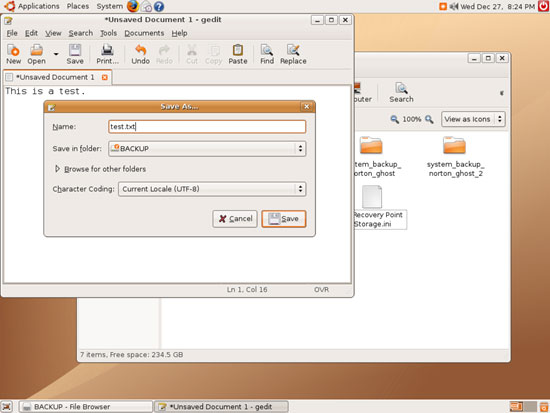
Then save it to your external NTFS USB drive:
If all goes as expected, you should see your new file now on your NTFS drive:
Again, please don't forget to right-click the drive icon on the desktop and choose Eject when you want to unmount the drive! Do not disconnect the drive before you have done so! Close all applications that are currently accessing the drive (like the file browser and the text editor) before choosing Eject because otherwise Eject will fail.
2.6 Auto-mount Failed...
If auto-mount failed in chapter 2.5 and no drive icon appeared on your desktop, you can try to mount your external drive manually with this command:
sudo pmount-hal /dev/sda1
Please replace /dev/sda1 with your external hard drive. You can find out about it by running
sudo fdisk -l | grep NTFS
The output should look like this:
/dev/sda1 1 48641 390708801 7 HPFS/NTFS

