Network-Attached Storage With FreeNAS
Version 1.0
Author: Falko Timme
This tutorial shows how you can set up a network-attached storage server with FreeNAS. FreeNAS is based on the FreeBSD operating system and supports CIFS (samba), FTP, NFS, RSYNC, SSH, local user authentication, and software RAID (0, 1, 5). It comes with a powerful web interface and uses very little space on the hard drive - about 32MB.
I do not issue any guarantee that this will work for you!
1 Preliminary Note
In this article I will set up a NAS system with three 30GB hard disks, where the first one is split up in a small partition for the FreeNAS system itself and a large data partition. I will combine the other two hard drives in a RAID1 array. I will use the IP address 192.168.0.100 for my FreeNAS system with the gateway address 192.168.0.1.
2 Installing FreeNAS
Download the latest FreeNAS iso image (0.68 at the time of this writing) from http://www.freenas.org/index.php?option=com_content&task=view&id=20&Itemid=32 and burn it onto a CD. Then boot from that CD.
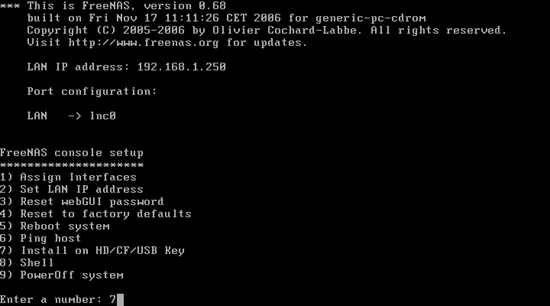
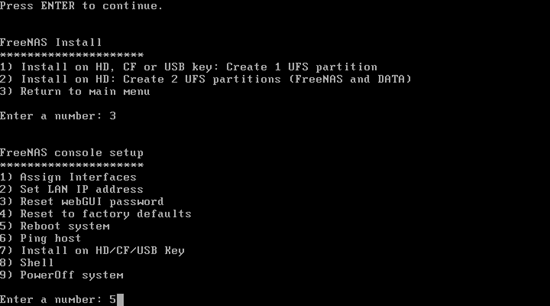
The following screen will come up. Select 7 to install FreeNAS on the hard drive:
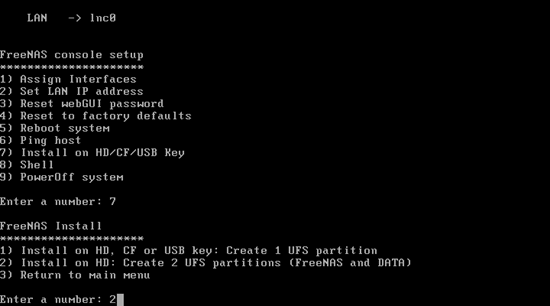
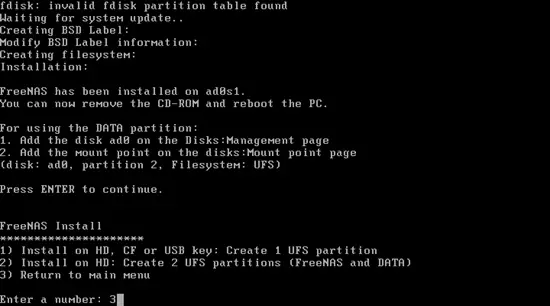
We want to have two partitions on our first hard drive (one for FreeNAS, one for data storage), so we select 2:
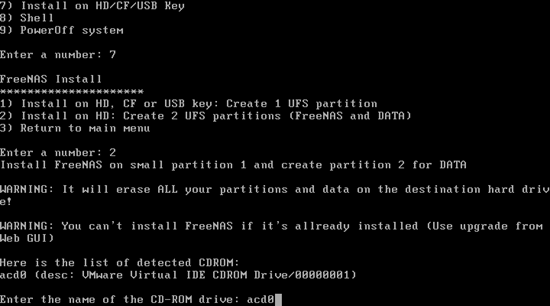
Enter the name of your CD-ROM drive. In my case it was acd0:
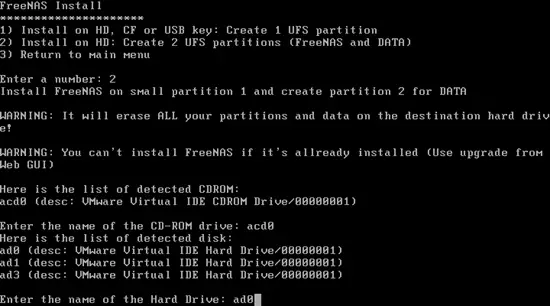
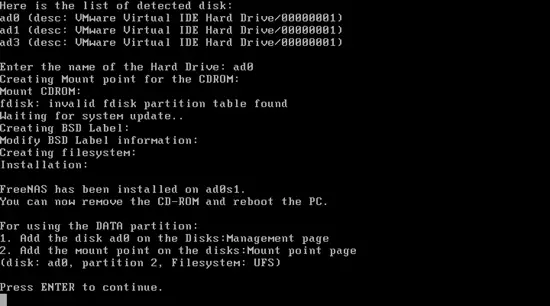
Then enter the name of the hard drive where you want to install FreeNAS and create the data partition. In my case I select the first hard drive, ad0:
FreeNAS is now being installed. Afterwards press <ENTER>, then 3 and 5 to reboot the system:
Confirm that you want to reboot by typing y:

The system will now reboot. Make sure you remove the FreeNAS CD from the CD-ROM.

