Network-Attached Storage With FreeNAS - Page 3
On this page
3 Further Network Configuration
Now we log in to the FreeNAS web interface by typing http://192.168.0.100/ (or whatever IP address you assigned to FreeNAS) in our browser.
We will be asked for a login. The default login is: username admin, password freenas.

The welcome page looks like this:

We didn't specify a gateway yet for our FreeNAS system, so we go to Interfaces -> LAN and enter our gateway IP address (192.168.0.1) under Gateway, then we hit Save.

The system must be rebooted for the changes to take effect, so we go to the FreeNAS terminal again and hit 5 and then y:


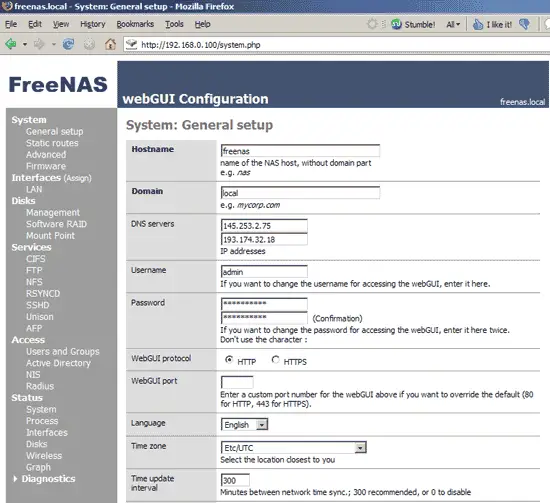
After the reboot we can connect to the web interface again. Go to System -> General setup and fill in two DNS servers (e.g. 145.253.2.75 and 193.174.32.18). If you don't specify DNS servers, the system cannot connect to NTP servers if you use an FQDN (like pool.ntp.org - which is the default value) for the NTP server. On the same page, you can also change the admin password from freenas to a different value:
That's it for the network configuration, no reboot is needed.

