Back Up Linux And Windows Systems With BackupPC - Page 6
8 Add The Windows System notebook As A Backup Client
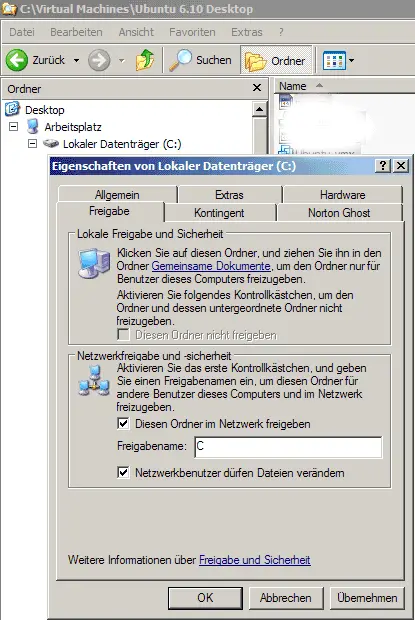
To make backups of Windows systems using smb, we must share the folder that we want to back up. In this case I want to backup the whole C: drive, so I right-click on it in the Windows Explorer and go to Sharing. As share name I specify C.
Next, on server1.example.com, I add a line for notebook to /etc/backuppc/hosts (I do this as root). In this case I use falko again as the user. If you use a different username than before, make sure you create it on the system and for the BackupPC web interface, as shown in chapter 5.
server1.example.com:
vi /etc/backuppc/hosts
[...] falko-desktop 0 falko notebook 0 falko #localhost 0 backuppc |
Then create the file /etc/backuppc/notebook.pl and add all options that are different from the ones in /etc/backuppc/config.pl. In this case we add $Conf{XferMethod} = 'smb';. Our share name is C, so we put $Conf{SmbShareName} = 'C'; into it as well as the username and password for the Windows share:
server1.example.com:
vi /etc/backuppc/notebook.pl
$Conf{SmbShareName} = 'C';
$Conf{SmbShareUserName} = 'username';
$Conf{SmbSharePasswd} = 'password';
$Conf{XferMethod} = 'smb';
|
Then restart BackupPC:
server1.example.com:
/etc/init.d/backuppc restart
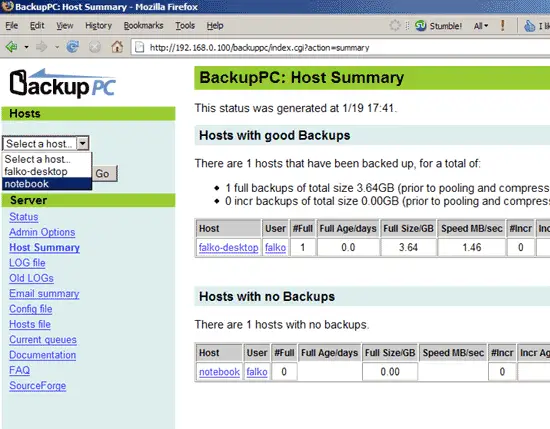
Then reload the BackupPC web interface again. You should now find notebook in the list of clients:
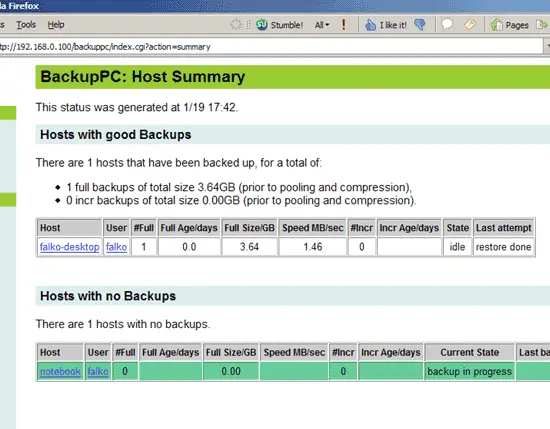
You can start the first backup of notebook manually or wait until BackupPC starts it:
That's it already for Windows clients.
Happy backupping! ;-)
9 Links
- BackupPC: http://backuppc.sourceforge.net
- BackupPC Documentation: http://backuppc.sourceforge.net/faq/BackupPC.html

