Installing Elgg On An ISPConfig 3 System
Version 1.0
Author: Falko Timme
Elgg is an open-source web application written in PHP that allows you to run a social-networking site. This tutorial shows how you can install it on a server running ISPconfig 3.
I do not issue any guarantee that this will work for you!
1 Preliminary Note
I'm assuming that you have a working ISPConfig 3 system, set up according to the instructions for ISPConfig 3 and your distribution on http://www.ispconfig.org/documentation.htm.
I will use the web site www.example.com here in this guide where I will install Elgg.
2 Creating The Web Site www.example.com In ISPConfig 3
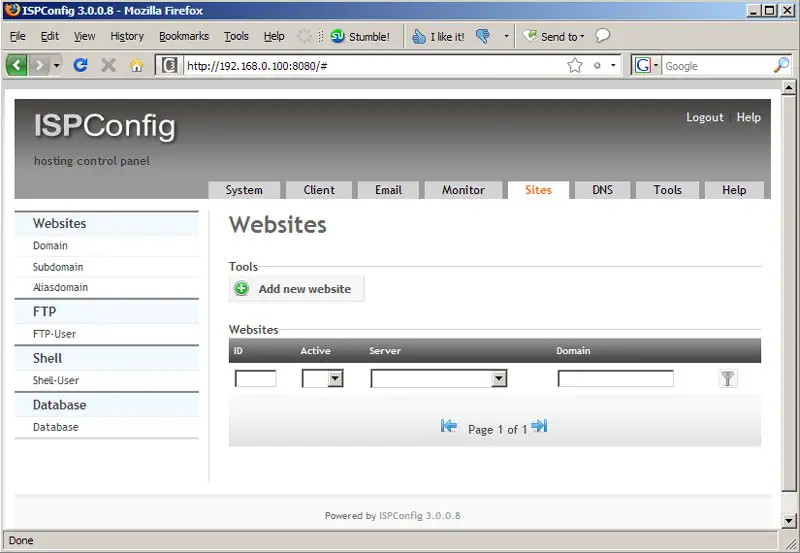
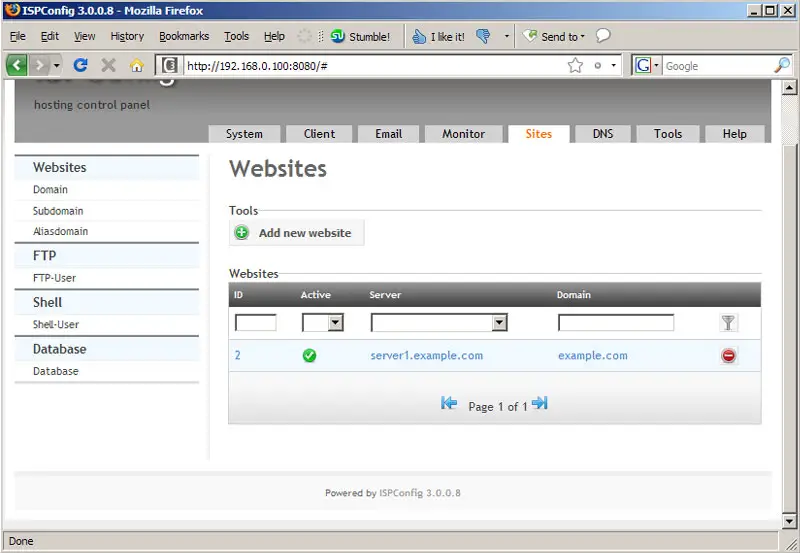
First we create the web site www.example.com in ISPConfig 3. Go to the Sites tab and click on Add new website:
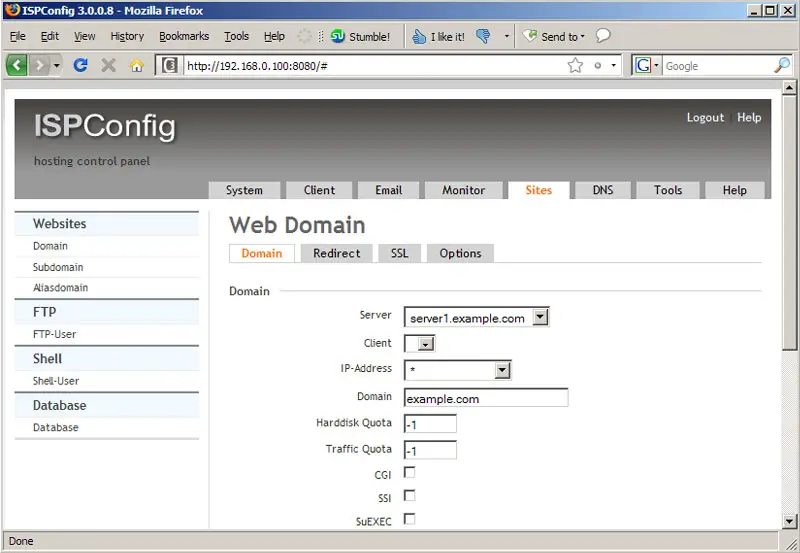
Select the IP address for the web site and fill in example.com as the domain; then scroll down...
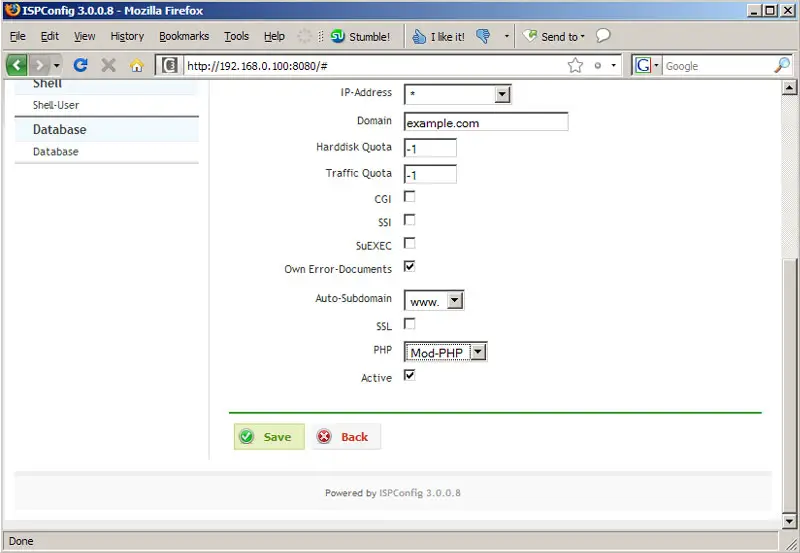
... and select www in the Auto-Subdomain drop-down menu as well as Mod-PHP in the PHP drop-down menu; then click on Save:
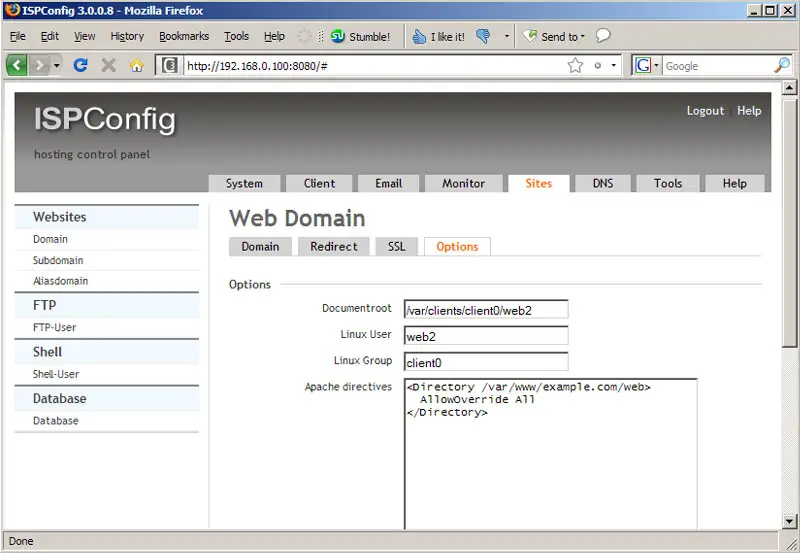
Go to the Options tab of the new web site and fill in the following lines in the Apache directives field:
[<Directory /var/www/example.com/web> AllowOverride All </Directory> |
This is to make sure that the .htaccess file that comes with Elgg will work correctly (otherwise you might get a 500 server error). Please write down the document root of the web site (/var/clients/client0/web2 in this case) - we will need it later in the Elgg installer:
You should see the new web site in the list of web sites in ISPConfig afterwards:
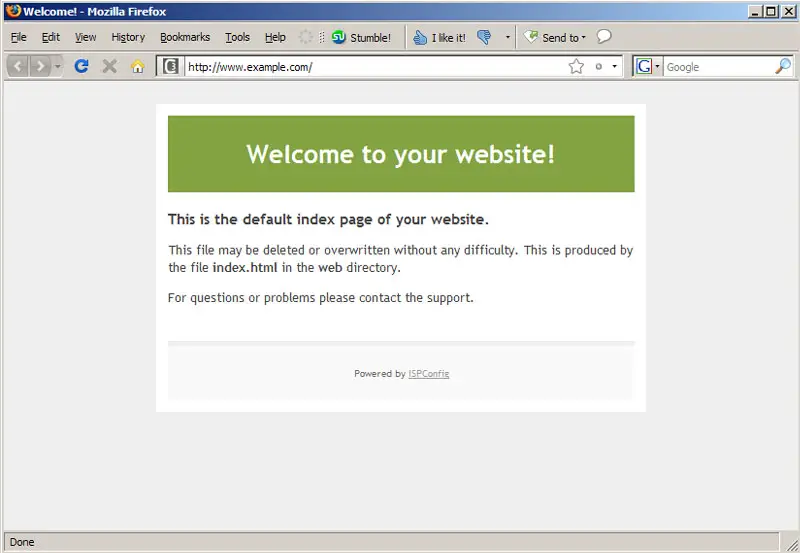
Open another browser window and go to http://www.example.com, and you should see the ISPConfig placeholder page:
3 Creating An FTP User
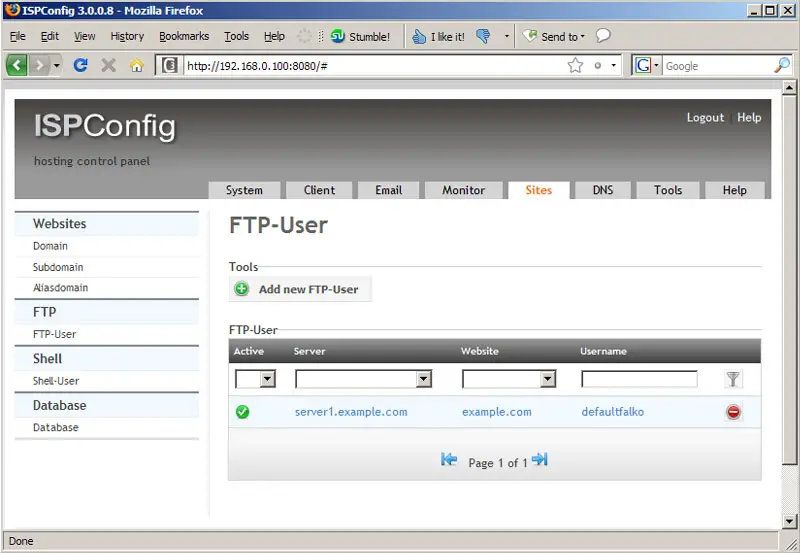
Next we need to create an FTP user so that we can upload the Elgg sources to our new web site. Go to FTP-User on the Sites tab and click on Add new FTP-User:
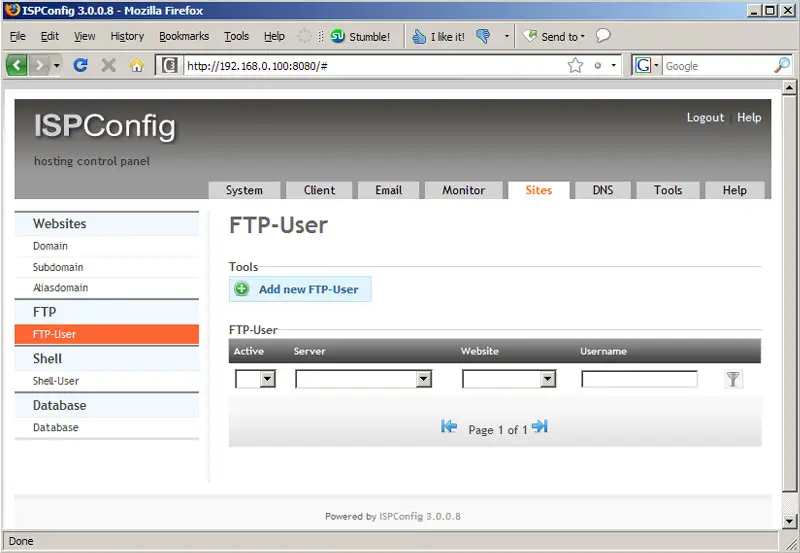
Select the example.com web site and fill in a username and password, then click on Save. The username will have a prefix, so it will be a little different from what you typed in - you can see the full username...
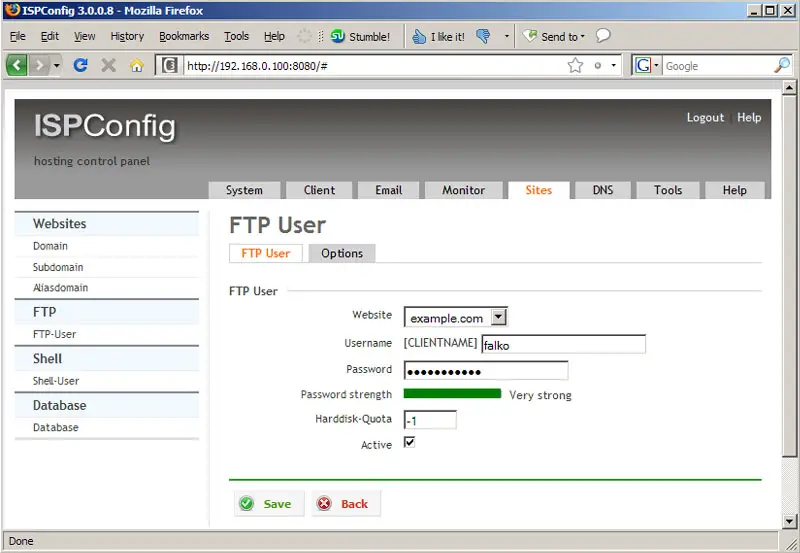
... on the overview page (the username is defaultfalko in this example):