Creating Backups With Back In Time On An Ubuntu 9.04 Desktop
Version 1.0
Author: Falko Timme  Follow me on Twitter
This tutorial explains how to install and use Back In Time on an Ubuntu 9.04 desktop. Back In Time is a simple backup tool for Linux inspired from "flyback project" and "TimeVault". The backup is done by taking snapshots of a specified set of directories.
I do not issue any guarantee that this will work for you!
1 Installing Back In Time
Back In Time is not available in the official Ubuntu repositories. Therefore we add the Back In Time repository to our apt configuration.
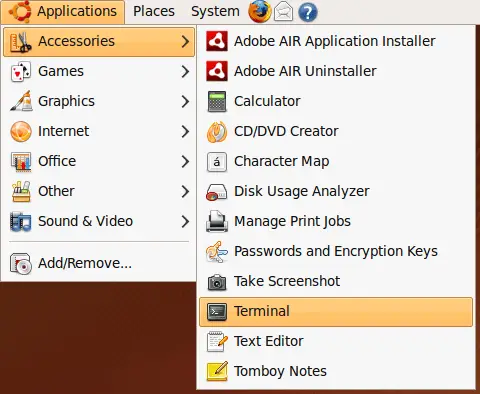
Open a terminal (Applications > Accessories > Terminal)...
... and open /etc/apt/sources.list:
sudo gedit /etc/apt/sources.list
Add the following line to it:
[...]
deb http://le-web.org/repository stable main
Afterwards we add the key of the Back In Time repository to our system, ...
wget http://le-web.org/repository/le-web.key
sudo apt-key add le-web.key
... update our package database, ...
sudo aptitude update
... and install Back In Time as follows:
sudo aptitude install backintime-common backintime-gnome
That's it, Back In Time is now installed and ready to be used.
2 Using Back In Time
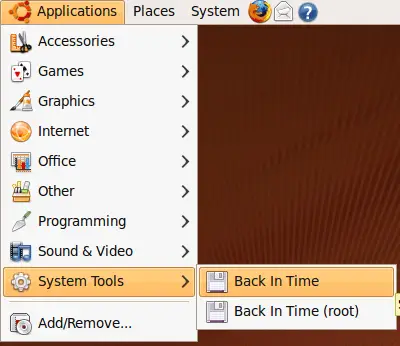
With Back In Time you can backup/restore only folders that you have write access to (actually you can back up read-only folders, but you cannot restore them). Therefore you will find two launchers for Back In Time, one for running it with normal user privileges under Applications > System Tools > Back In Time and one for running it with root privileges under Applications > System Tools > Back In Time (root):
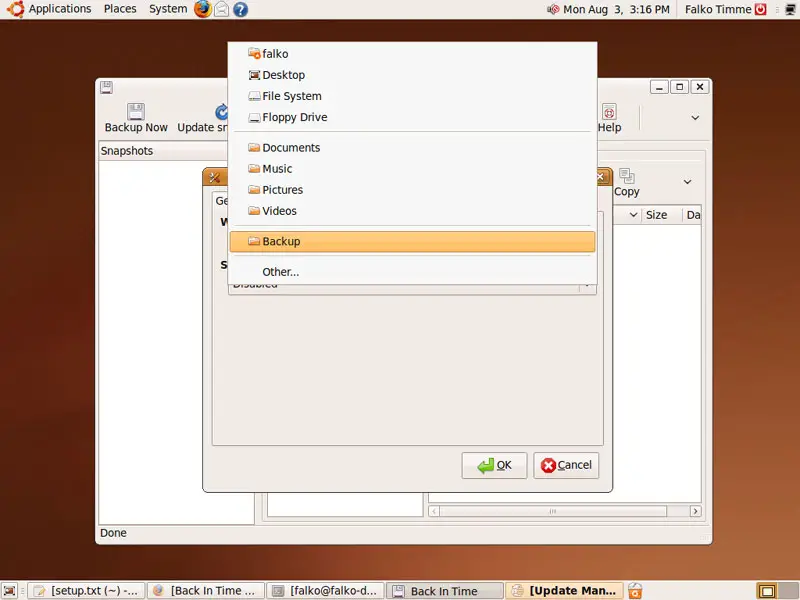
When you start Back In Time for the first time, you will see the Settings dialogue. On the General tab, you specify the directory where backups will be stored (e.g. ~/Backup)...
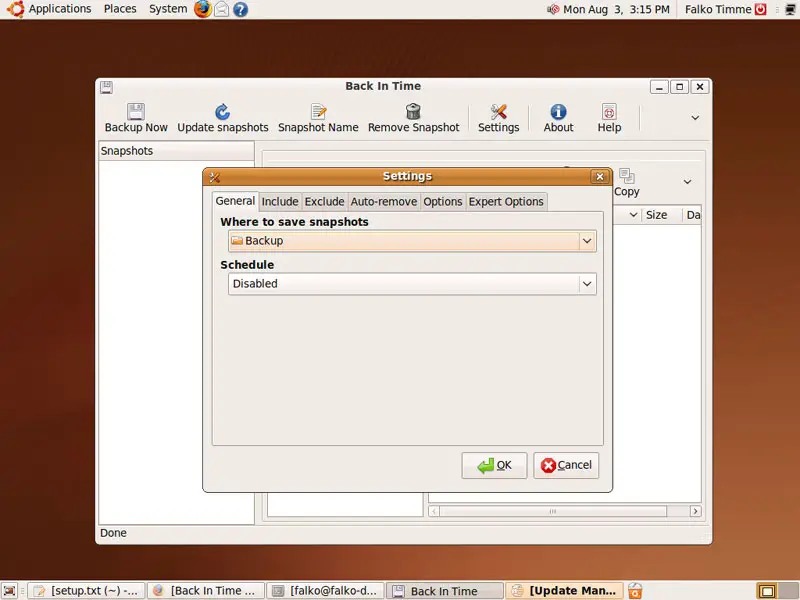
... and how often a back up will be created; select Disabled if you want to create backups manually instead of having Back In Time create them automatically:

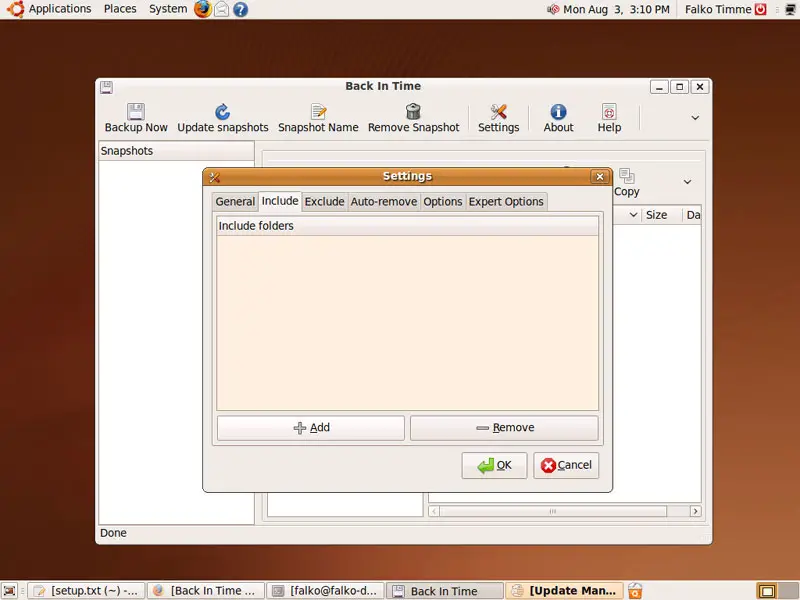
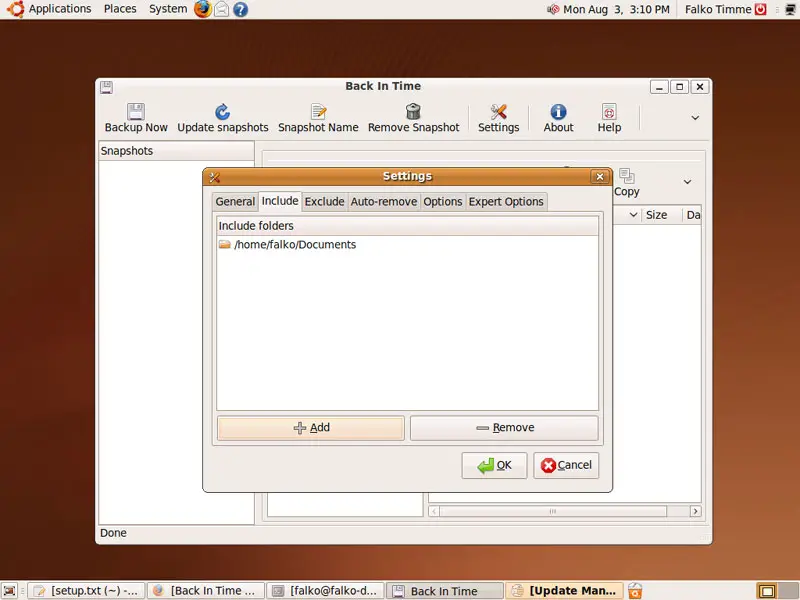
On the Include tab, you can specify the directories that you want to back up (please make sure that the target directory that you specified on the General tab is outside of these directories!). Click on Add to include a new directory: