Converting A VMware Image To A Physical Machine
Version 1.0
Author: Eladio Martinez <[email protected]>
http://twitter.com/mafecsllc
This tutorial shows how to convert an existing CentOS VM to a Physical machine. This tutorial covers the cloning of the VM to an unpartitioned HDD and troubleshoot some of the possible errors that you may have booting the OS on your new hardware. To illustrate this procedure I will use VMware Workstation 7 as the handler to transfer the VM installation to a physical HDD.
1 Requirements
To perform this procedure you will need:
- VMware Workstation, VMware Server or VMware Player.
- CloneZilla ISO image.
- Unpartitioned HDD with enough space to hold your VM image.
2 Preliminary Notes
This tutorial assumes basic knowledge of the cloning process and requires no previous experience on the use of Clonezilla. Make sure your OS is not using in any way the target HDD that will hold your final copy of the VM, otherwise VMware will complain about your disk been in use and CloneZilla will not perform a successful copy of the VM.
3 VMware Configuration
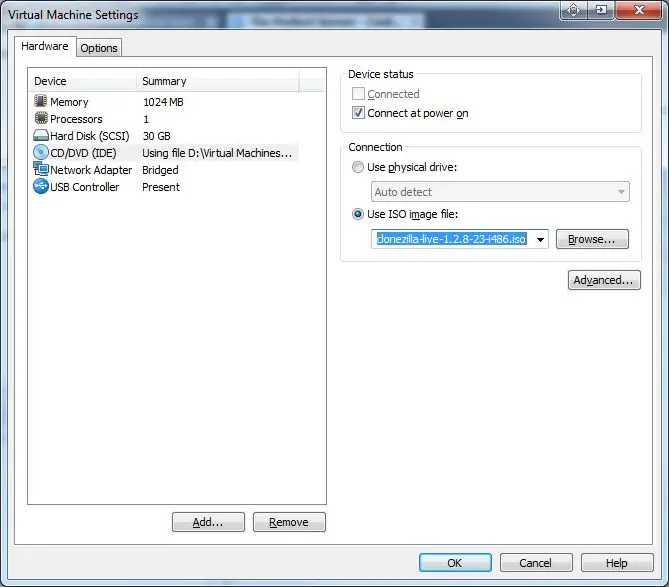
First thing is to make sure your virtual CD/DVD is using your CloneZilla ISO image to boot. Next add your physical HDD as part of your existing VM by clicking the Add button.
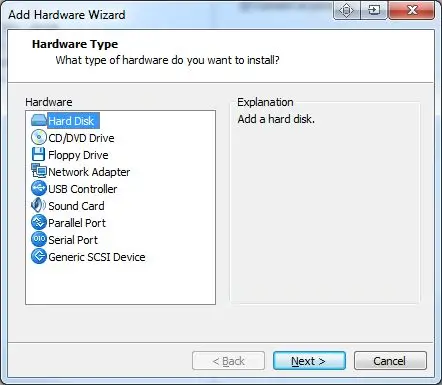
Select Hard Drive and click Next.
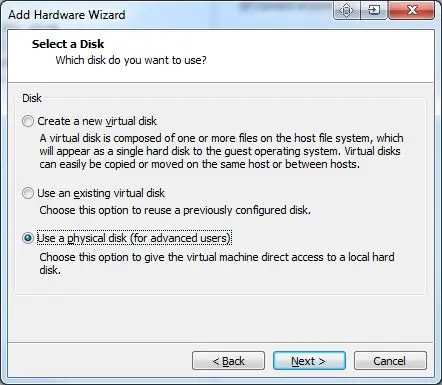
Select Use physical disk (for advanced users) then click Next.
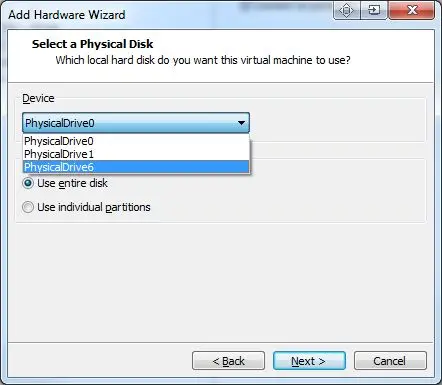
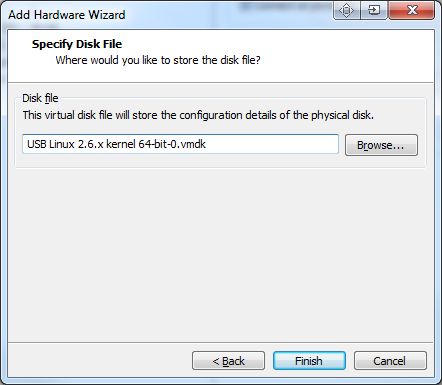
Make sure you select the correct drive that you want to use for your physical disk and select the option Use entire disk.
Finally give a name to your configuration file then click Finish.
Make sure your final VMware hardware list include this two elements otherwise, start all over.


