CentOS 4.6 Server Setup: LAMP, Email, DNS, FTP, ISPConfig (a.k.a. The Perfect Server) - Page 2
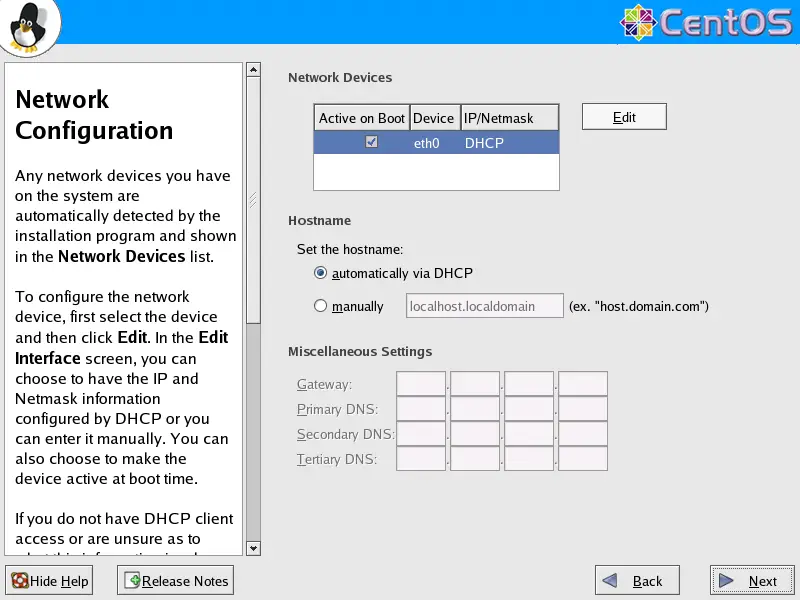
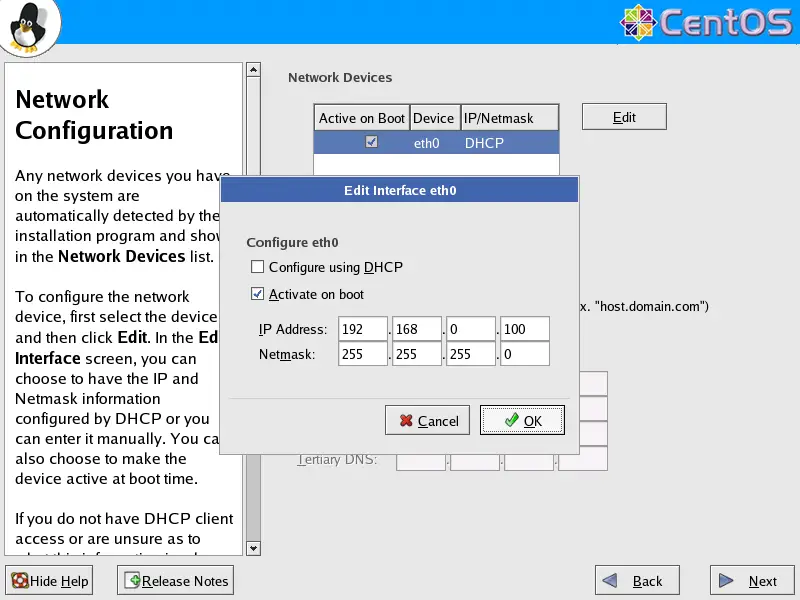
On to the network settings. The default setting here is to configure the network interfaces with DHCP, but we are installing a server, so static IP addresses are not a bad idea... Click on the Edit button at the top right. In the window that pops up uncheck Configure using DHCP and give your network card a static IP address (in this tutorial I'm using the IP address 192.168.0.100 for demonstration purposes):
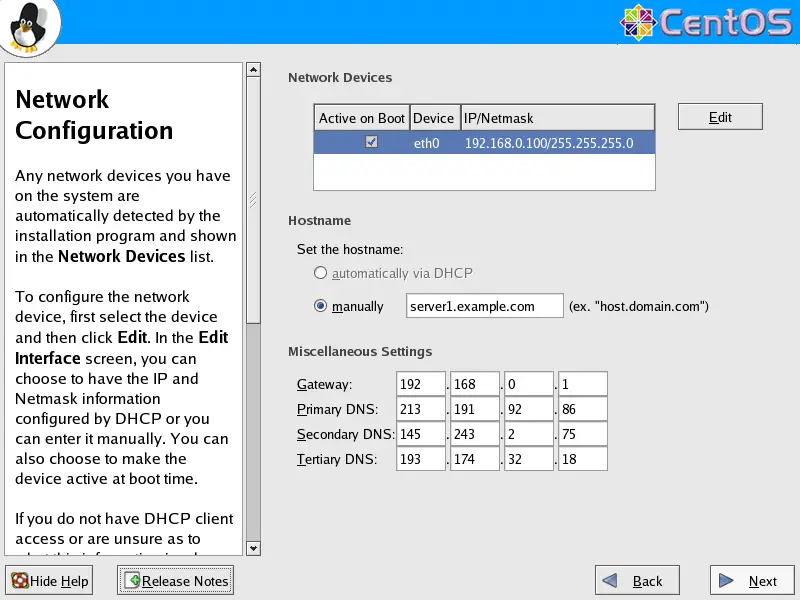
Set the hostname manually, e.g. server1.example.com, and enter a gateway (e.g. 192.168.0.1) and up to three DNS servers (e.g. 213.191.92.86, 145.253.2.75, and 193.174.32.18):
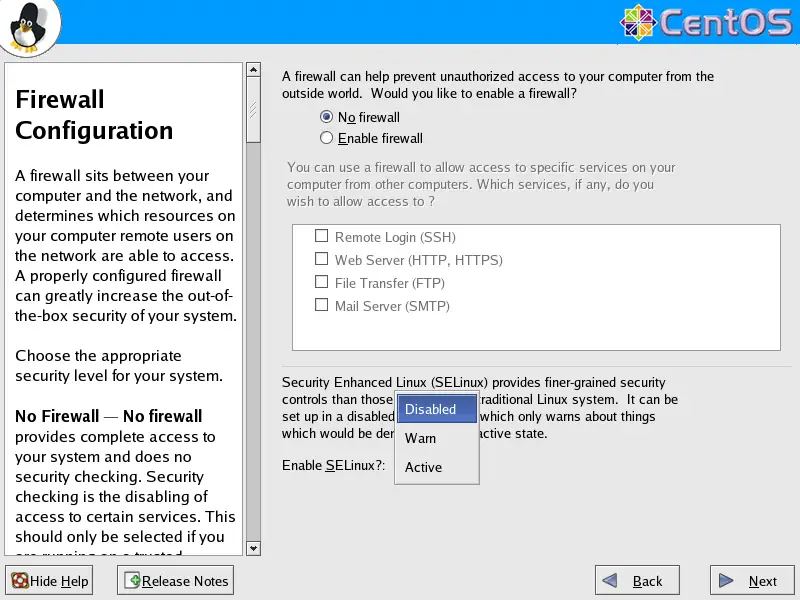
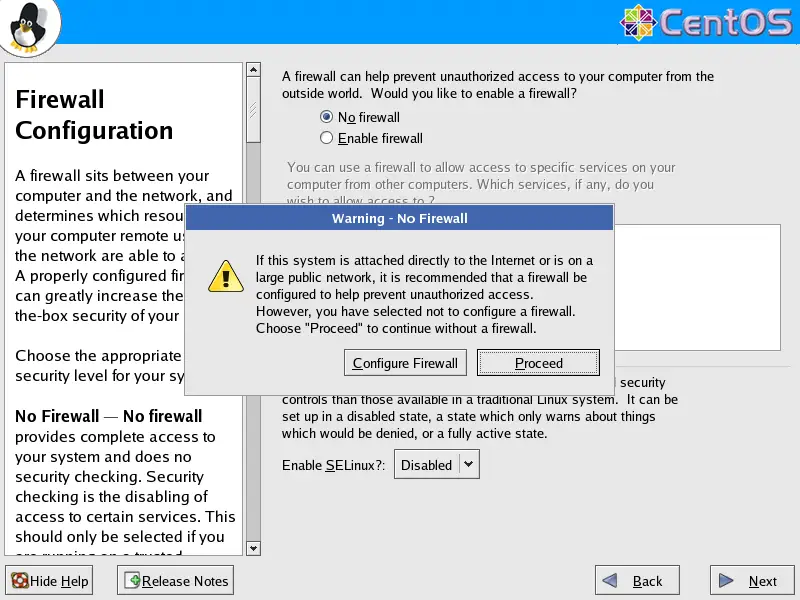
I want to install ISPConfig at the end of this tutorial which comes with its own firewall. That's why I disable the default CentOS firewall now. Of course, you are free to leave it on and configure it to your needs (but then you shouldn't use any other firewall later on as it will most probably interfere with the CentOS firewall).
SELinux is a security extension of CentOS that should provide extended security. In my opinion you don't need it to configure a secure system, and it usually causes more problems than advantages (think of it after you have done a week of trouble-shooting because some service wasn't working as expected, and then you find out that everything was ok, only SELinux was causing the problem). Therefore I disable it (this is a must if you want to install ISPConfig later on).
Click on Proceed:
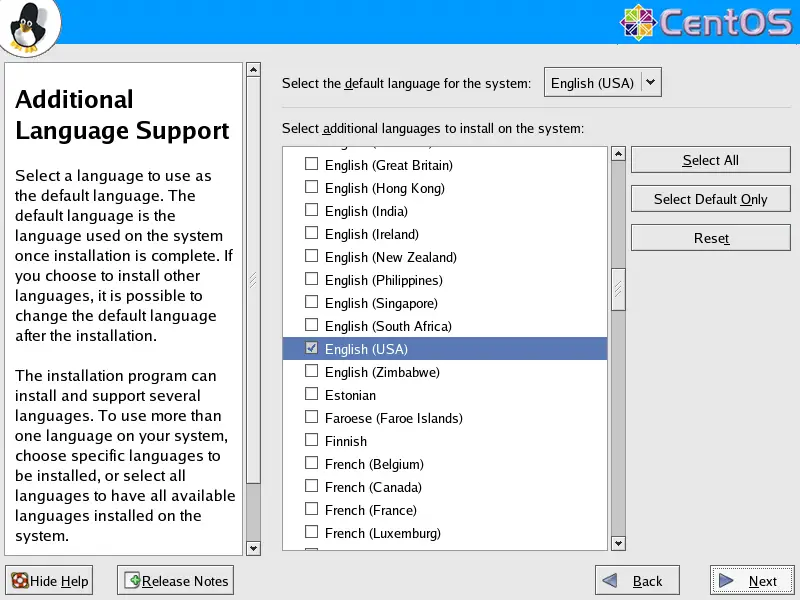
Select the default language for the system and add further languages, if necessary:
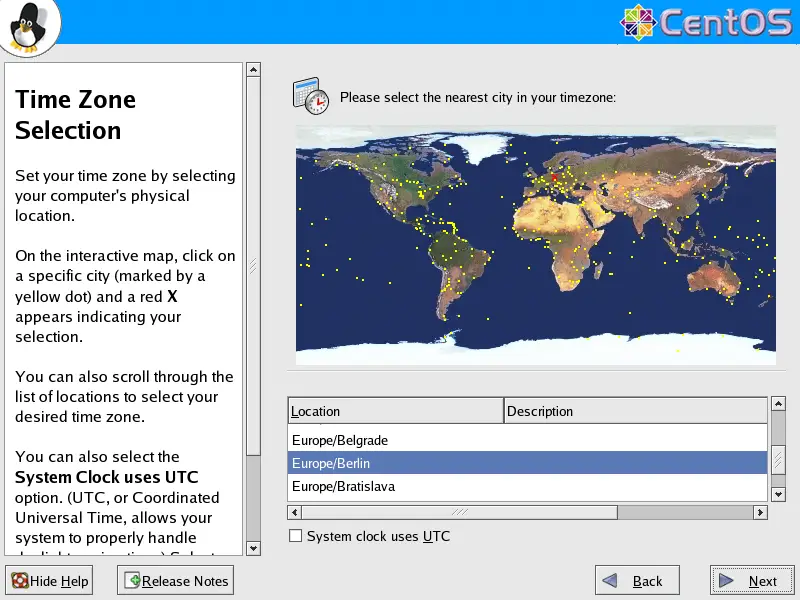
Choose your time zone:
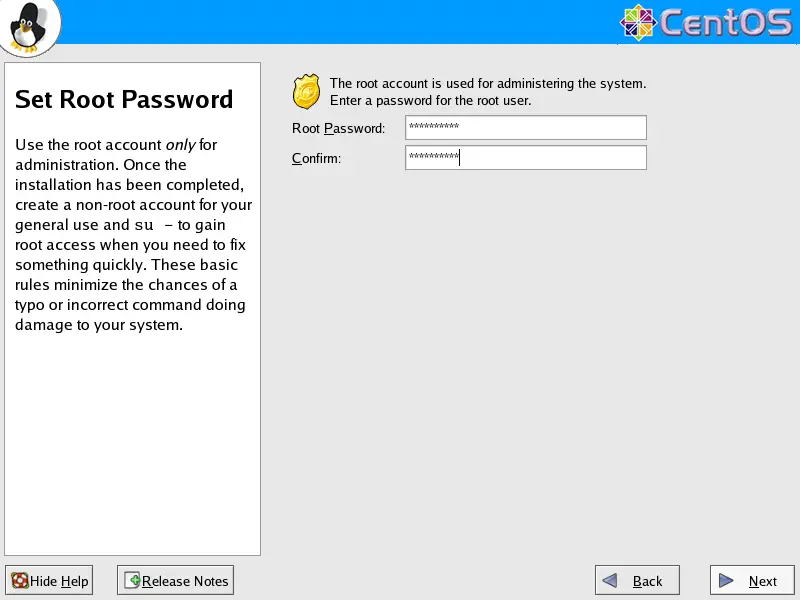
Give root a password:
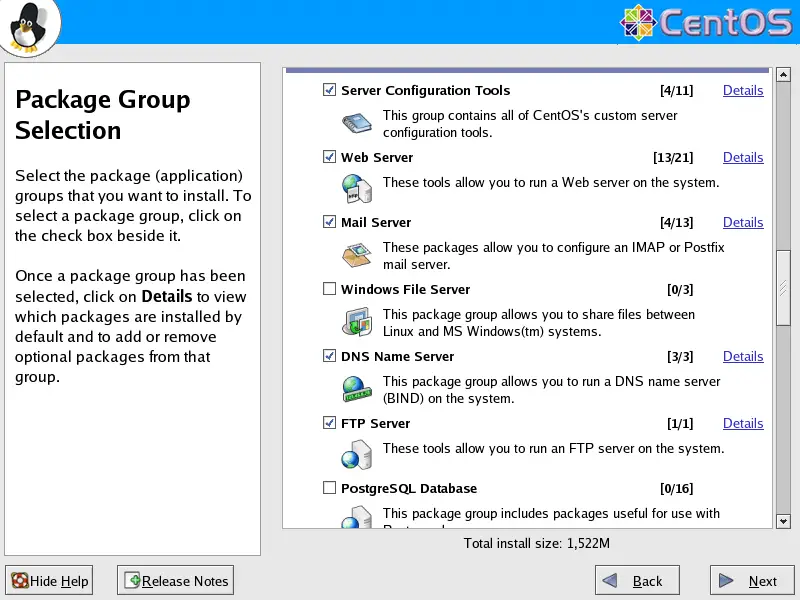
Now we are to select the package groups we want to install. Select Editors, Text Based Internet, Server Configuration Tools, Web Server, Mail Server, DNS Name Server, FTP Server, MySQL Database, Development Tools, Administration Tools and System Tools and click on Next:
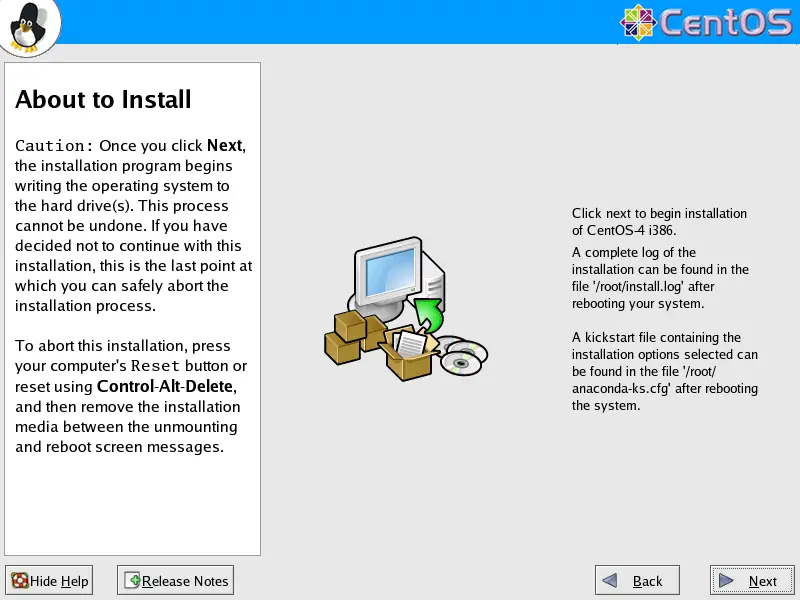
Click on Next to start the installation:
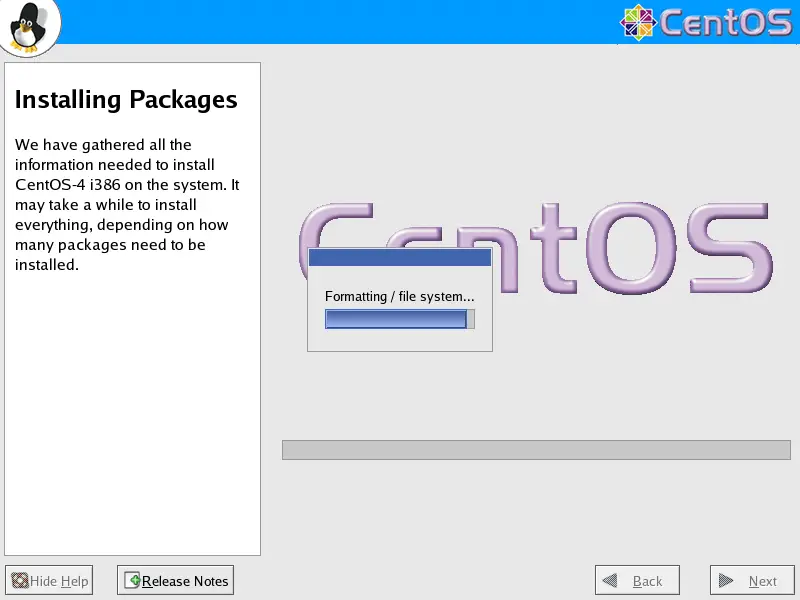
The hard drive is being partitioned:
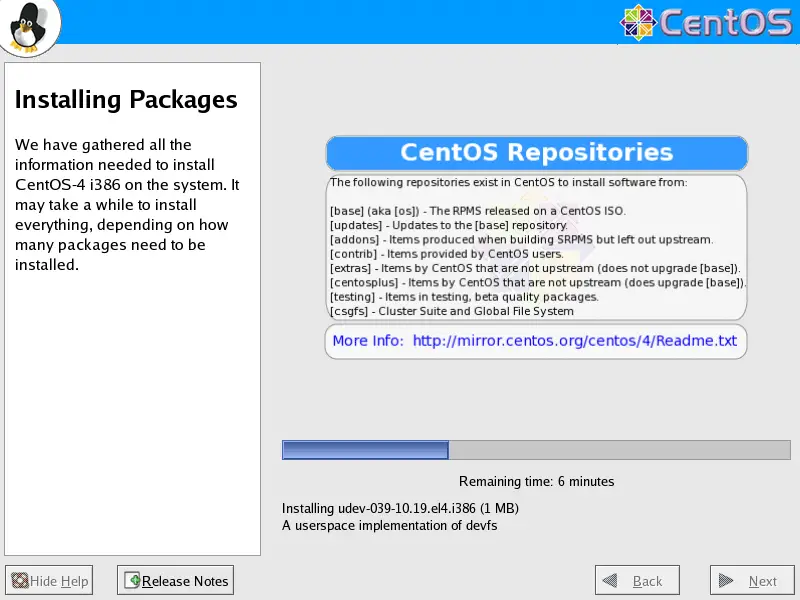
The installation begins. This will take a few minutes:
Finally, the installation is complete, and you can remove your CD from the computer and reboot it:
Now, on to the configuration...

