Installing Ubuntu Studio 7.04 - Linux For The Creative
Version 1.0
Author: Falko Timme
Ubuntu Studio is a multimedia editing/creation flavour of Ubuntu, built for the GNU/Linux audio, video, and graphic enthusiast or professional. It is an official derivative of the Ubuntu open source operating system and comes with applications such as Ardour2, Wired, Hydrogen, Blender, Inkscape, Pitivi, and many more, as well as a beautiful dark theme (read the release notes to learn more). This walkthrough shows how to install it.
I do not issue any guarantee that this will work for you!
1 Applications
This is a small excerpt of the applications that come with Ubuntu Studio 7.04:
Audio Programs
- Ardour2 - Free software hard disk recorder and digital audio workstation application
- Wired - Audio creation program, helps to compose, record, edit and mix sounds (similar to Apple's GarageBand)
- Hydrogen - Advanced drum machine
- Rosegarden - Advanced MIDI sequencer
- TerminatorX - Scratch audio files like a DJ does records
- BEAST - Modular synthesis and composition
- JACK - Audio connection kit for Linux
Graphics Programs
- GIMP - Free software replacement for Adobe Photoshop
- Blender - Program for 3D modeling, animation, and rendering
- Inkscape - Vector graphics editor application
- Agave - Intuitive color schemer
- Scribus - Desktop publishing and page layout
- Synfig - Film-quality 2D vector animation
- FontForge - Postscript font editor
Video Programs
- Kino - Free digital video editor
- Cinepaint - Frame by frame retouching tool
- Pitivi - Linear video editor
- Stopmotion - Create stop motion videos
2 Installing Ubuntu Studio
The installation of the base system is easy as 1-2-3 because the Ubuntu Studio installer doesn't offer a lot of options to choose from, so you cannot go wrong.
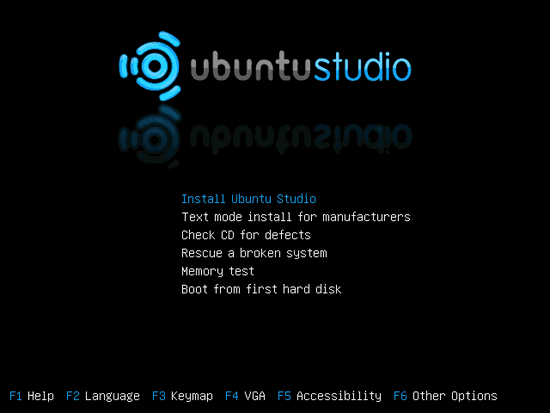
Download the Ubuntu Studio 7.04 DVD from http://www.ubuntustudio.org, burn it onto a DVD, and boot your computer from it. At the boot prompt, select Install Ubuntu Studio:
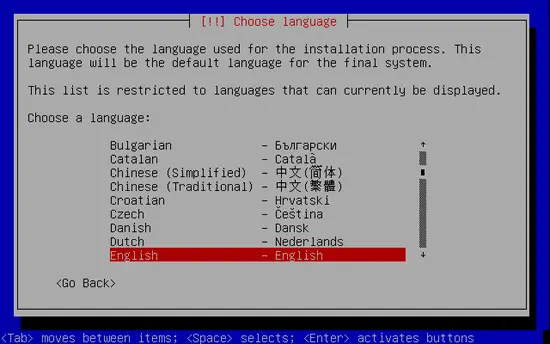
The installation starts, and first you have to choose your language:
Then select your location:

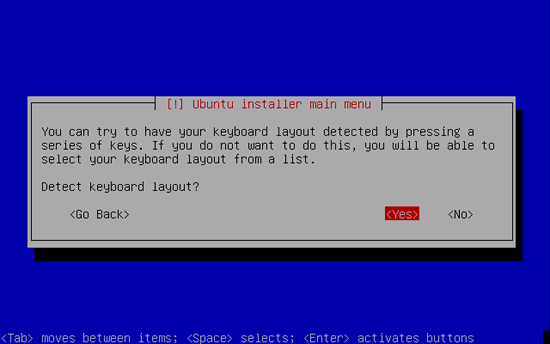
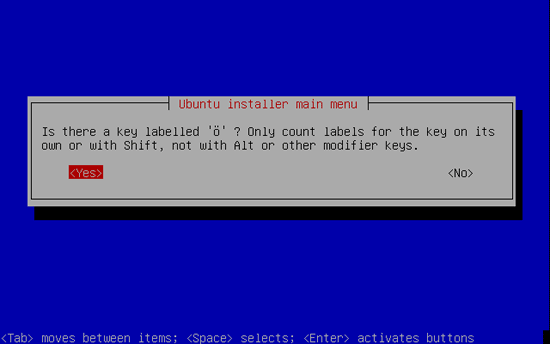
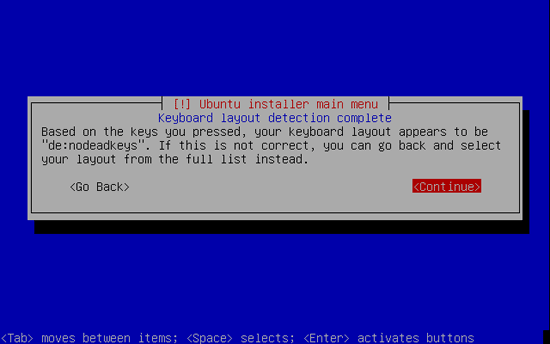
Let the installer detect your keyboard layout; you'll have to press some keys to make the installer detect the right layout:
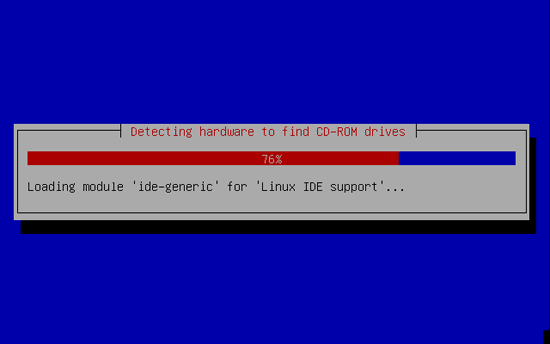
The installer checks the installation CD, your hardware, and configures the network with DHCP if there is a DHCP server in the network:
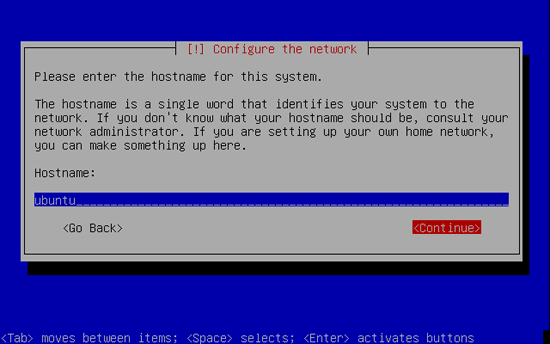
You can accept the default hostname:
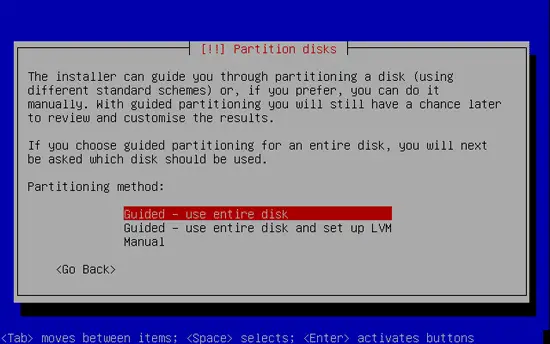
Now you have to partition your hard disk. For simplicity's sake I will create one big partition (with the mount point /) and a little swap partition so I select Guided - use entire disk (of course, the partitioning is totally up to you - if you like, you can create more than just one big partition, and you can also use LVM):
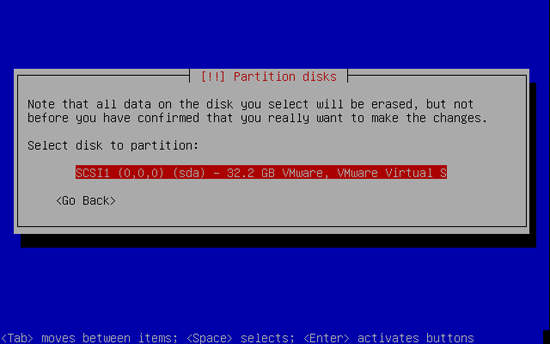
Select the disk that you want to partition:
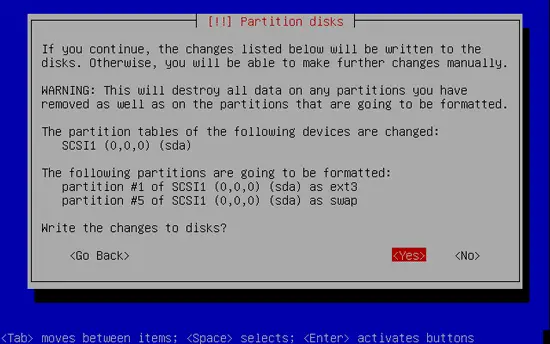
Select Yes when you're asked Write changes to disks?:
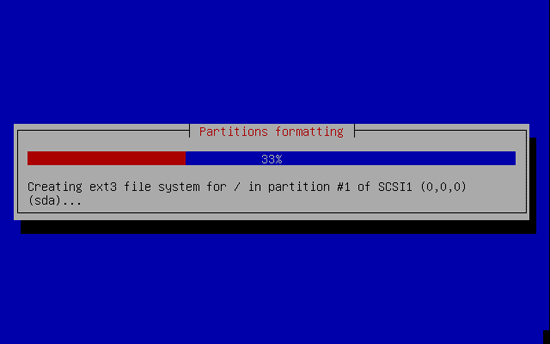
Afterwards, your new partitions are created and formatted:
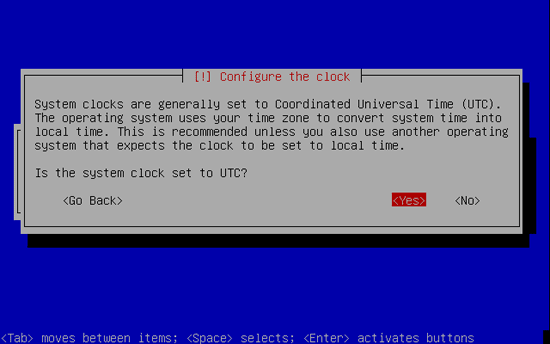
Configure your system's clock:
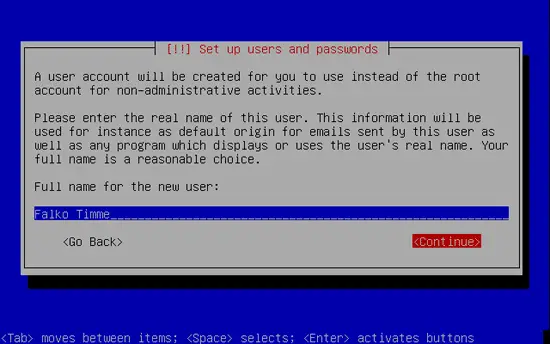
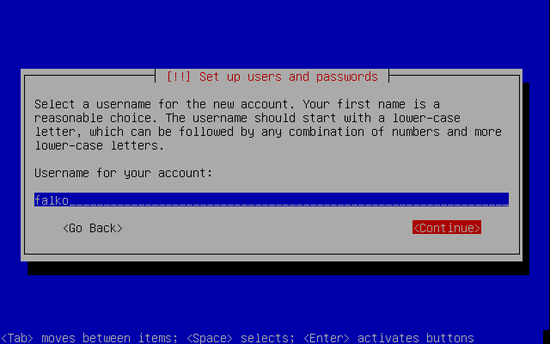
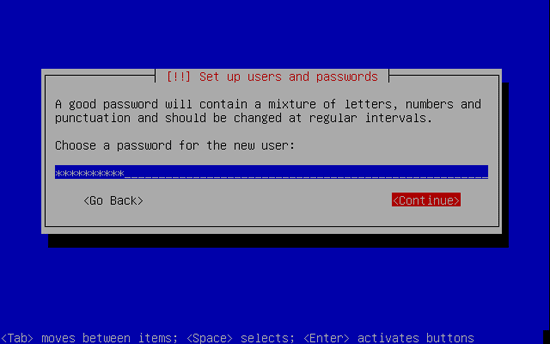
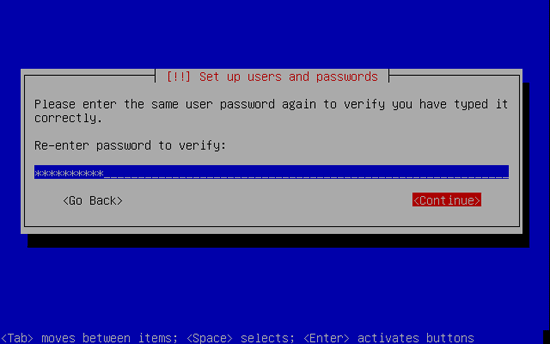
Create a normal user account for yourself or the person that will use the Ubuntu Studio desktop:
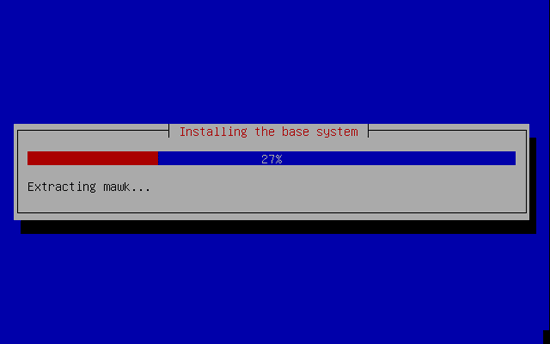
Now the base system is being installed:
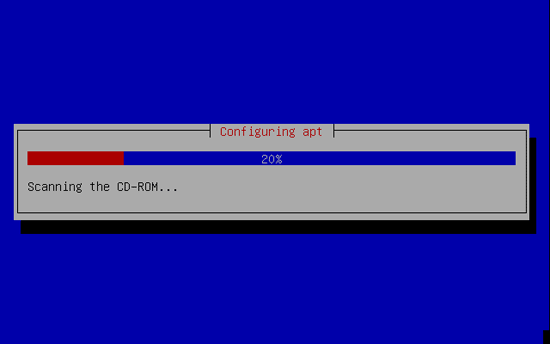
Next, the package manager apt gets configured automatically:
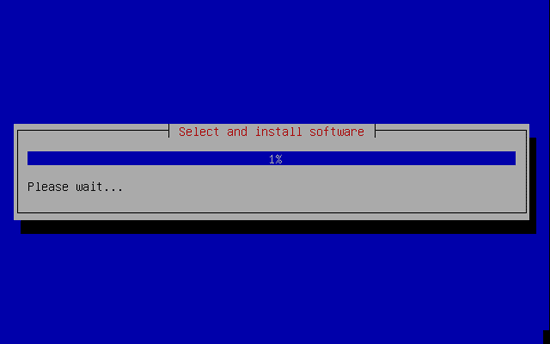
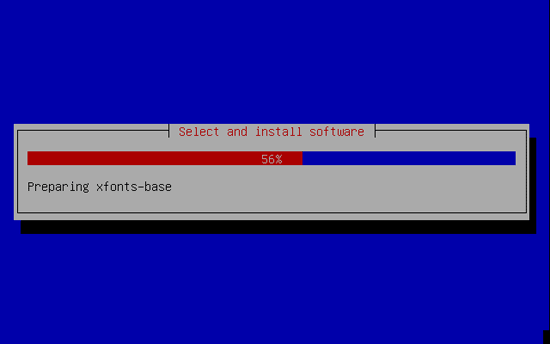
The software installation starts:
On the Software selection screen, you can choose which package groups you'd like to install. In this tutorial, I want to install all package groups (Audio, Graphics, Plugins, Video):

Afterwards, the software installation continues:
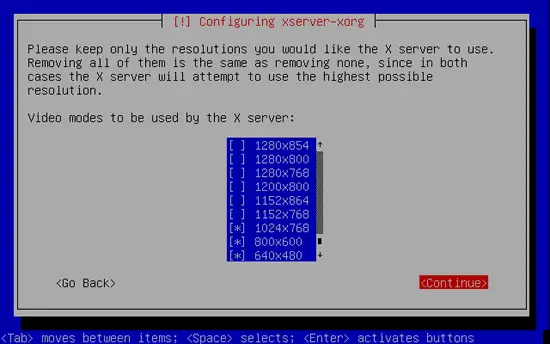
Next you have to select the desktop resolutions you'd like to use (normally the resolutions that are supported by your graphic card are already selected, so you can simply hit Continue):
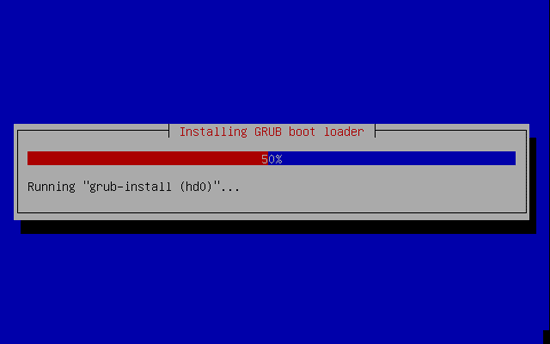
The GRUB boot loader gets installed:
The installation is now finished. Remove the installation DVD from the DVD drive and hit Continue to reboot the system:

After the reboot your new Ubuntu Studio system starts:
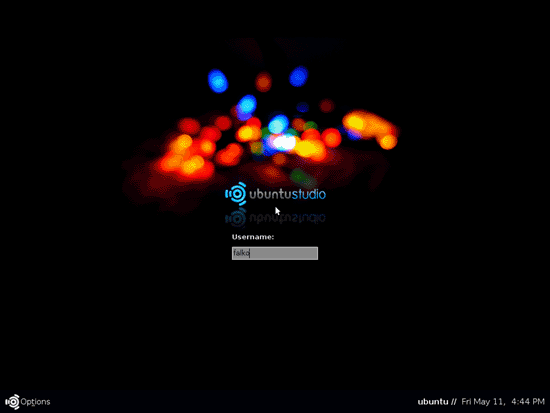
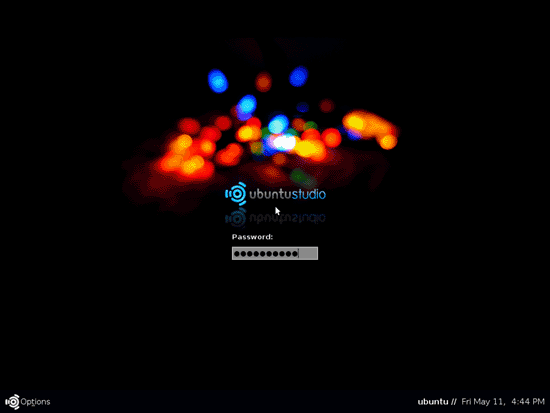
Log in to the desktop with the username and password you provided during the installation:
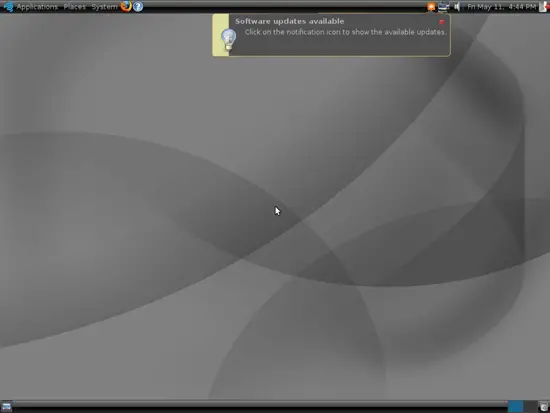
This is how your new desktop looks: