Ubuntu 11.04 Generic - The SysAdmin Way
In this tutorial I will guide you trough the setup of Ubuntu 11.04 Generic system the way a good linux system administrator would install it. After it is complete you will have a great starting point for all of your future Ubuntu linux needs. By that I mean the following: If you are using virtual environment, you will have an image that you can clone and convert in any supported virtual format and use it as a starting point for all of your Ubuntu virtual projects. If you install this on a real hardware you can also clone you installation and use it as a starting point on various other machines with similar hardware. I will not cover cloning and conversion in this tutorial. Also as I will edit and tweak few system settings in this tutorial that I will not explain much, I hope this guide will encourage you to further explore those options and Linux in general. So let us start!
01. What you will need
If you want to test things in virtual environment I would recommend using VirtualBox, as it is free virtual manager that will work in most operating systems. If you plan to do the installation an real hardware, any desktop/notebook/workstation/server will work (even the really old ones). For this specific installation I will use Ubuntu 11.04 MinimalCD, so you will need an internet connection to download parts of installation during the setup process.
02. How long will it take
If you know your way around Linux, hour or two minimum. If you are basic user, a little longer.
03. Generic Ubuntu Installation - The installation
Download Ubuntu 11.04 MinimalCD, burn it on a CD and boot you computer/virtual machine from it.

Select Advanced options.
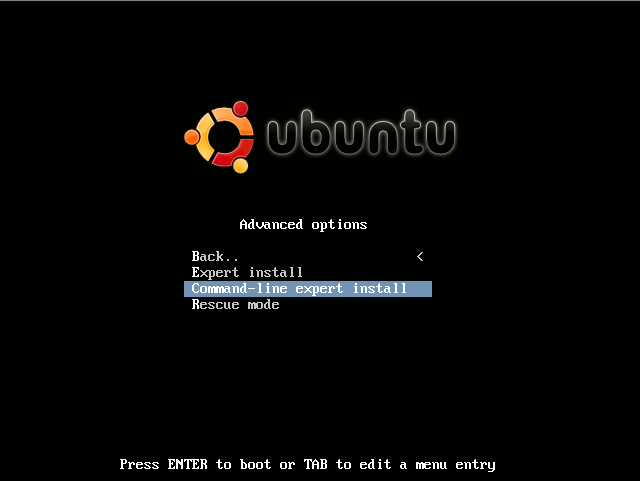
Select Command-line expert install.
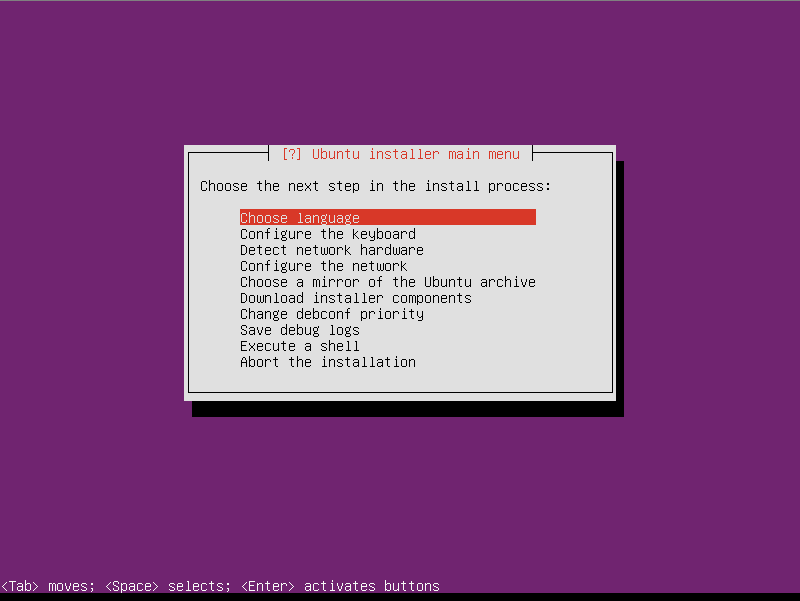
Select Choose language.
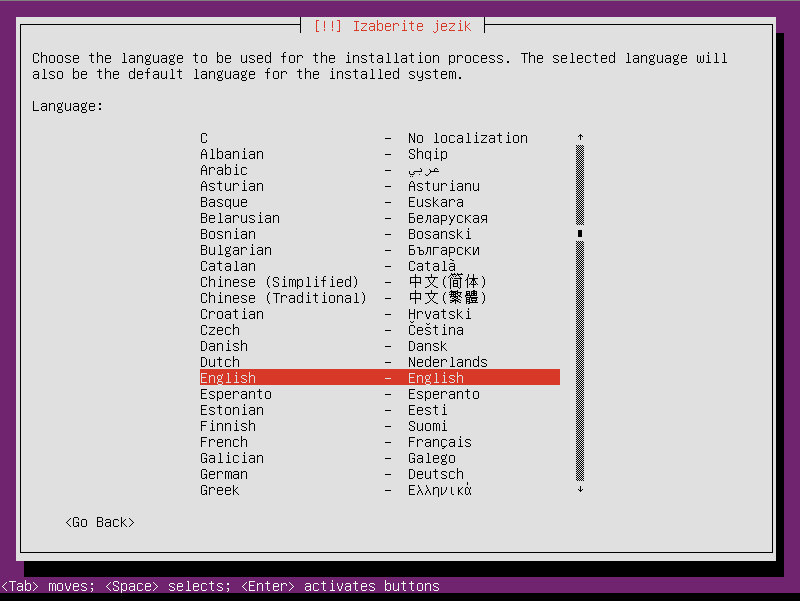
Choose you default language. I will continue with English, but you can select whatever language you prefer (based on the country you live in).
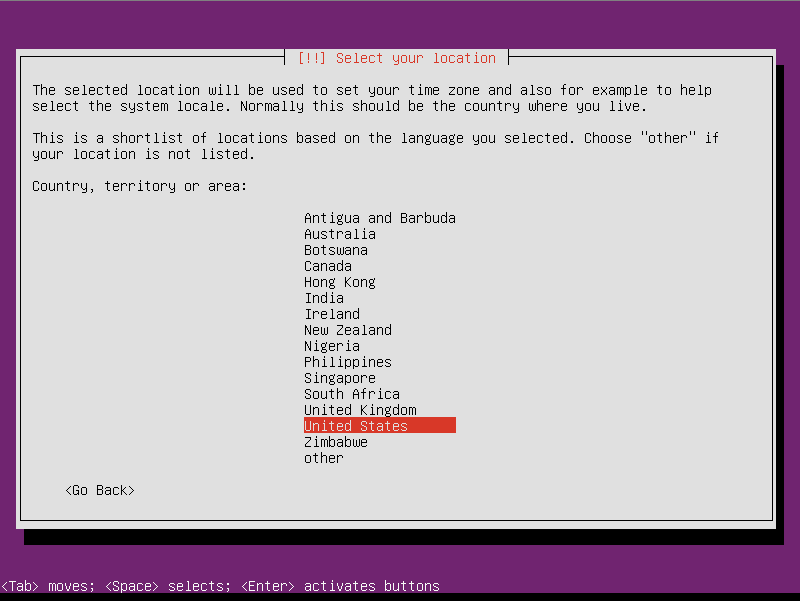
Select your location (country you live in). I will continue with US.
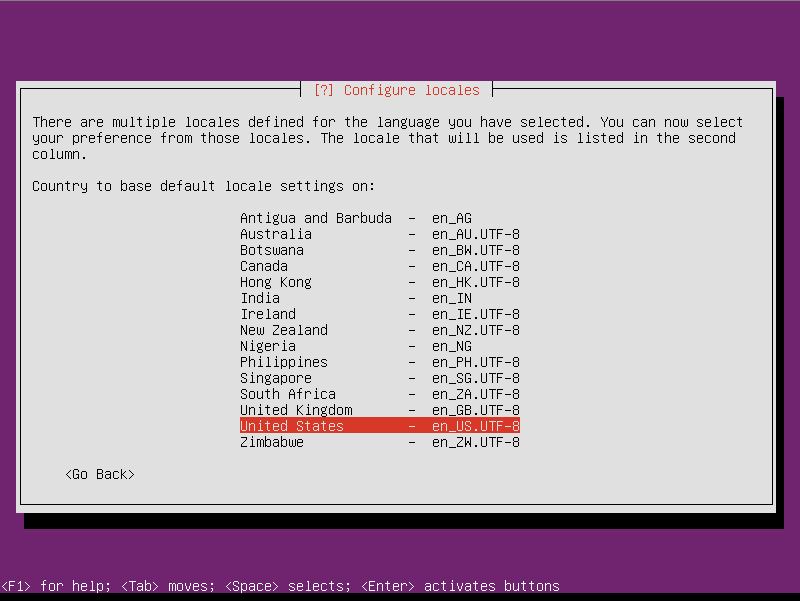
Based on the location you selected in previous step, choose you locales. I will continue with en_US.UTF-8.
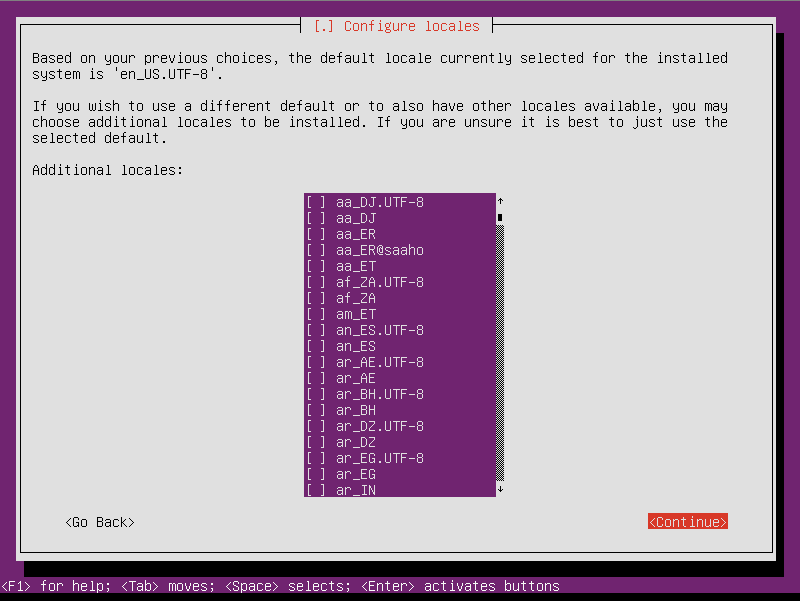
If you want you can select another language. If you did not go with English in the previous step you can select it now. If you think it will not be needed, just press Continue.
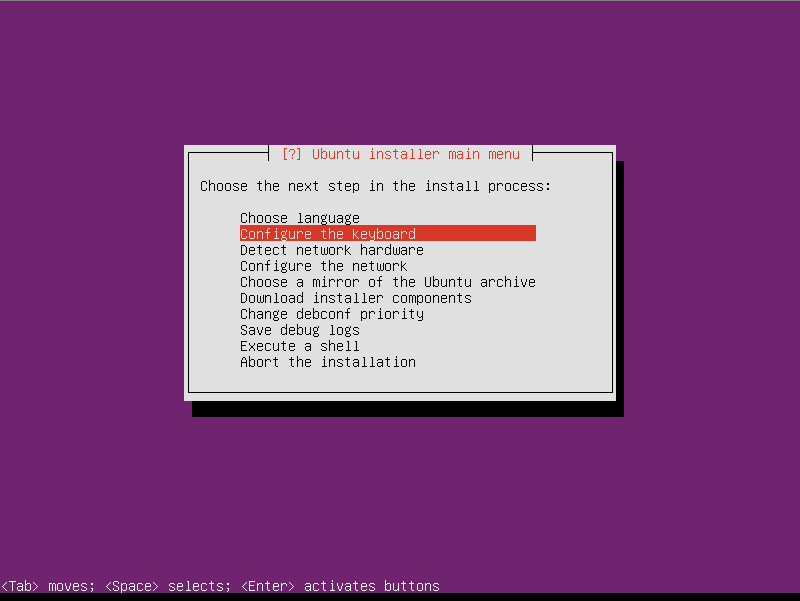
Configure the keyboard.
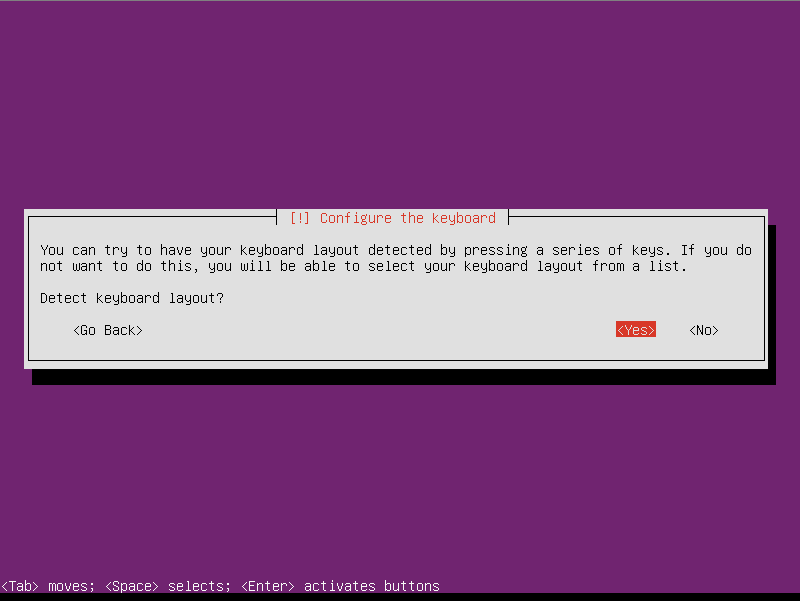
Select Yes to configure keyboard.
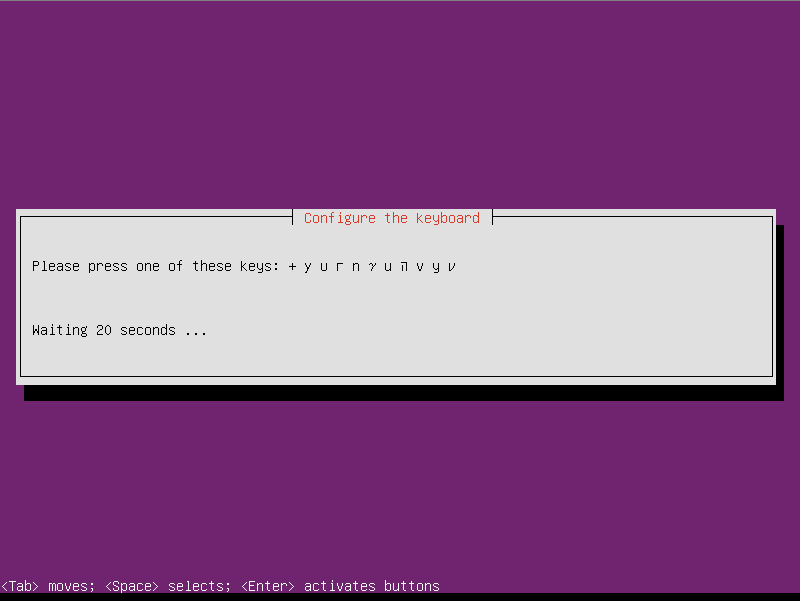
Press one of the offered keys.
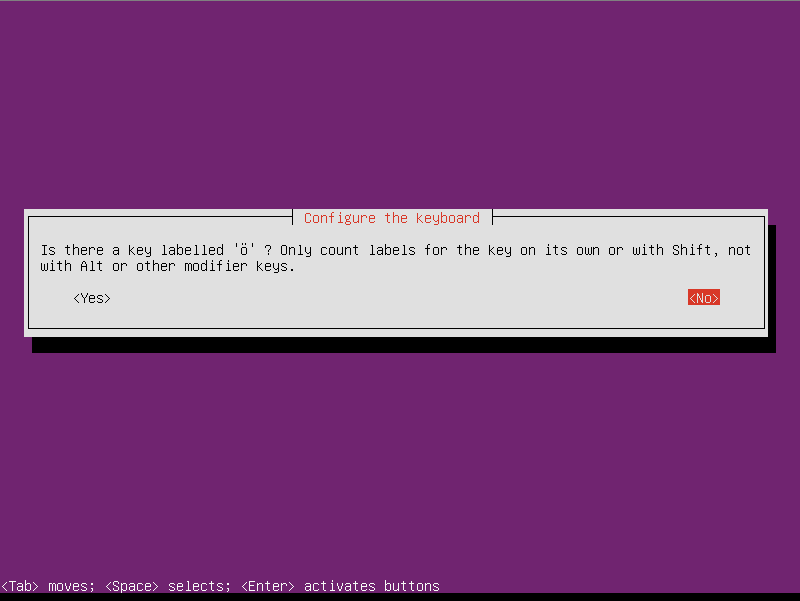
Select No, unless you speak German or similar language that has required character.

Press required character if you speak Croatian or similar language.
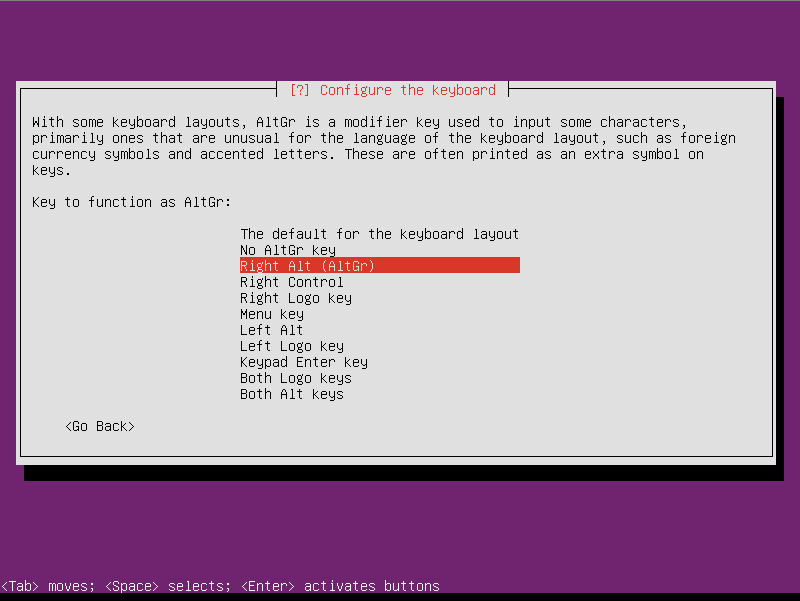
Select proper value for your AltGr key (if you have one). Mine is right alt.
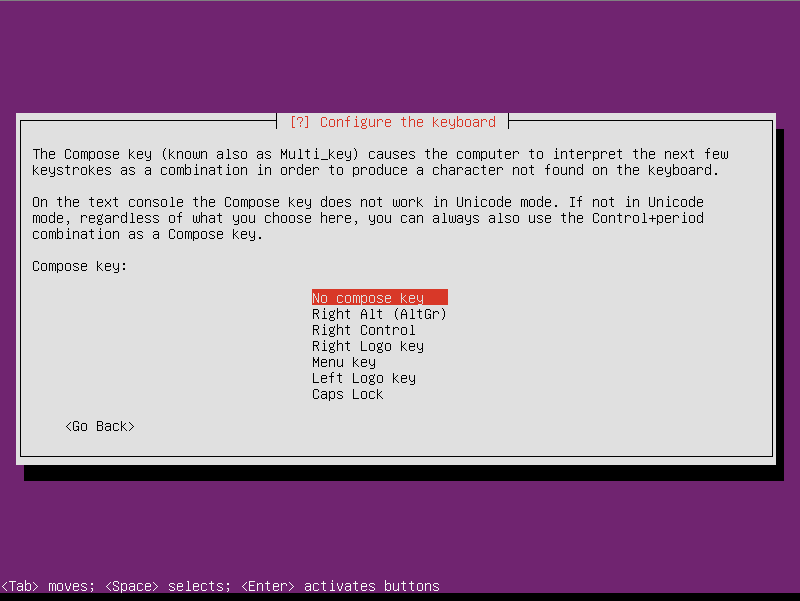
Select proper value for your Compose key (if you have one). I don't have that key.
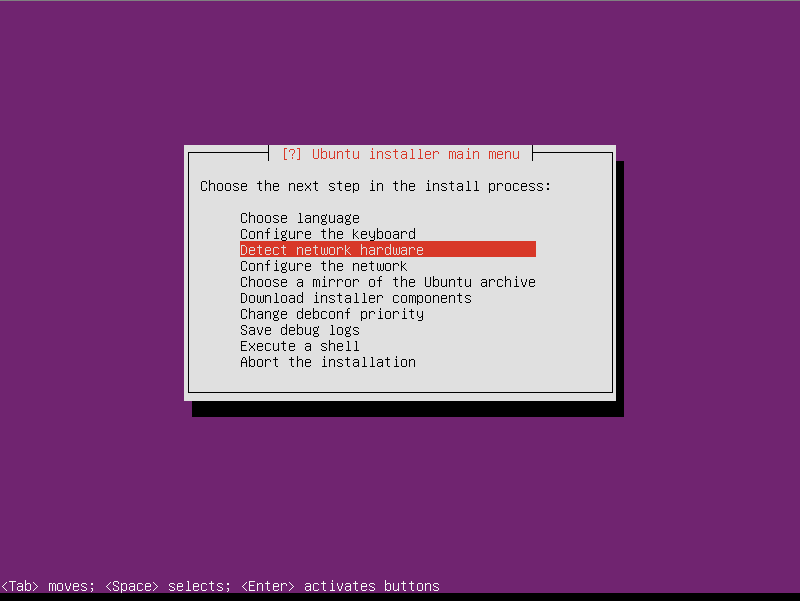
Press Enter to detect network hardware.
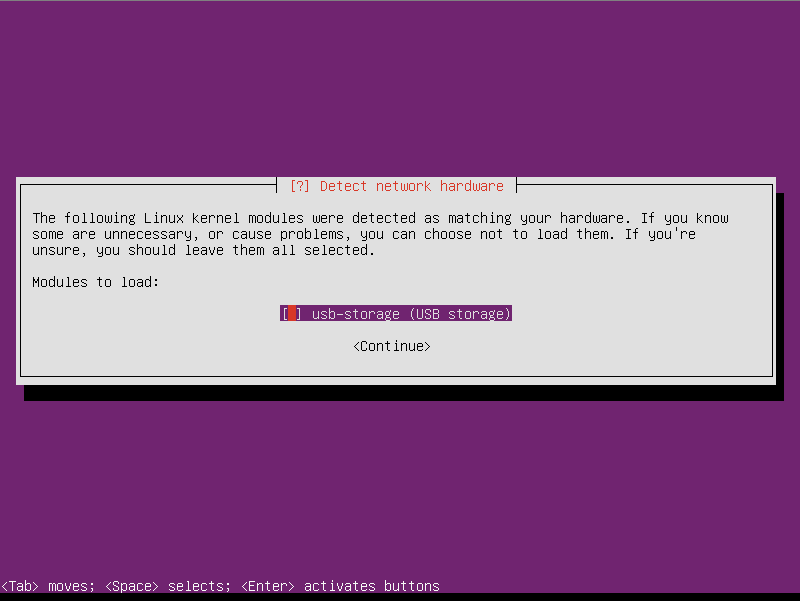
Deselect usb-storage. It will come again later in the installation, so you will also deselect this option.

Just press Continue. It will also come again later in the install, so you will press Continue again.
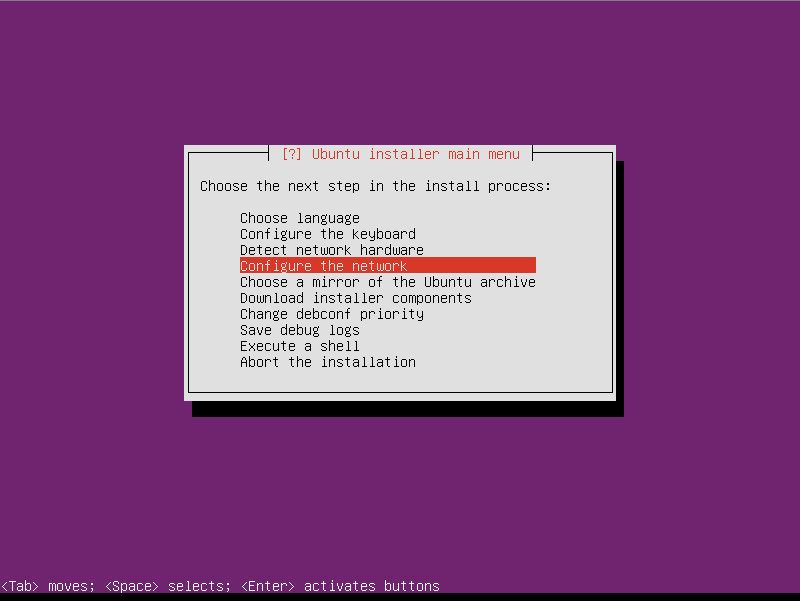
Press Enter to configure the network.

