Set Up A Fully Encrypted Raid1 LVM System (Lenny) - Page 6
Step 18: Setting up the LVM device
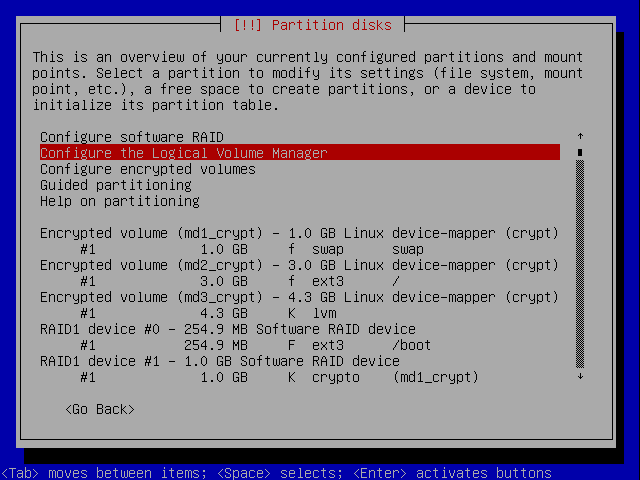
Back at the main partition screen, select now to configure the Logical Volume Manager:
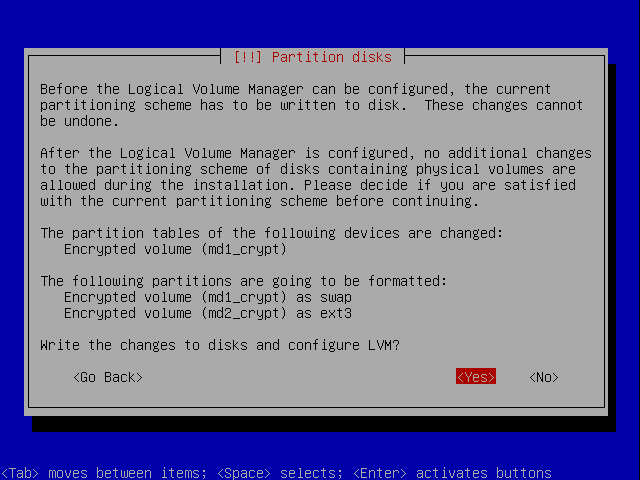
The changes need to be written again to disk:
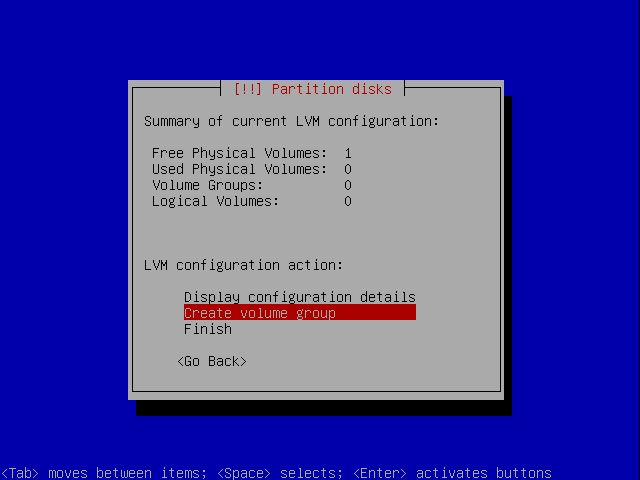
Now select to create a LVM group:
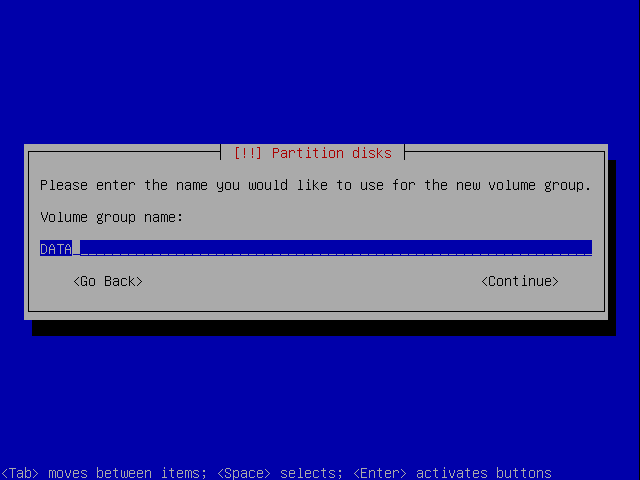
Enter a name for the group. I used DATA:
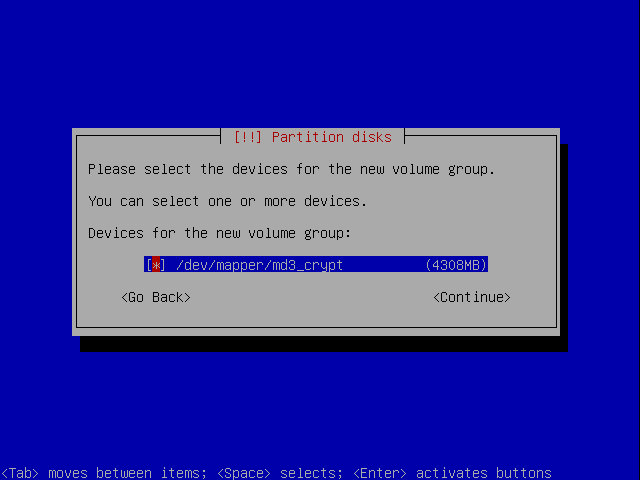
Assign a device to it:
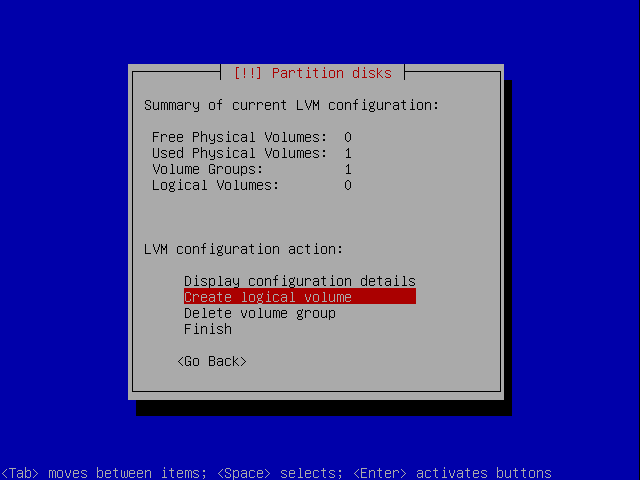
Now create a logical volume:
Select to which group it shall belong::

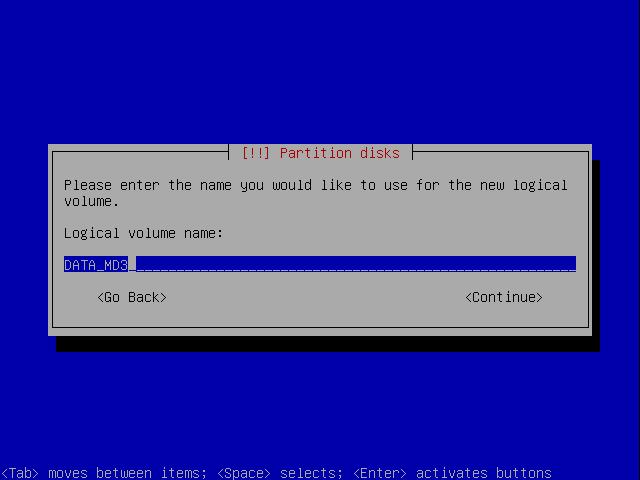
Give it a name. I just used the group name and the raid device (md3) as name:
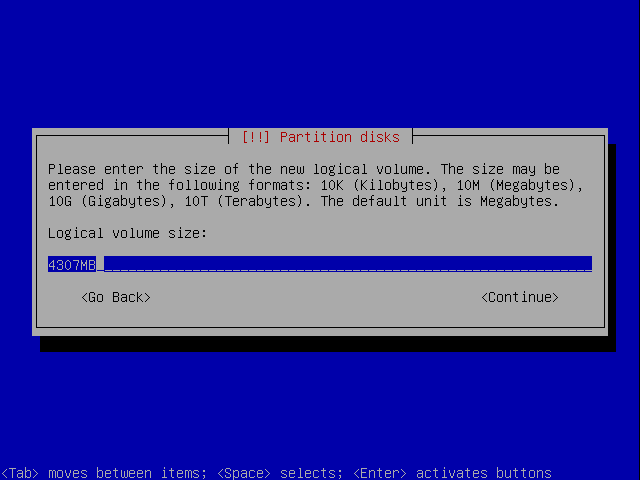
Say how much space it shall be using from the group (by default it's set to use max. size):
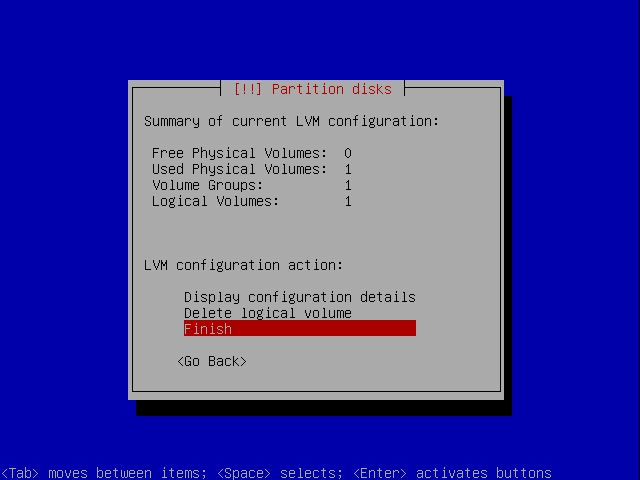
And you're done setting up the LVM:
Step 19: Setting up the /data partition
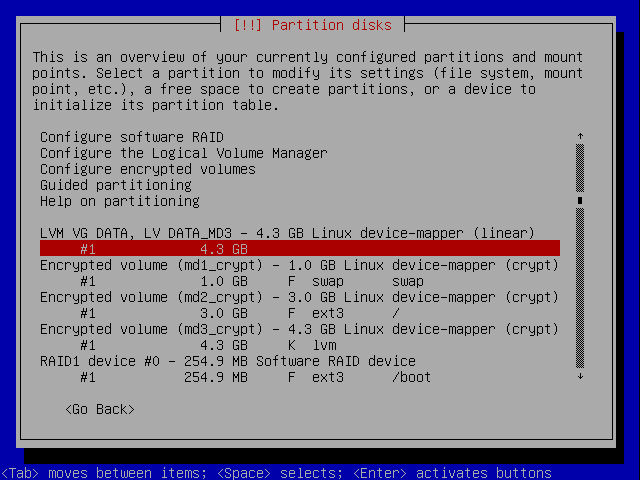
Back at the main partition screen, select now logical volume:
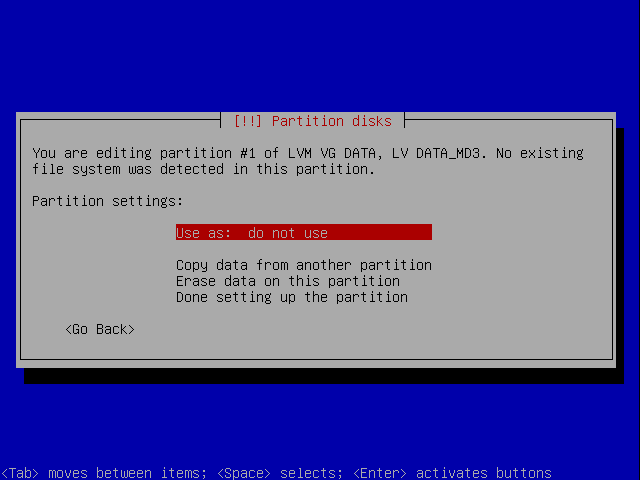
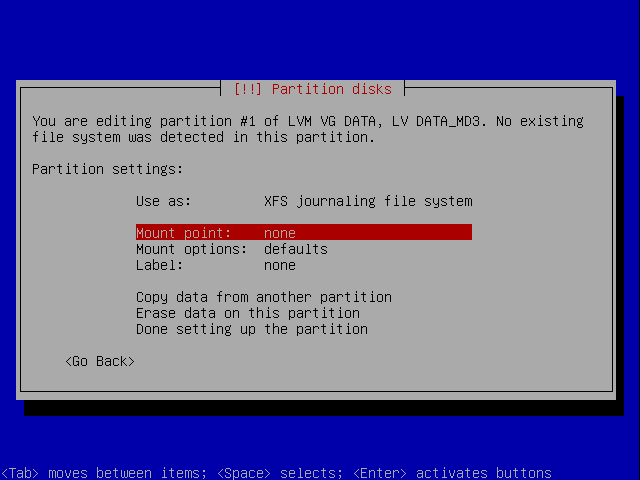
Select "Use as":
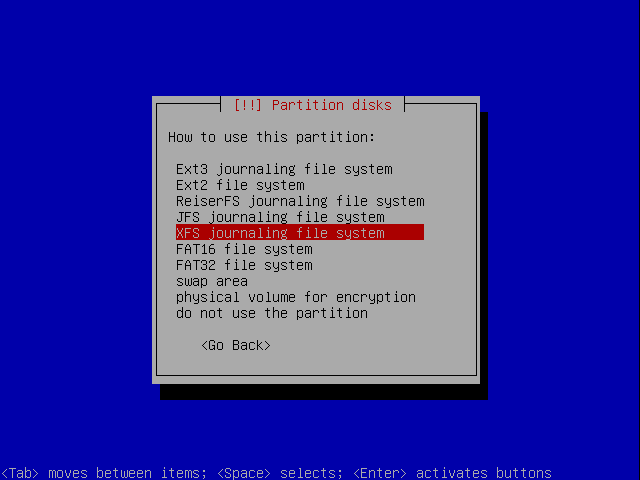
Select the filesystem. I prefer XFS as it has better overall performance according to debian administrator:
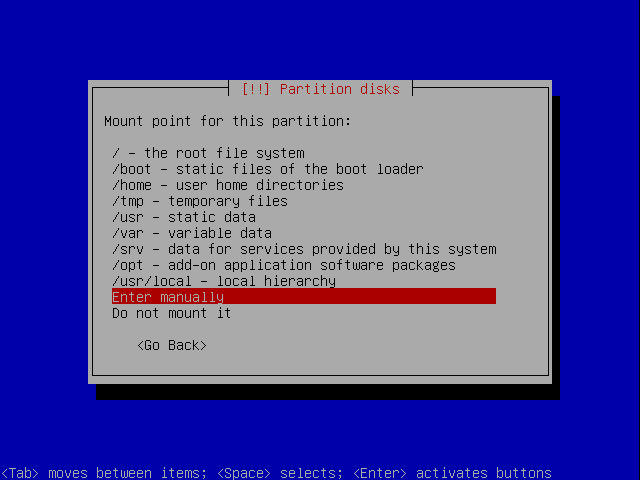
Select mount point:
You could use /srv or manually set one. I chose the manual way::
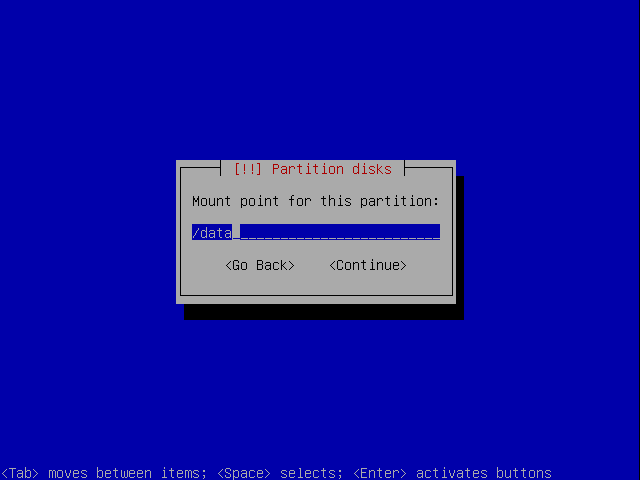
I set it to /data:
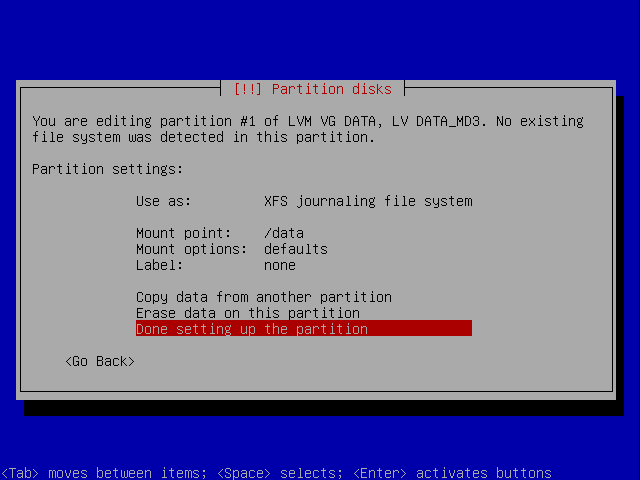
Now you're done with this one:
Step 20: Finishing the partitioning
Back at the main partition screen, scroll down and select to finish the partitioning:
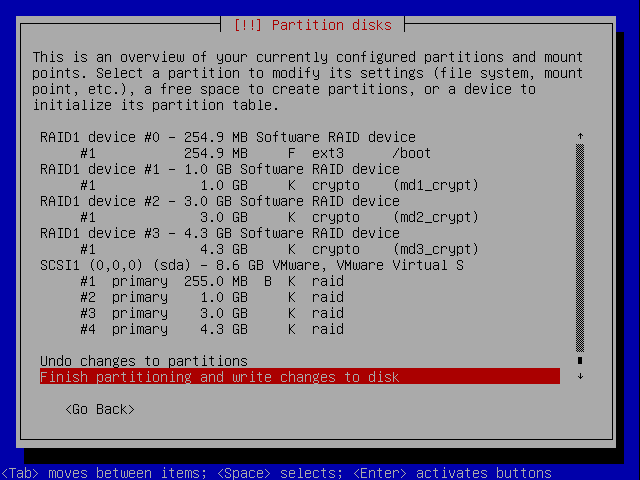
Select yes to write the changes to disk:

Continue with the installation.

