This tutorial exists for these OS versions
- Debian 10 (Buster)
- Debian 9 (Stretch)
- Debian 8 (Jessie)
- Debian 7 (Wheezy)
- Debian 6 (Squeeze)
On this page
The Perfect Server - Debian Squeeze (Debian 6.0) With BIND, Dovecot & Nginx [ISPConfig 3]
Edited and compiled by Daniel Harbottle
This tutorial shows how to prepare a Debian Squeeze (Debian 6.0) server for the installation of ISPConfig 3, and how to install ISPConfig 3. ISPConfig 3 is a webhosting control panel that allows you to configure the following services through a web browser: nginx or Apache web server, Postfix mail server, MySQL, BIND nameserver, PureFTPd, SpamAssassin, ClamAV, and many more.
This tutorial is based on the excellent tutorials "The Perfect Server - Debian Squeeze (Debian 6.0) With BIND & Dovecot [ISPConfig 3]" and "The Perfect Server - Ubuntu 11.10 With Nginx [ISPConfig 3]" with a few tweaks. The idea is to use the fast and memory efficient nginx web server and Dovecot which is also said to be more memory efficient. I offer no guarantees that it will work for you even though it has tested on local VM and a VPS. You will need to use the Dotdeb repository for nginx.
In order to learn how to use ISPConfig 3, I strongly recommend to download the ISPConfig 3 Manual.
On about 300 pages, it covers the concept behind ISPConfig (admin, resellers, clients), explains how to install and update ISPConfig 3, includes a reference for all forms and form fields in ISPConfig together with examples of valid inputs, and provides tutorials for the most common tasks in ISPConfig 3. It also lines out how to make your server more secure and comes with a troubleshooting section at the end.
ISPConfig Monitor App For Android
With the ISPConfig Monitor App, you can check your server status and find out if all services are running as expected. You can check TCP and UDP ports and ping your servers. In addition to that you can use this app to request details from servers that have ISPConfig installed (please note that the minimum installed ISPConfig 3 version with support for the ISPConfig Monitor App is 3.0.3.3!); these details include everything you know from the Monitor module in the ISPConfig Control Panel (e.g. services, mail and system logs, mail queue, CPU and memory info, disk usage, quota, OS details, RKHunter log, etc.), and of course, as ISPConfig is multiserver-capable, you can check all servers that are controlled from your ISPConfig master server.
For download and usage instructions, please visit http://www.ispconfig.org/ispconfig-3/ispconfig-monitor-app-for-android/.
I do not issue any guarantee that this will work for you!
1 Requirements
You will need a bare metal or virtual machine or VPS with at least 8GB disk space 1GB of RAM and a reasonably fast internet connection to pull all the packages from the Debian repositories.
At the time of writing the latest version of Debian is 6.0.4. You can download and burn an ISO or have it mounted with your chosen virtual machine management GUI or commandline utility.
The AMD64 ISO CD1 image can be found on: http://cdimage.debian.org/debian-cd/6.0.4/amd64/iso-cd/debian-6.0.4-amd64-CD-1.iso
Most computers these days are 64-bit capable but you can always use the i386 image found here: http://cdimage.debian.org/debian-cd/6.0.4/i386/iso-cd/debian-6.0.4-i386-CD-1.iso
You may also use the netinstall CD it should not make a huge difference except all of the packages you install are downloaded from the internet during setup.
2 Preliminary Note
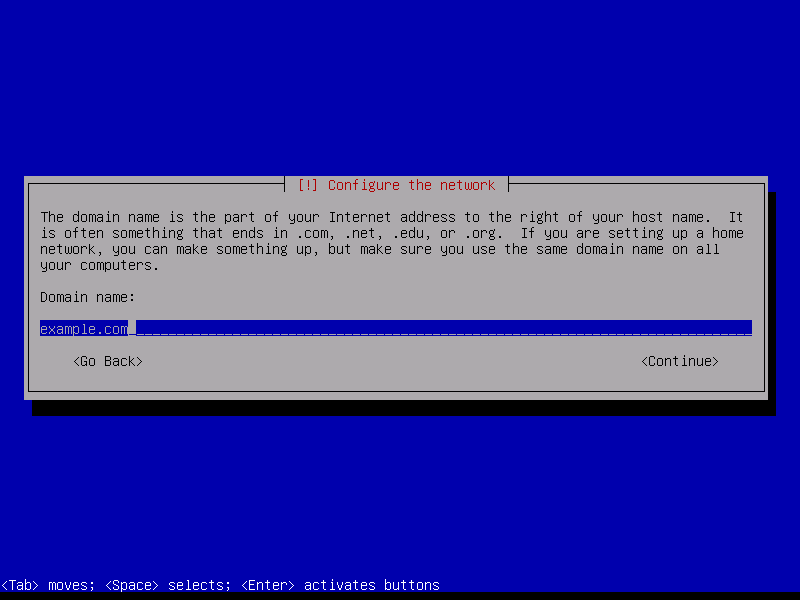
In this tutorial I use the hostname server1.example.com with the IP address 192.168.0.100 and the gateway 192.168.0.1. These settings might differ for you, so you have to replace them where appropriate.
3 The Base System
Insert your Debian Squeeze network installation CD into your system and boot from it. Select Install (this will start the text installer - if you prefer a graphical installer, select Graphical install):

Choose your language:

Then select your location:
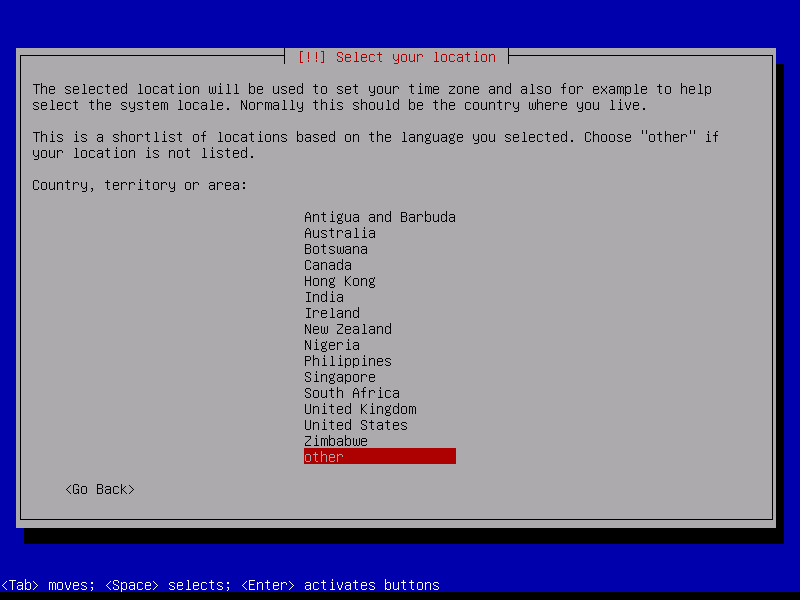
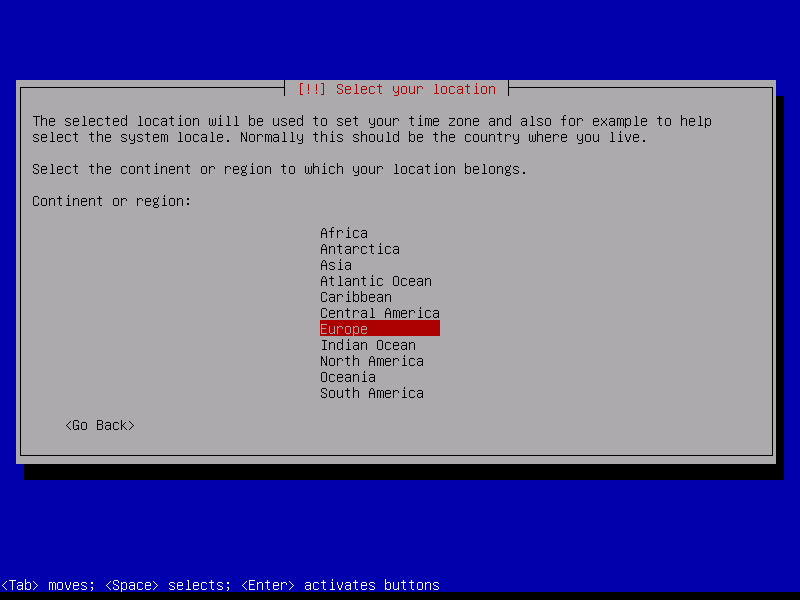
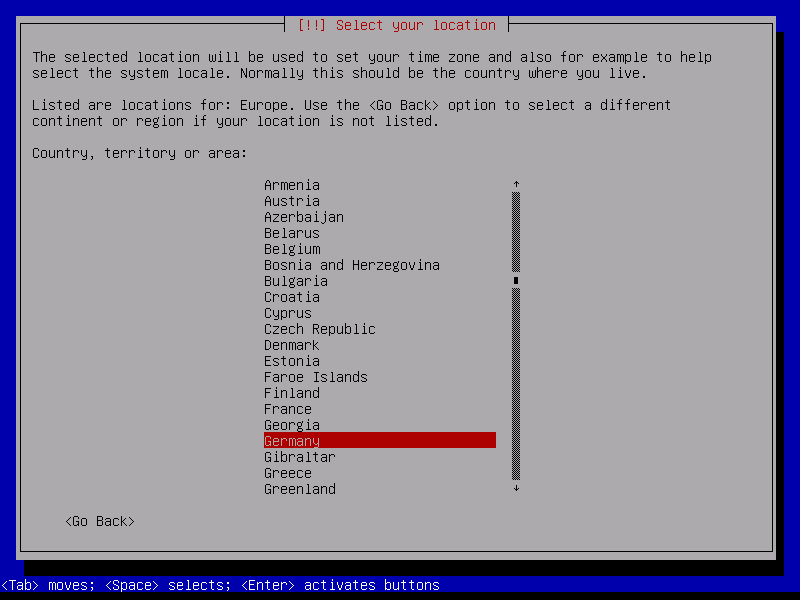
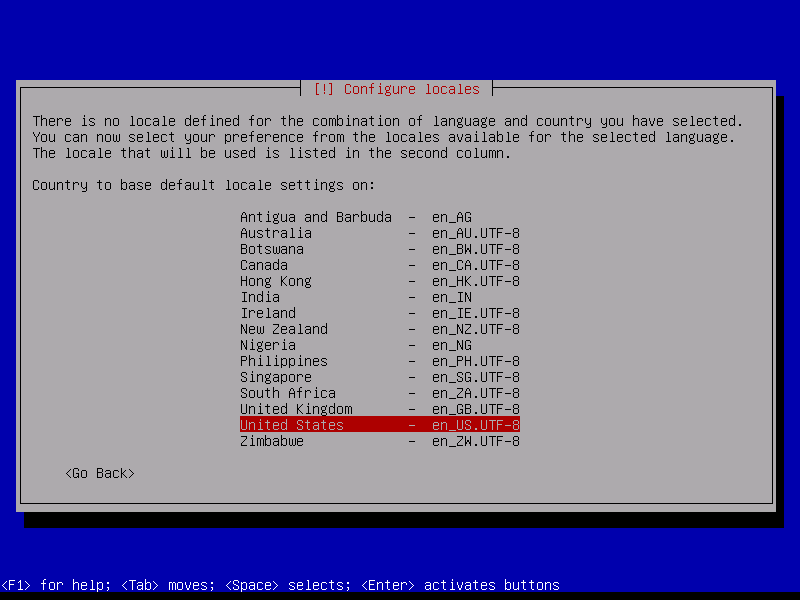
If you've selected an uncommon combination of language and location (like English as the language and Germany as the location, as in my case), the installer might tell you that there is no locale defined for this combination; in this case you have to select the locale manually. I select en_US.UTF-8 here:
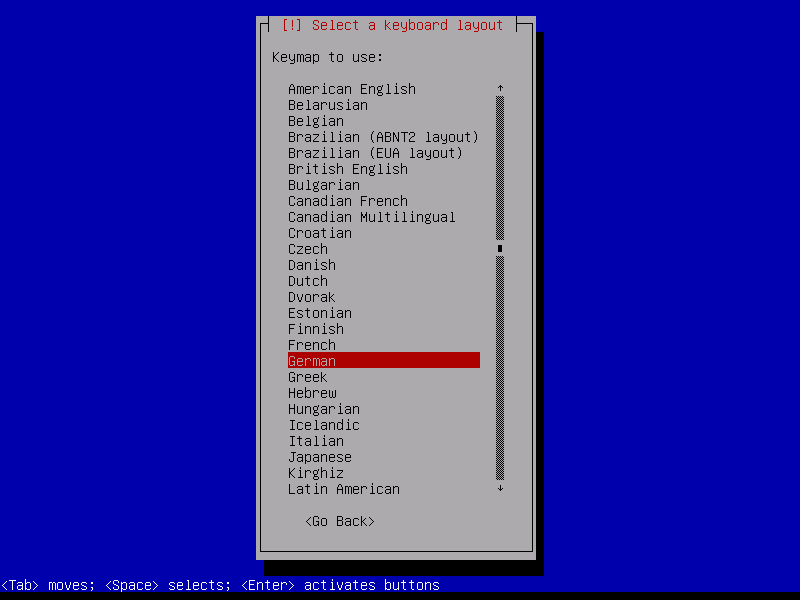
Choose a keyboard layout:
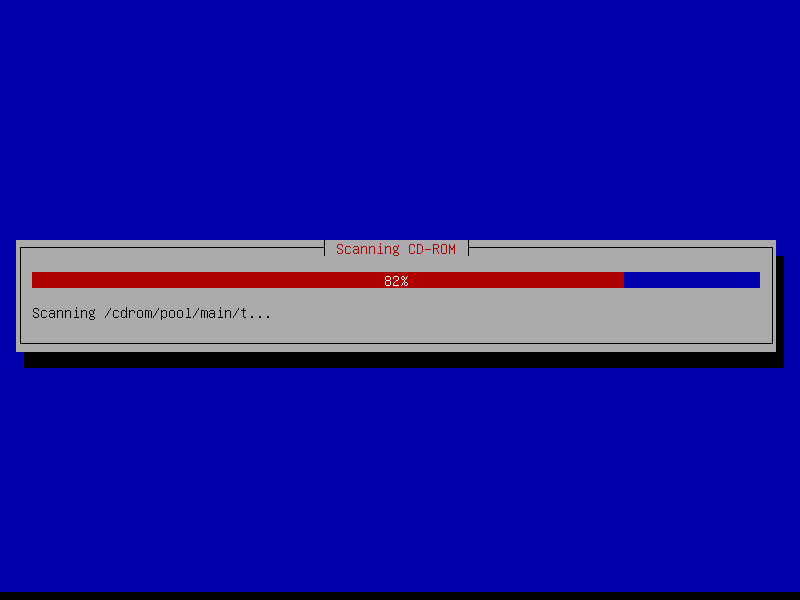
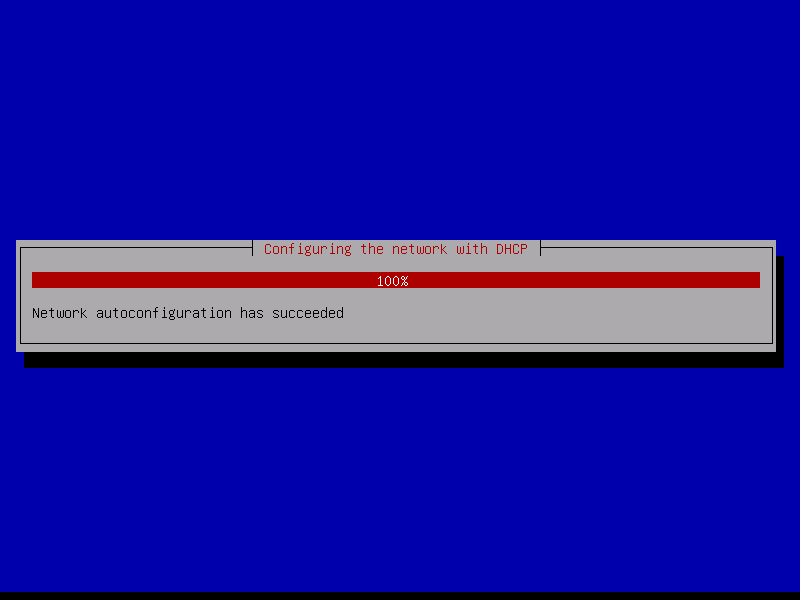
The installer checks the installation CD, your hardware, and configures the network with DHCP if there is a DHCP server in the network:
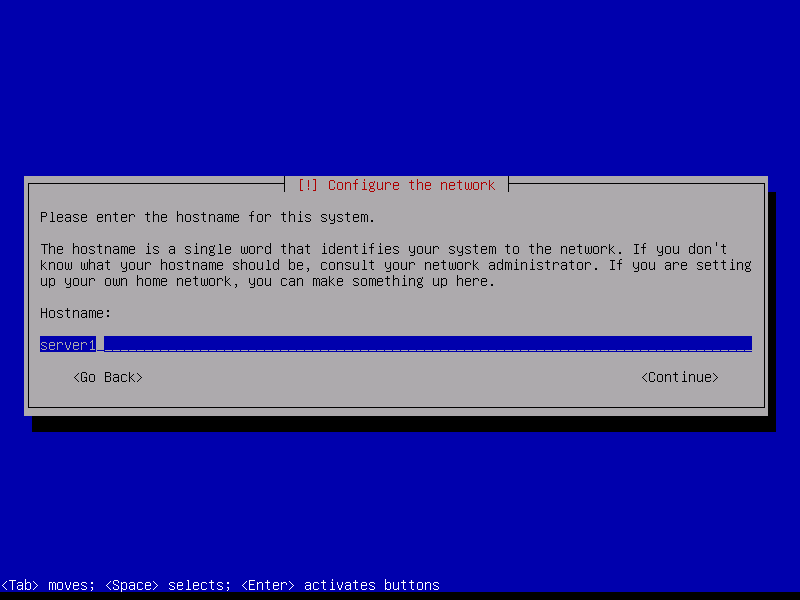
Enter the hostname you would like to set. This should be a combination of an arbitary hostname and domain name e.g. myserver.mydomain.com. This is also touched upon later in the tutorial. In this example, the system is called server1.example.com, so enter server1.example.com:
Enter your domain name. In this example, this is example.com:
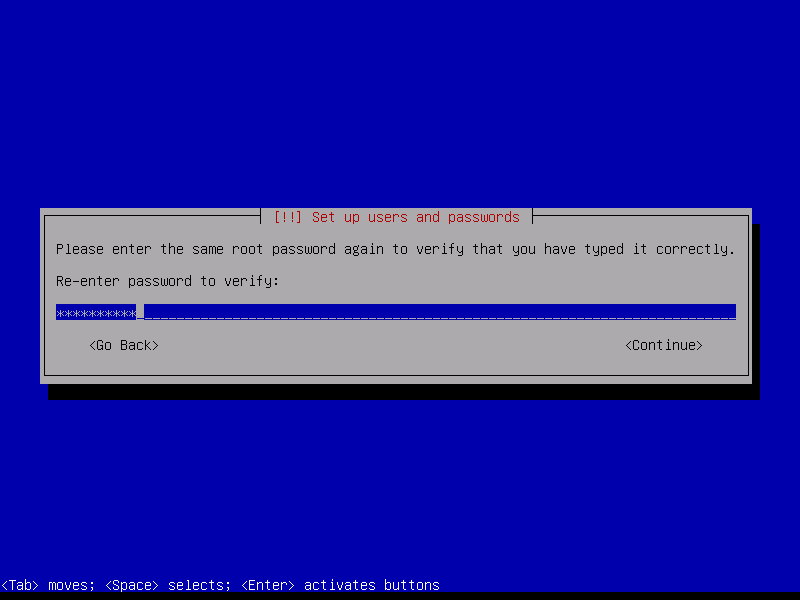
Afterwards, give the root user a password:

Confirm that password to avoid typos:
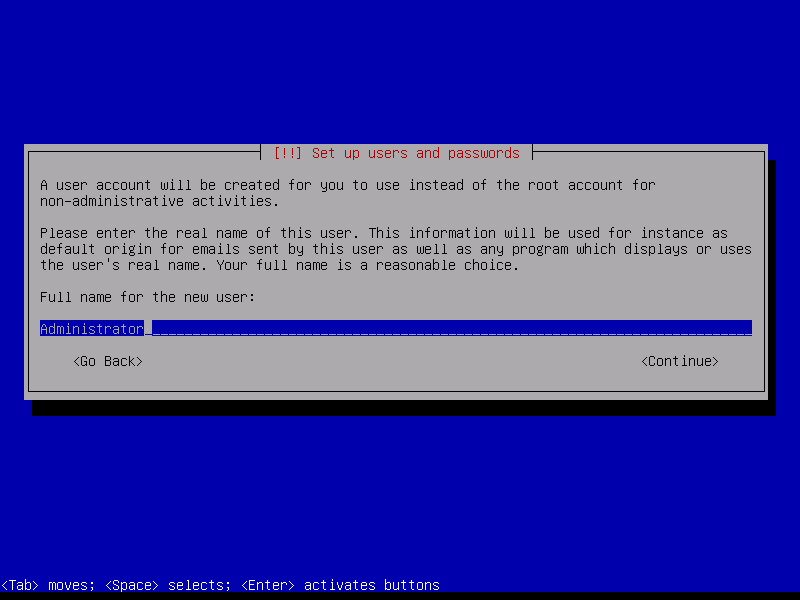
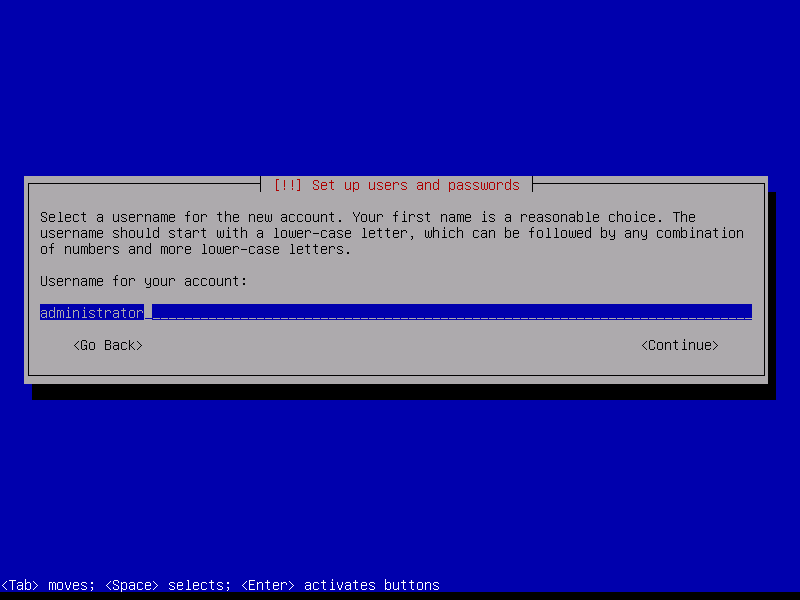
Create a normal user account, for example the user Administrator with the user name administrator (don't use the user name admin as it is a reserved name on Debian Squeeze):