The Perfect Server - Debian Lenny (Debian 5.0) [ISPConfig 2]
Version 1.0
Author: Falko Timme
This tutorial shows how to set up a Debian Lenny (Debian 5.0) server that offers all services needed by ISPs and hosters: Apache web server (SSL-capable), Postfix mail server with SMTP-AUTH and TLS, BIND DNS server, Proftpd FTP server, MySQL server, Courier POP3/IMAP, Quota, Firewall, etc. In the end you should have a system that works reliably, and if you like you can install the free webhosting control panel ISPConfig 2 (i.e., ISPConfig runs on it out of the box).
I will use the following software:
- Web Server: Apache 2.2.9 with PHP 5.2.6, Python, and Ruby
- Database Server: MySQL 5.0.51a
- Mail Server: Postfix
- DNS Server: BIND9
- FTP Server: proftpd
- POP3/IMAP: I will use Maildir format and therefore install Courier-POP3/Courier-IMAP.
- Webalizer for web site statistics
Please note that this setup does not work for ISPConfig 3! It is valid for ISPConfig 2 only!
I want to say first that this is not the only way of setting up such a system. There are many ways of achieving this goal but this is the way I take. I do not issue any guarantee that this will work for you!
1 Requirements
To install such a system you will need the following:
- the Debian Lenny network installation CD, available here: http://cdimage.debian.org/debian-cd/5.0.0/i386/iso-cd/debian-500-i386-netinst.iso (i386) or http://cdimage.debian.org/debian-cd/5.0.0/amd64/iso-cd/debian-500-amd64-netinst.iso (x86_64)
- a fast Internet connection.
2 Preliminary Note
In this tutorial I use the hostname server1.example.com with the IP address 192.168.0.100 and the gateway 192.168.0.1. These settings might differ for you, so you have to replace them where appropriate.
3 The Base System
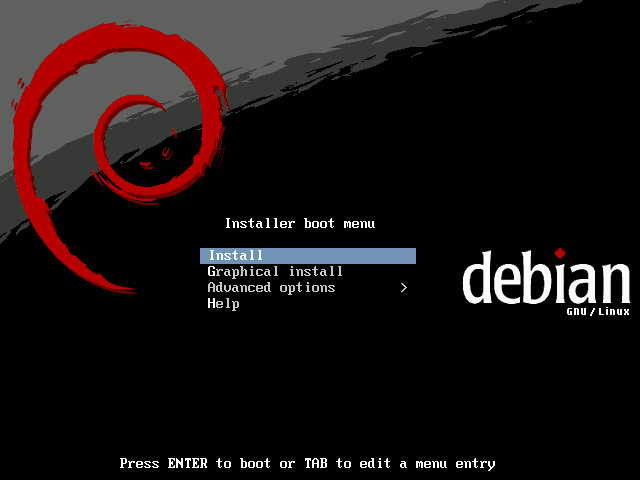
Insert your Debian Lenny network installtion CD into your system and boot from it. Select Install (this will start the text installer - if you prefer a graphical installer, select Graphical install):
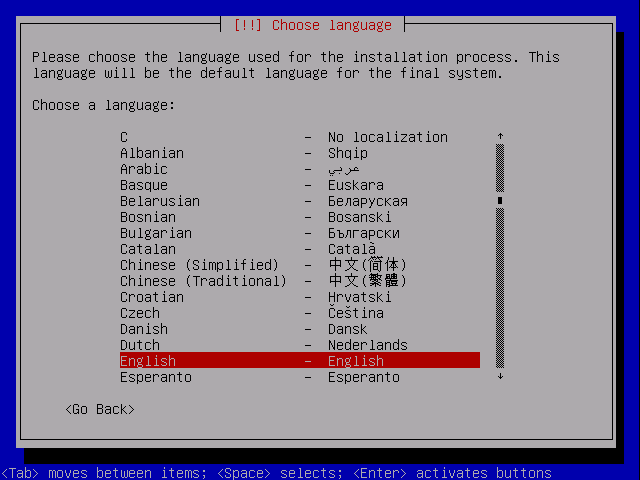
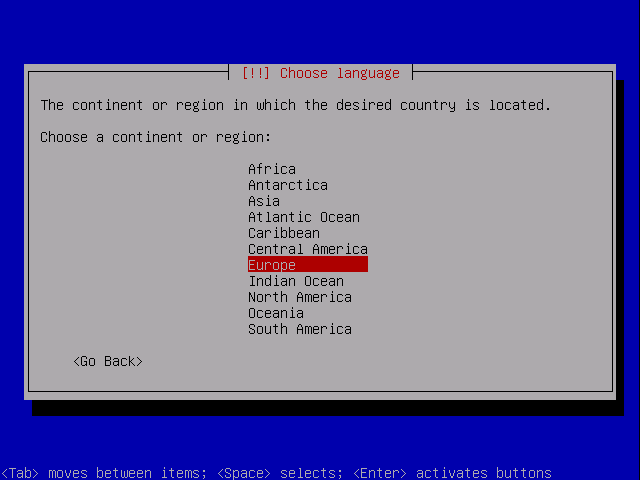
Choose your language:
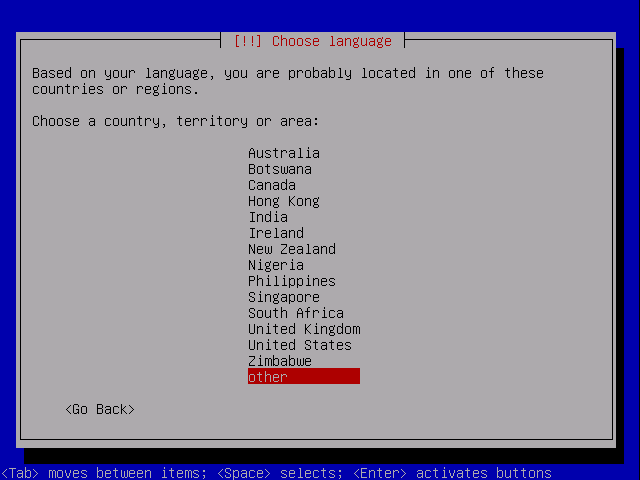
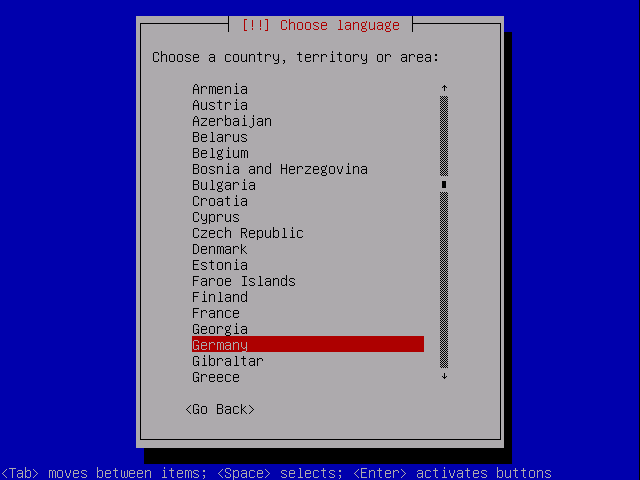
Then select your location:
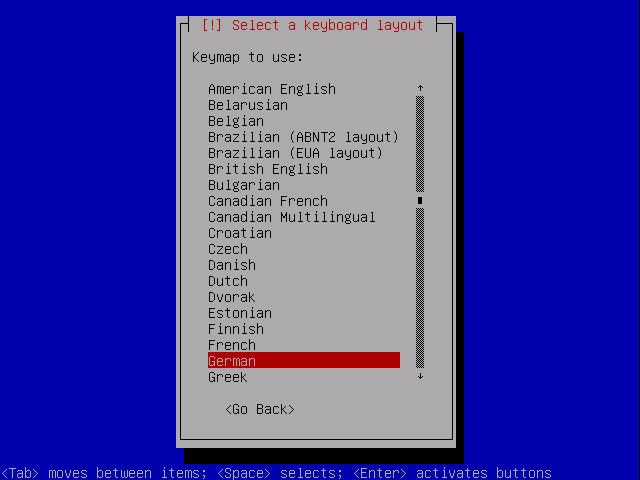
Choose a keyboard layout:
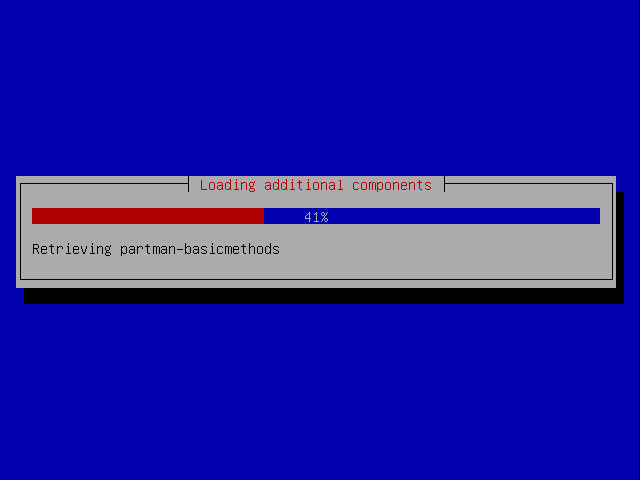
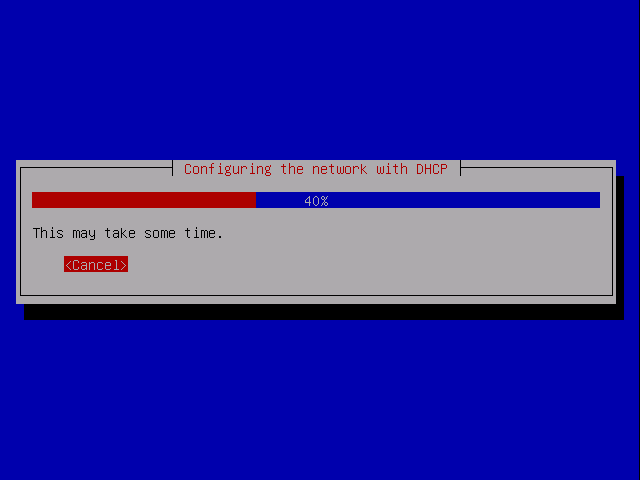
The installer checks the installation CD, your hardware, and configures the network with DHCP if there is a DHCP server in the network:
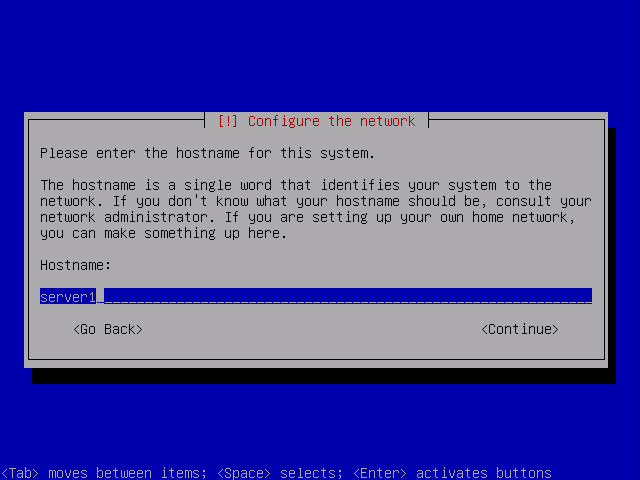
Enter the hostname. In this example, my system is called server1.example.com, so I enter server1:
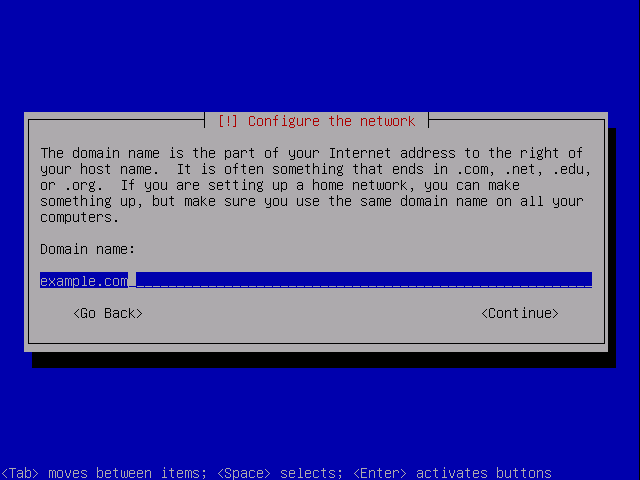
Enter your domain name. In this example, this is example.com:
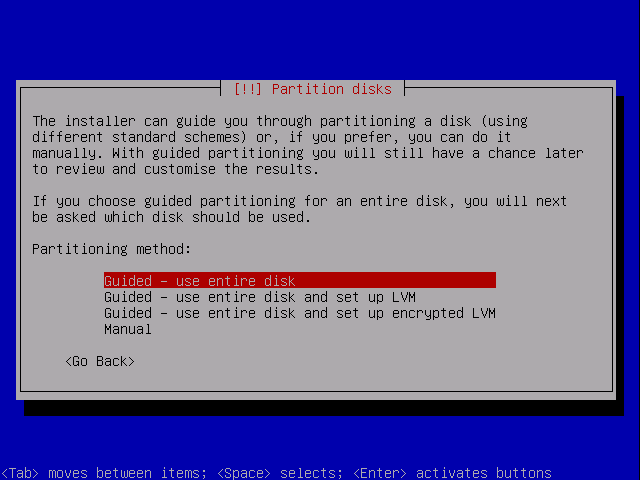
Now you have to partition your hard disk. For simplicity's sake I will create one big partition (with the mount point /) and a little swap partition so I select Guided - use entire disk (of course, the partitioning is totally up to you - if you like, you can create more than just one big partition, and you can also use LVM):
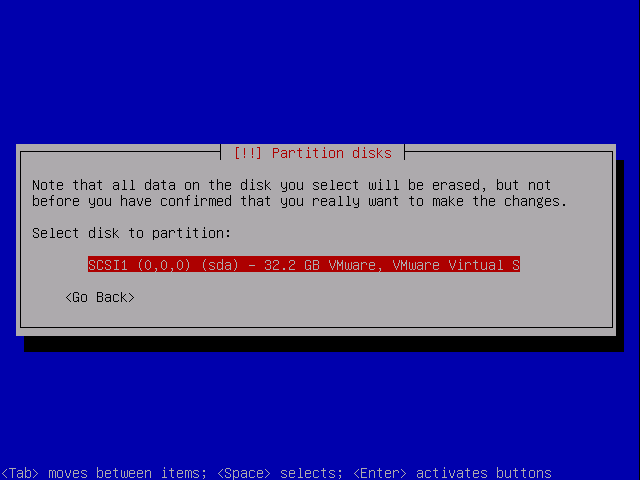
Select the disk that you want to partition:
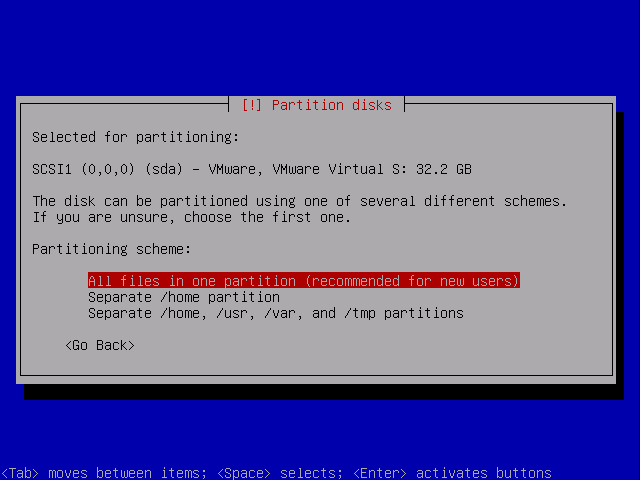
Then select the partitioning scheme. As mentioned before, I select All files in one partition (recommended for new users) for simplicity's sake - it's up to your likings what you choose here:
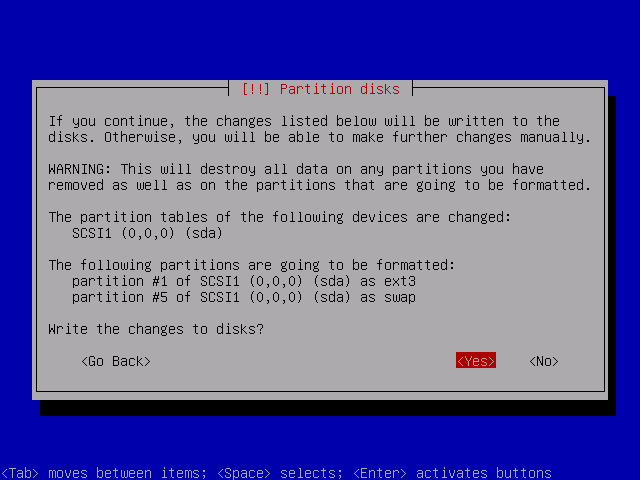
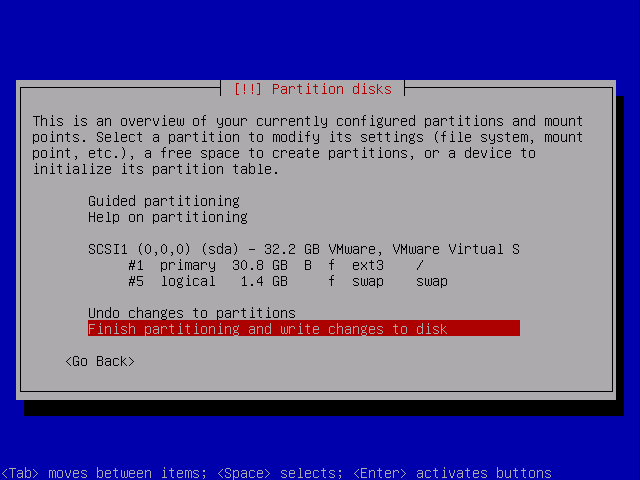
When you're finished, select Finish partitioning and write changes to disk:
Select Yes when you're asked Write changes to disks?: