The Perfect Server - Debian Lenny (Debian 5.0) With BIND & Dovecot [ISPConfig 3]
Version 1.1
Author: Falko Timme
 Follow me on Twitter
This tutorial shows how to prepare a Debian Lenny (Debian 5.0) server for the installation of ISPConfig 3, and how to install ISPConfig 3. ISPConfig 3 is a webhosting control panel that allows you to configure the following services through a web browser: Apache web server, Postfix mail server, MySQL, BIND nameserver, PureFTPd, SpamAssassin, ClamAV, and many more. This tutorials differs from The Perfect Server - Debian Lenny (Debian 5.0) With MyDNS & Courier [ISPConfig 3] in that I use BIND and Dovecot here instead of MyDNS and Courier (of course, the other two variants - BIND & Courier or MyDNS and Dovecot are possible as well).
Please note that this setup does not work for ISPConfig 2! It is valid for ISPConfig 3 only!
In order to learn how to use ISPConfig 3, I strongly recommend to download the ISPConfig 3 Manual.
On about 300 pages, it covers the concept behind ISPConfig (admin, resellers, clients), explains how to install and update ISPConfig 3, includes a reference for all forms and form fields in ISPConfig together with examples of valid inputs, and provides tutorials for the most common tasks in ISPConfig 3. It also lines out how to make your server more secure and comes with a troubleshooting section at the end.
I do not issue any guarantee that this tutorial will work for you!
1 Requirements
To install such a system you will need the following:
- the Debian Lenny network installation CD, available here: http://cdimage.debian.org/debian-cd/5.0.6/i386/iso-cd/debian-506-i386-netinst.iso (i386) or http://cdimage.debian.org/debian-cd/5.0.6/amd64/iso-cd/debian-506-amd64-netinst.iso (x86_64)
- a fast Internet connection.
2 Preliminary Note
In this tutorial I use the hostname server1.example.com with the IP address 192.168.0.100 and the gateway 192.168.0.1. These settings might differ for you, so you have to replace them where appropriate.
3 The Base System
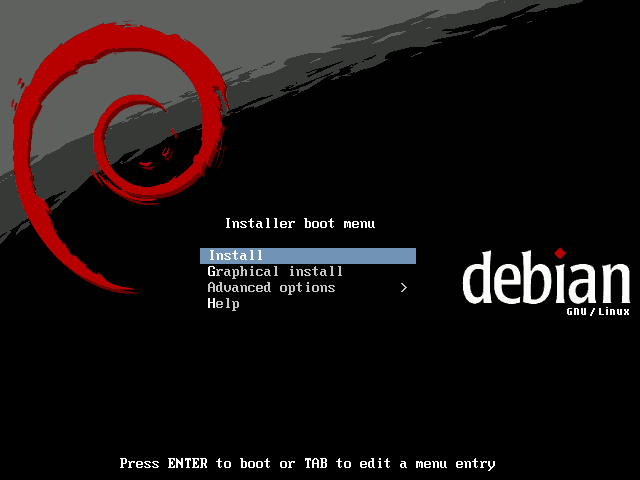
Insert your Debian Lenny network installtion CD into your system and boot from it. Select Install (this will start the text installer - if you prefer a graphical installer, select Graphical install):
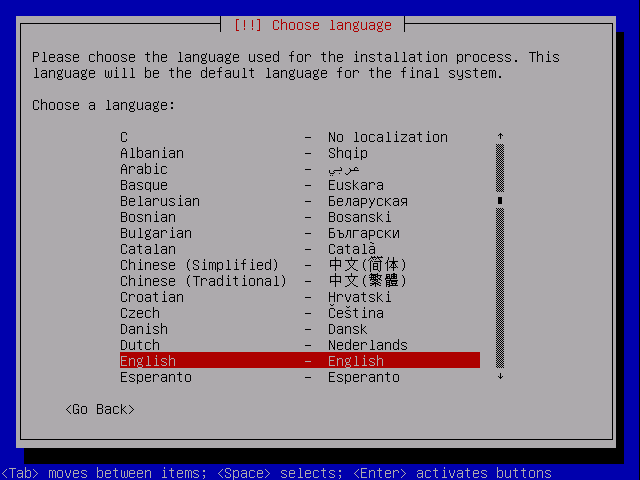
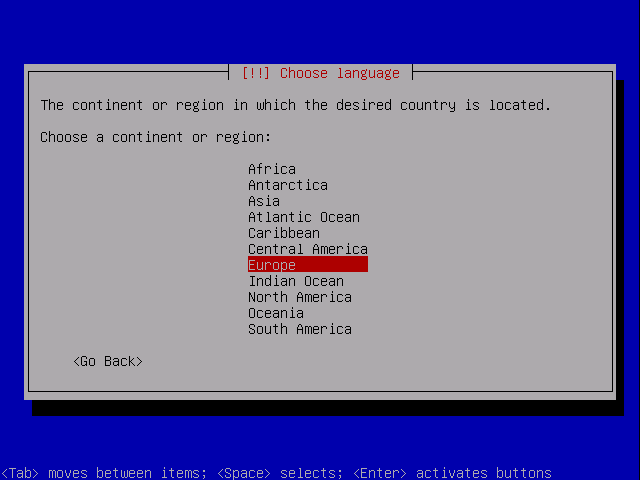
Choose your language:
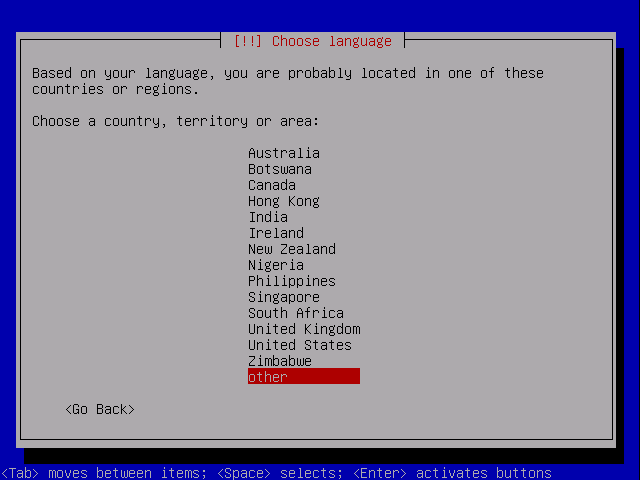
Then select your location:

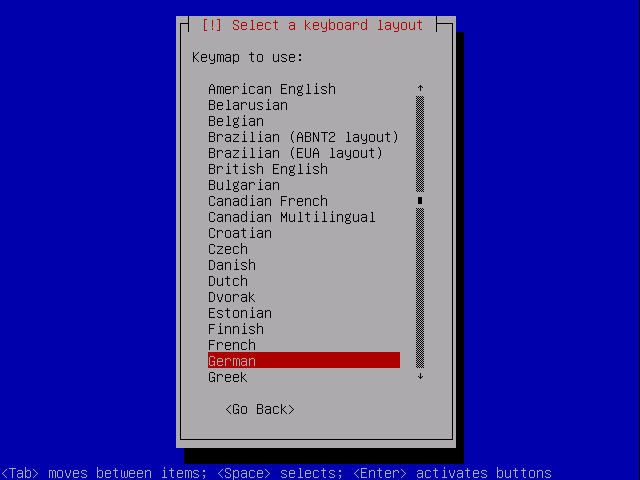
Choose a keyboard layout:
The installer checks the installation CD, your hardware, and configures the network with DHCP if there is a DHCP server in the network:
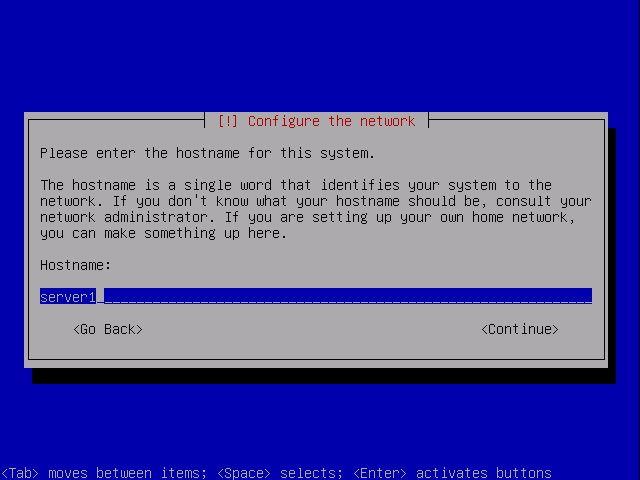
Enter the hostname. In this example, my system is called server1.example.com, so I enter server1:
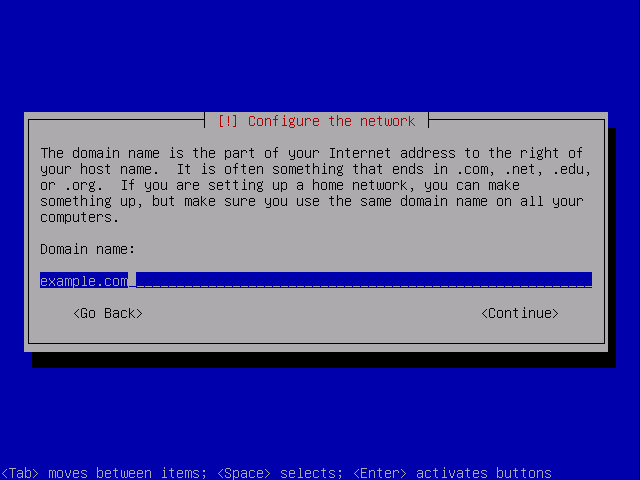
Enter your domain name. In this example, this is example.com:
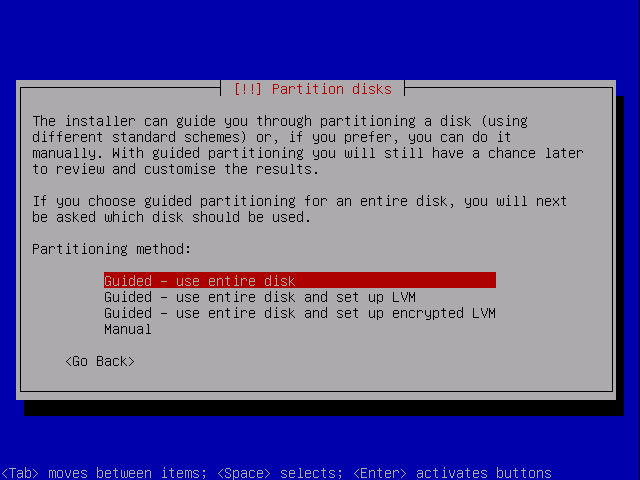
Now you have to partition your hard disk. For simplicity's sake I will create one big partition (with the mount point /) and a little swap partition so I select Guided - use entire disk (of course, the partitioning is totally up to you - if you like, you can create more than just one big partition, and you can also use LVM):
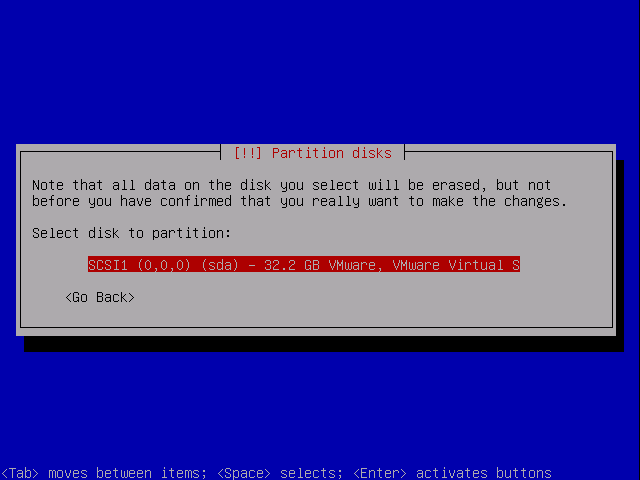
Select the disk that you want to partition:
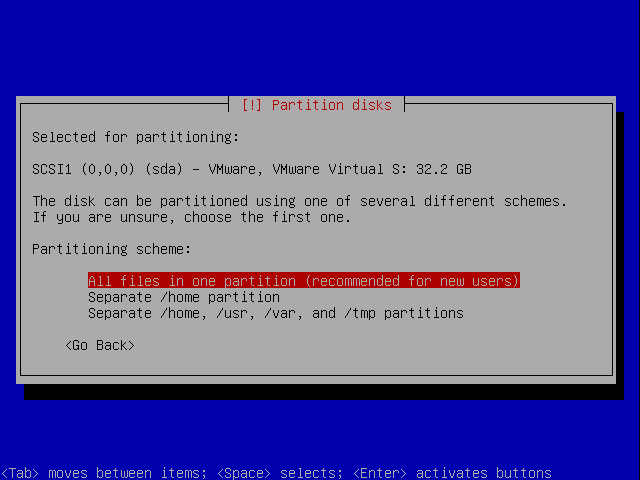
Then select the partitioning scheme. As mentioned before, I select All files in one partition (recommended for new users) for simplicity's sake - it's up to your likings what you choose here:
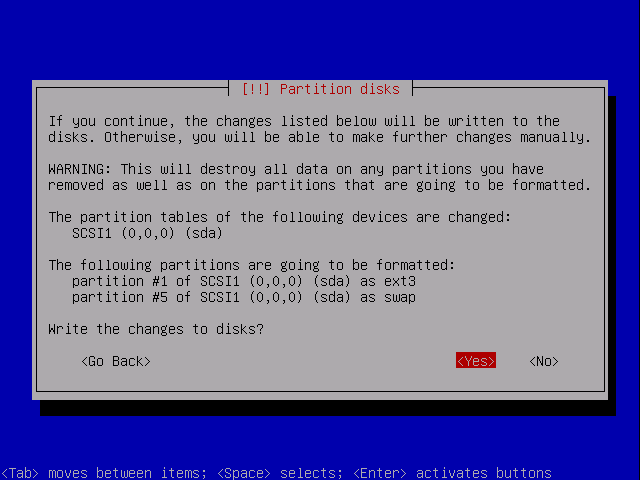
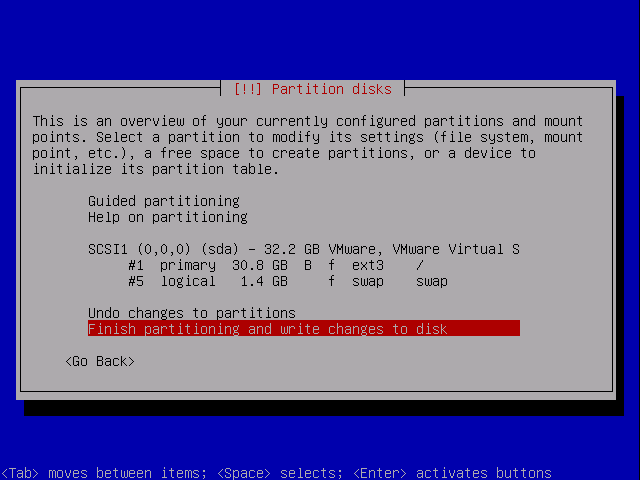
When you're finished, select Finish partitioning and write changes to disk:
Select Yes when you're asked Write changes to disks?: