The Perfect Server - CentOS 6.0 x86_64 [ISPConfig 2]
Version 1.0
Author: Falko Timme
 Follow me on Twitter
This tutorial shows how to set up a CentOS 6.0 server (x86_64) that offers all services needed by ISPs and web hosters: Apache web server (SSL-capable), Postfix mail server with SMTP-AUTH and TLS, BIND DNS server, Proftpd FTP server, MySQL server, Dovecot POP3/IMAP, Quota, Firewall, etc. This tutorial is written for the 64-bit version of CentOS 6.0, but should apply to the 32-bit version with very little modifications as well. In the end you should have a system that works reliably, and if you like you can install the free webhosting control panel ISPConfig 2 (i.e., ISPConfig runs on it out of the box).
I will use the following software:
- Web Server: Apache 2.2.15 with PHP 5.3.2
- Database Server: MySQL 5.1.52
- Mail Server: Postfix
- DNS Server: BIND9 (chrooted)
- FTP Server: Proftpd
- POP3/IMAP server: Dovecot
- Webalizer for web site statistics
Please note that this setup does not work for ISPConfig 3! It is valid for ISPConfig 2 only!
I want to say first that this is not the only way of setting up such a system. There are many ways of achieving this goal but this is the way I take. I do not issue any guarantee that this will work for you!
1 Requirements
To install such a system you will need the following:
- Download the two CentOS 6.0 DVDs from a mirror next to you (the list of mirrors can be found here: http://isoredirect.centos.org/centos/6/isos/x86_64/).
- a fast Internet connection.
2 Preliminary Note
In this tutorial I use the hostname server1.example.com with the IP address 192.168.0.100 and the gateway 192.168.0.1. These settings might differ for you, so you have to replace them where appropriate.
3 Install The Base System
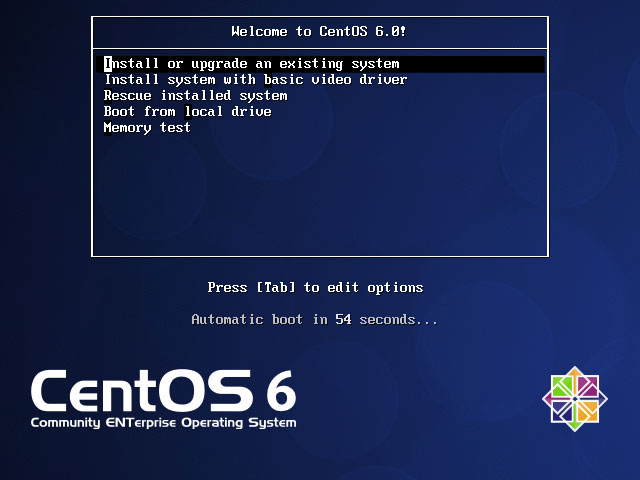
Boot from your first CentOS 6.0 DVD (DVD 1). Select Install or upgrade an existing system:
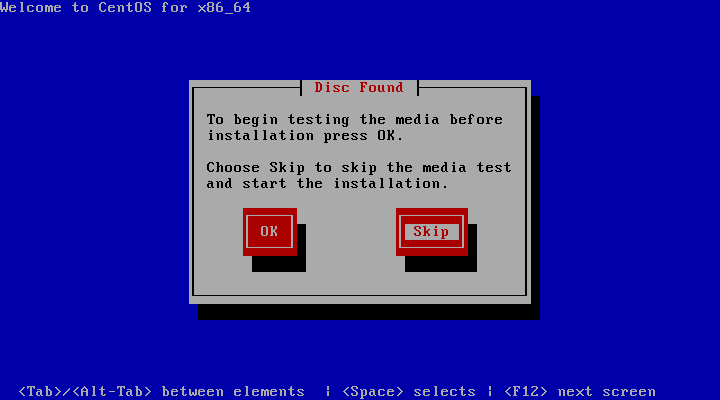
It can take a long time to test the installation media so we skip this test here:
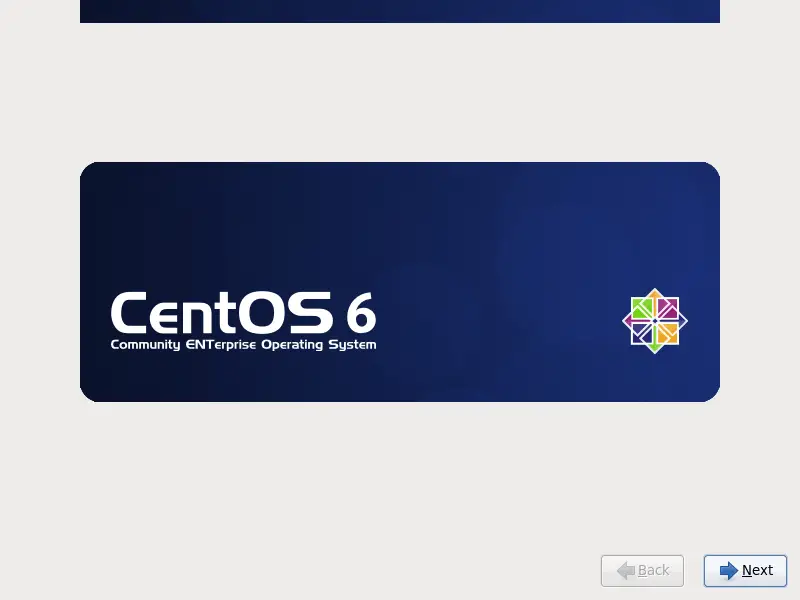
The welcome screen of the CentOS installer appears. Click on Next:
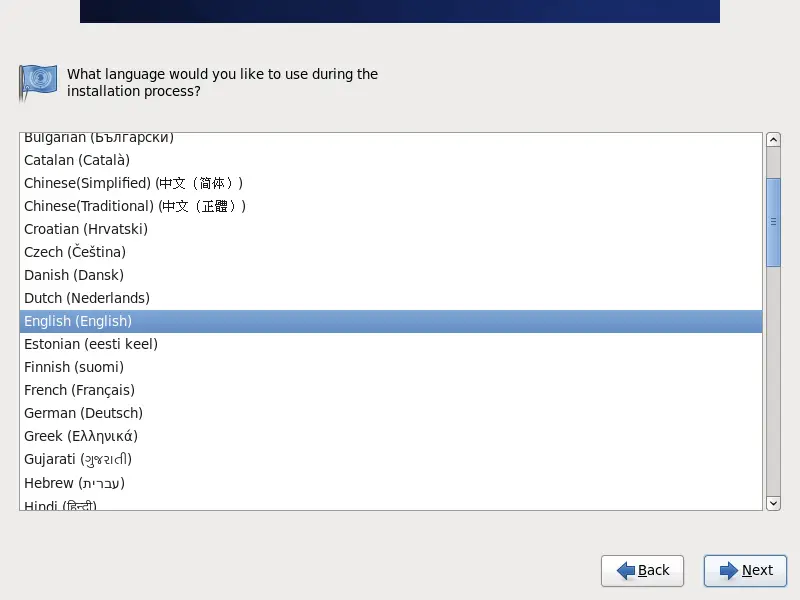
Choose your language next:
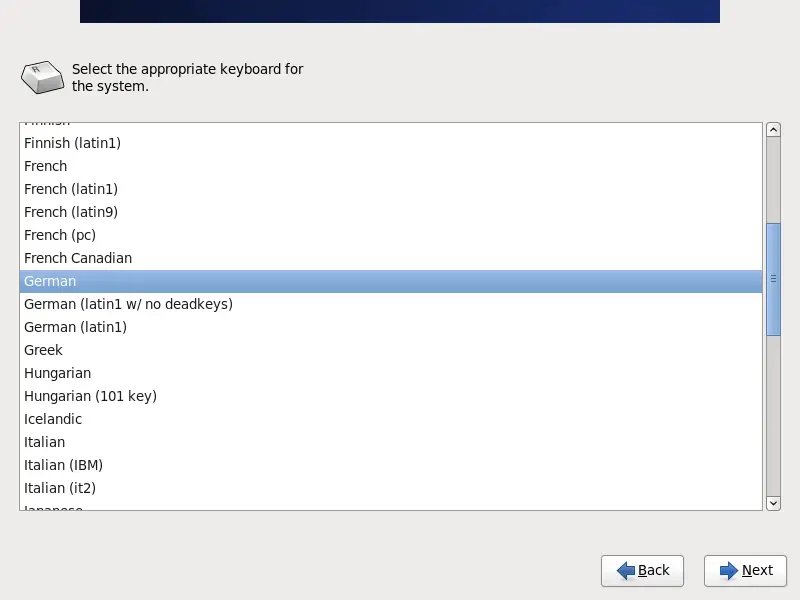
Select your keyboard layout:
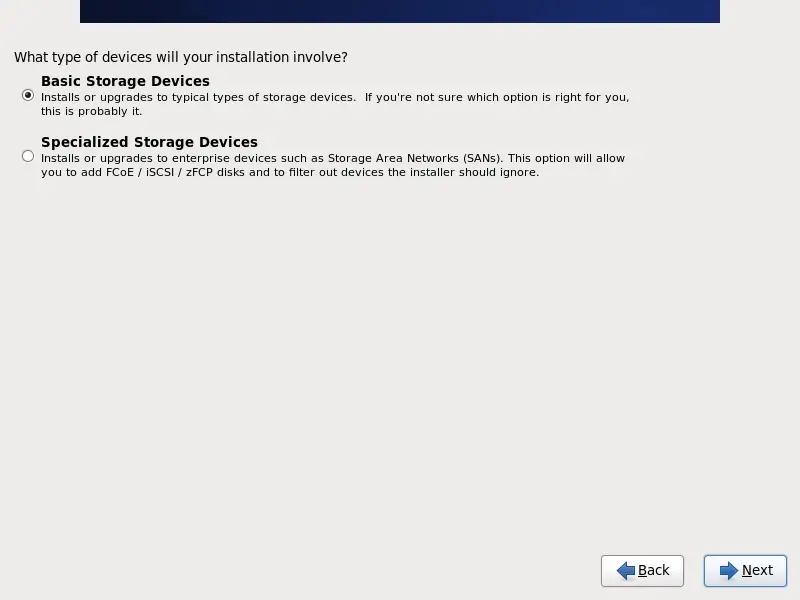
I assume that you use a locally attached hard drive, so you should select Basic Storage Devices here:
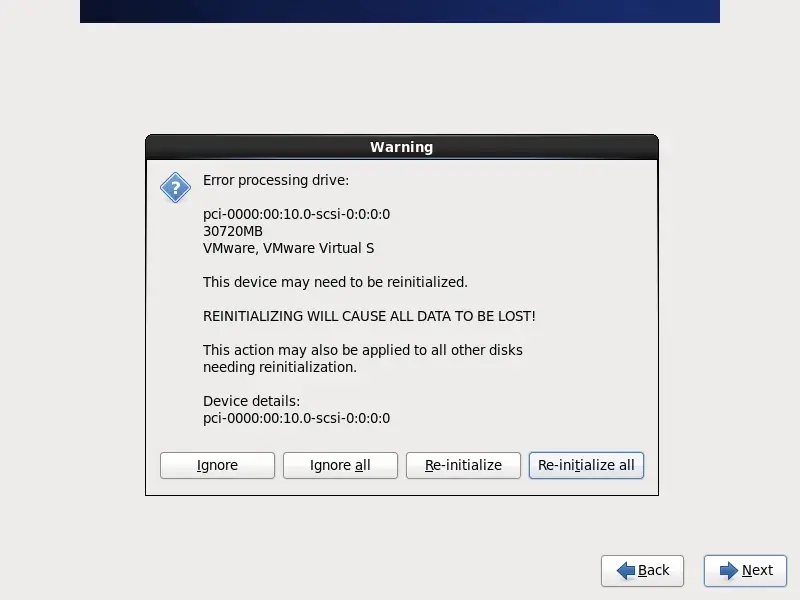
You might see the following warning - Error processing drive. If you see this click on the Re-initialize all button to proceed:
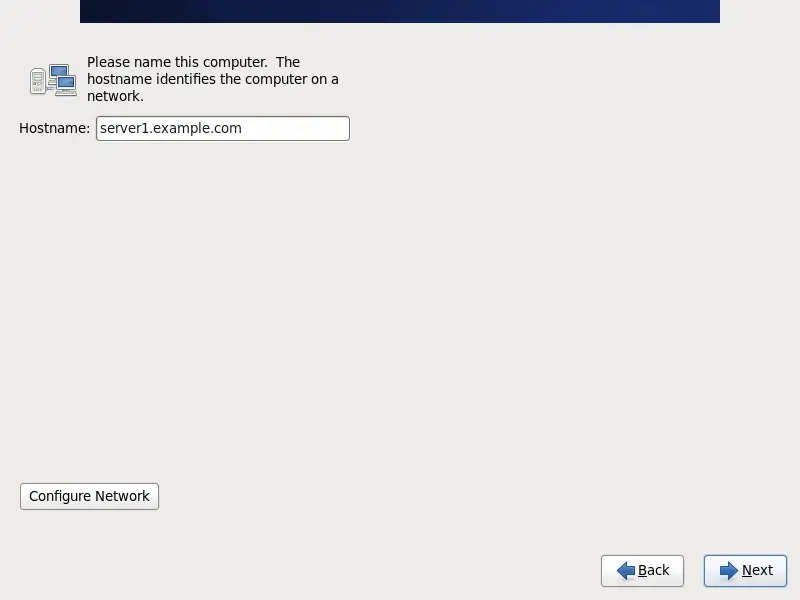
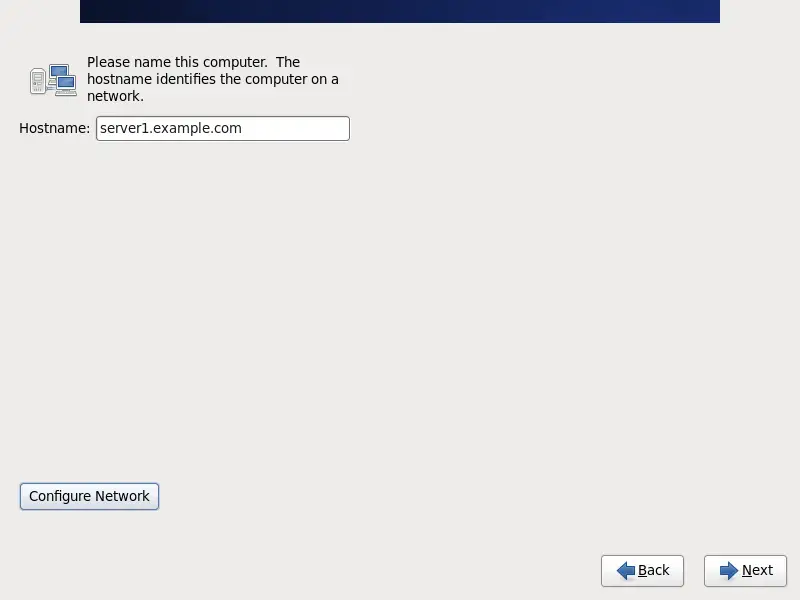
Fill in the hostname of the server (e.g. server1.example.com), then click on the Configure Network button:
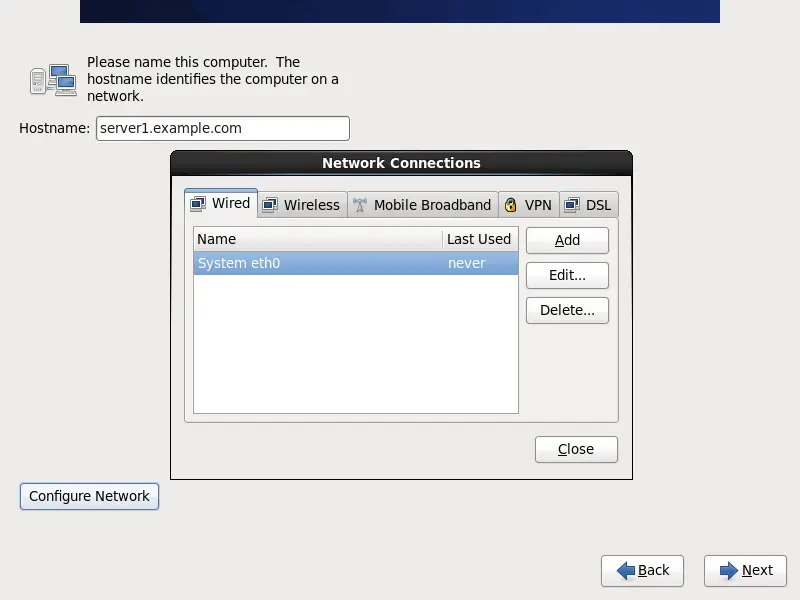
Go to the Wired tab, select the network interface (probably eth0) and click on Edit...:
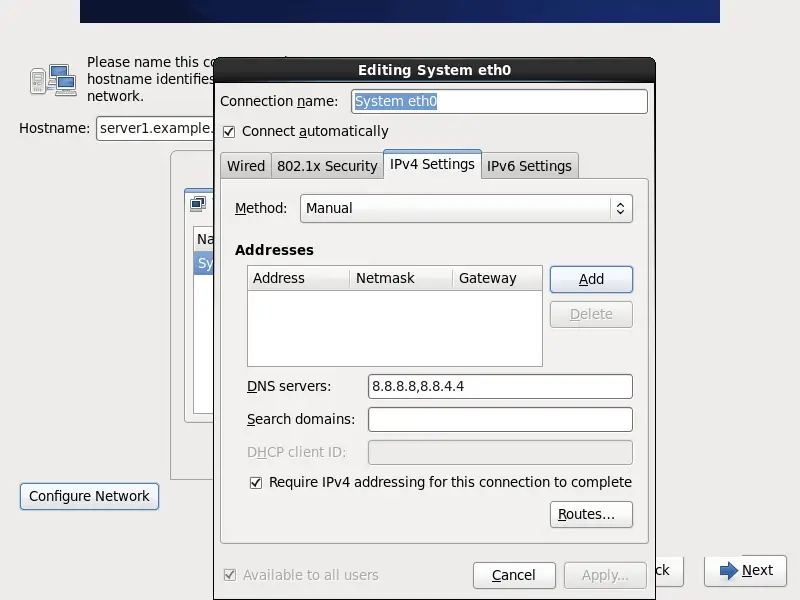
Mark the Connect automatically checkbox and go to the IPv4 Settings tab and select Manual in the Method drop-down menu. Fill in one, two, or three nameservers (separated by comma) in the DNS servers field (e.g. 8.8.8.8,8.8.4.4), then click on the Add button next to the Addresses area:
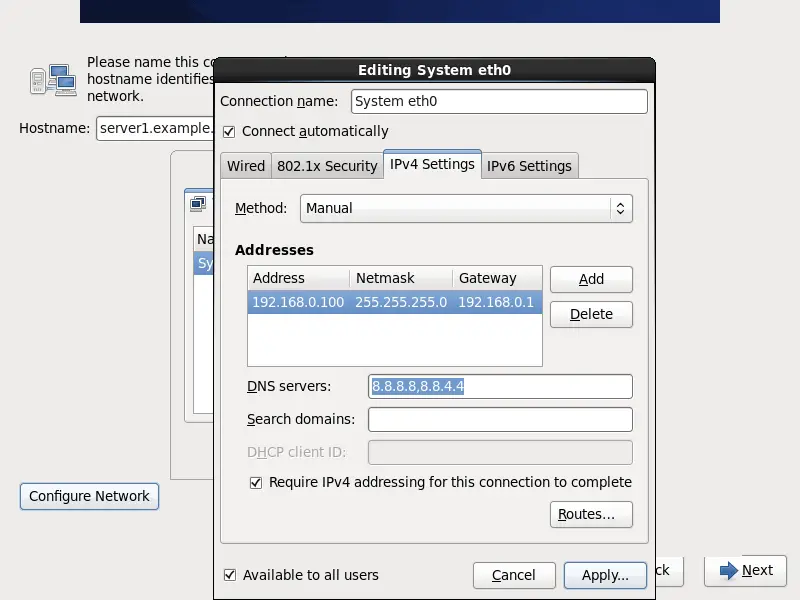
Now give your network card a static IP address and netmask (in this tutorial I'm using the IP address 192.168.0.100 and netmask 255.255.255.0 for demonstration purposes; if you are not sure about the right values, http://www.subnetmask.info might help you). Also fill in your gateway (e.g. 192.168.0.1) and click on the Apply... button:
The network configuration is now finished. Click on the Next button: