Network Monitoring Appliance
My ambition was to implement a small (better tiny) appliance for monitoring network health and network resources, short and longtime trends, running under VMware Server or VMware ESX. So I had an eye upon all components which are implemented on the system, to be as leightweight as possible. This was also the reason why no SQL DBMS based software was used.
The appliance is based on Ubuntu Jeos LTS (8.04.3 at the time of this writing). Almost all used components are from the related repositories. This tutorial shows how the appliance was implemented. I do not issue any guarantee that this will work for you!
Used components:
* Ubuntu 8.04.3 JeOS as OS
* Nagios 2.11 for monitoring and alarming
* Smokeping 2.3 to observe latencies and paketloss
* MRTG 2.14.7 to observe networktraffic's tendencies
* RRDTool 1.2.19 as Round-Robin Database for storing all measurement data
* Lighttpd 1.4.19 as fast, lightweight webserver frontend
* weathermap4rrd for illustrating the networkweather
* ssmtp as extremely lightweight MTA for maildelivery
Preliminary Note
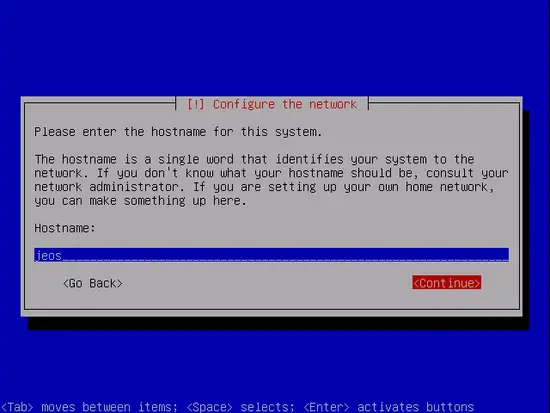
In this tutorial I use the hostname jeos.example.com with an IP address allocated with DHCP. These settings might differ for you, so you have to replace them where appropriate. As this whole installation is not GUI based, you should be familiar using bash, vi and similar programs. Also all work should be done with root privilegs or with sudo prepending each command.
1. Ubuntu Server JeOS 8.04 LTS
The idea behind Ubuntu Server JeOS is to use it as lightweight, performant base to build appliances under VMware ESX/Server or KVM.
You can download an ISO image from http://cdimage.ubuntu.com/jeos/releases/8.04.3/release/jeos-8.04.3-jeos-i386.iso.
As we want the whole VM to be lightweight, we allocate 1 CPU, 192MR RAM (both easily changeable in VMware) and 1GB diskspace.
Installation is straightforward and some screenshots are shown subsequent. There is also a tutorial regarding installation on https://help.ubuntu.com/community/JeOS.
Hostname:
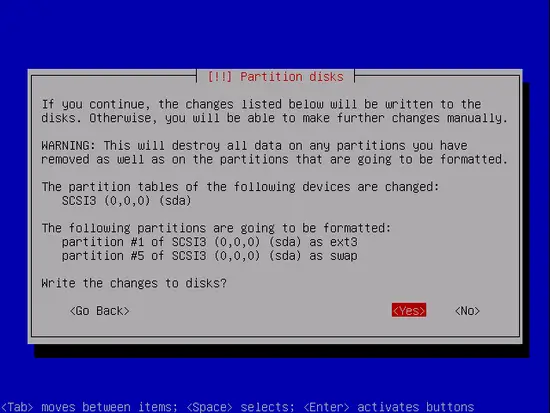
Guided disk partitioning:
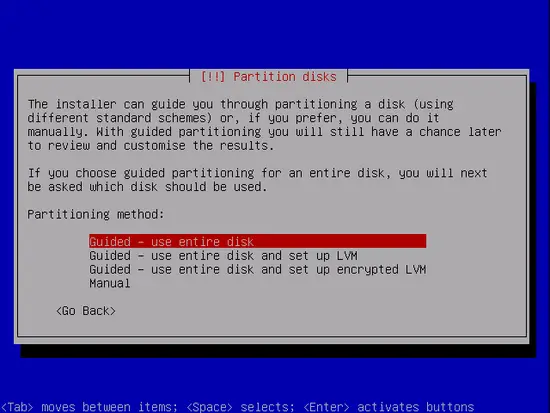
We use the entire disk. swap makes no real sense for this VM, but the swapspace is automatically configured, so we leave it.
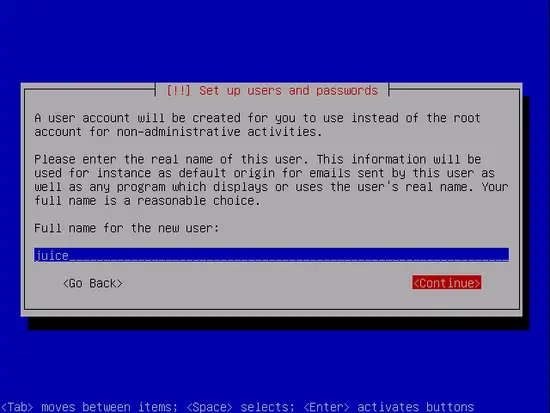
Create an account for further logins:
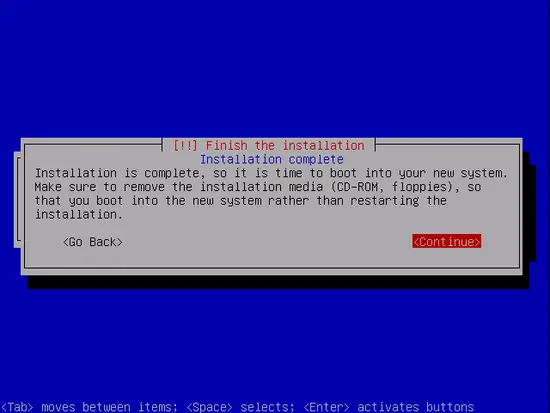
After a while base installation is finished:
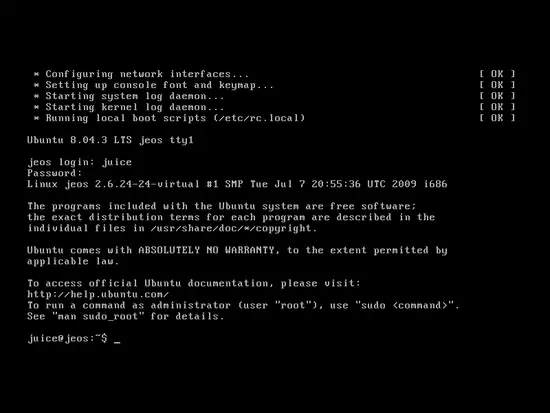
Now the system is base-installed and ready for further activities. First you should do an update/upgrade of all installed packages to the newest versions:
apt-get update && apt-get upgrade
Maybe we have to do another reboot and log in with the account created while installing the system:
As your system is only reachable inside the VMware console, another good idea might be to install ssh:
apt-get install ssh
Now we are going to install all software we need for building the appliance. As this system should be used for solving network problems, we also install some more packages which may be helpful. Feel free to extend this list according to your needs:
apt-get install lighttpd ssmtp mailx anacron build-essential linux-headers-$(uname -r) psmisc nmap rsync snmp openssh-server sshfs ntop smokeping xinetd mrtg mrtg-rrd nagios2 nagios2-doc localepurge lynx dnsutils bzip2 traceroute tcptraceroute iptables wget lsof pv telnet time whois alien
VMware Tools
The VMware Tools may not be of great help, as this system is without X11, but nevertheless you can install them in two ways:
In the VMware Virtual-Center Web-Access (or whichever VMware administrative console you have) mount the virtual CD for this VM, and mount it also from inside the VM by doing a
mount /media/cdrom
Either convert the VmwareTools .rpm package by using alien into a .deb package and install them by doing a dpkg -i vmwaretools*.deb
or
unpack the archive VmwareTools-*.tar.gz via tar xvzf vmwaretools_*.tar.gz and manually install them (see in detail on https://help.ubuntu.com/community/JeOS#Installing%20VMware%20Tools)
Subsequently a
apt-get remove build-essential linux-headers-$(uname -r) && apt-get clean && apt-get autoremove
could be done to remove unnecessary packages and to free some disk space.
Now the base system is really ready installed. Let's go on with the server applications.

