How To Run Your Own Name Servers With ISPConfig And GoDaddy
Version 1.0
Author: Falko Timme
This tutorial shows how you can run your own name servers for domains that you register with GoDaddy. Of course, this works with every other registrar as well, although the procedure might differ a little bit.
To do this, you need two servers with two different public IP addresses and with ISPConfig installed, and of course a GoDaddy account.
This tutorial is sponsored by Erik Turk of BlueberryNetworks.ca. He gave me access to his two ISPConfig servers as well as to his GoDaddy account so that I could write this howto.
1 Current Situation
Our current situation is as follows: we have
- ISPConfig server #1: IP address 64.25.171.8; this one will be our primary name server.
- ISPConfig server #2: IP address 64.25.171.9; this one will be our secondary name server.
- a GoDaddy account with the already registered domains erikturk.com and ifwolfpack.com. Both are currently using GoDaddy's name servers (e.g. park27.secureserver.net and park28.secureserver.net).
2 Our Goal
This is what we want to achieve:
- Create DNS records for ns1.erikturk.com and ns2.erikturk.com.
- ISPConfig server #1 will be ns1.erikturk.com.
- ISPConfig server #2 will be ns2.erikturk.com.
- Create DNS records for ifwolfpack.com on ns1.erikturk.com and ns2.erikturk.com.
- Change ifwolfpack.com's authoritative name servers from Godaddy's name servers to ns1.erikturk.com and ns2.erikturk.com.
3 Create ns1.erikturk.com And ns2.erikturk.com
Our domain erikturk.com is already registered, but now we want to create the DNS records ns1.erikturk.com and ns2.erikturk.com that point to our ISPConfig servers #1 and #2.
Please note: It is important that your browser allows pop-up windows, otherwise the GoDaddy interface will not work as expected!
We log in to our GoDaddy account:

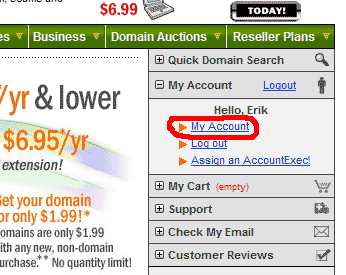
Click on My Account:
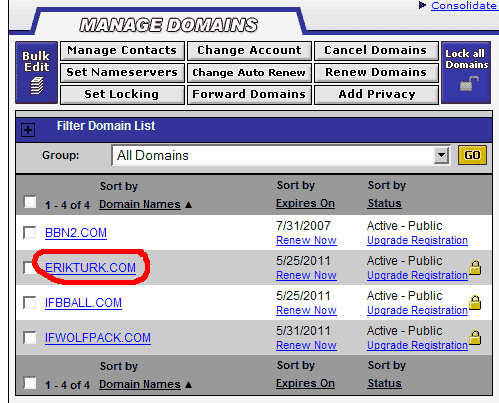
Then go to Manage Domains:

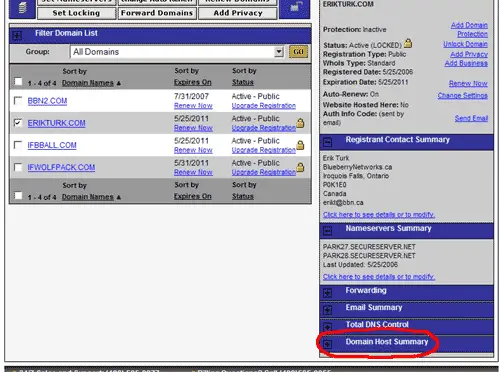
You should see a list of the domains you registered with GoDaddy. As you see, erikturk.com and ifwolfpack.com are in this list. Click on erikturk.com:
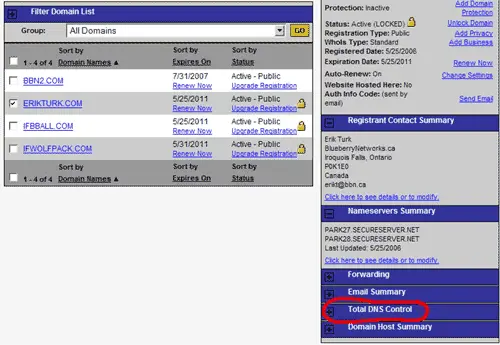
In the menu that opens on the right, click on the + sign in front of Total DNS Control:
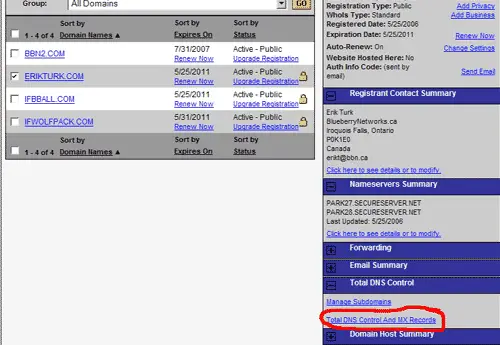
Then go to Total DNS Control And MX Records:
Select Launch Total DNS Control Manager:

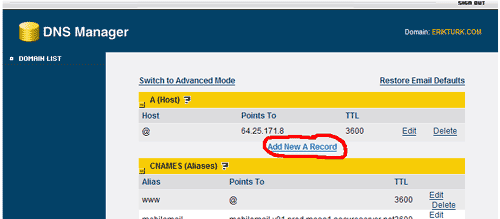
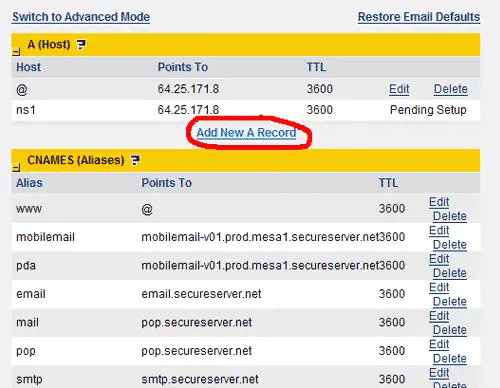
In the window that pops up you can see the existing DNS records for erikturk.com. Click on Add New A Record:
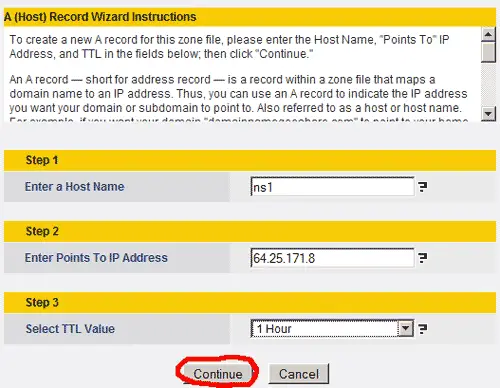
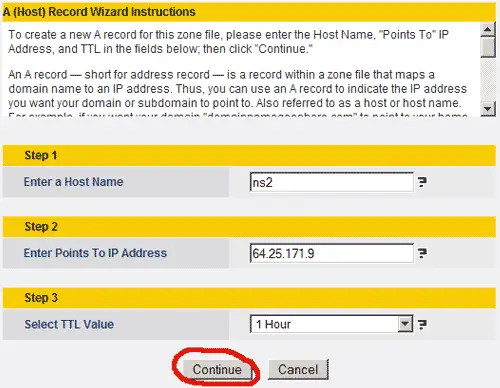
Enter ns1 as Host Name (do not enter ns1.erikturk.com, just ns1!) and 64.25.171.8 as IP address (this is the IP address of our ISPConfig server #1). You don't need to change the TTL value. Click on Continue then:
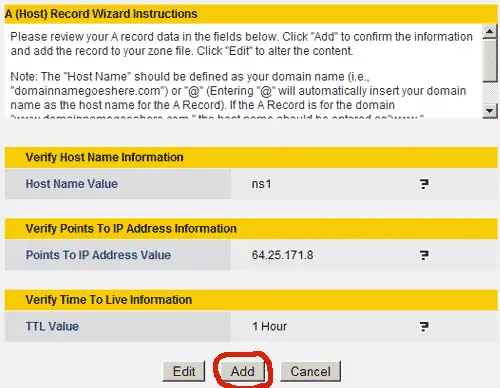
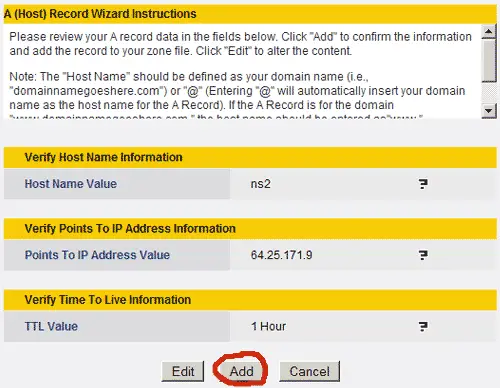
Confirm by clicking on Add:
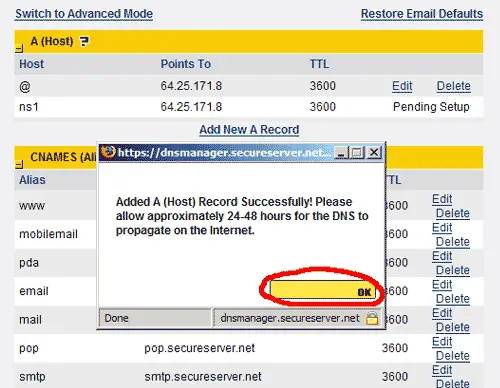
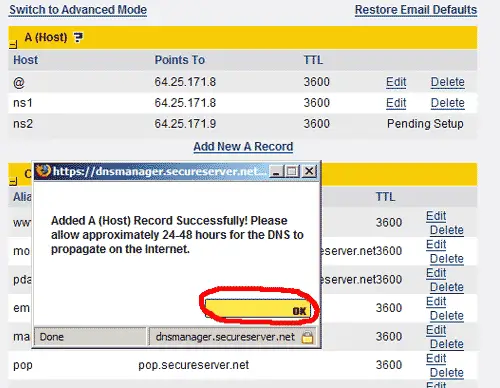
Back on the list of DNS records, a window will pop up saying that it will take approx. 24 - 48 hours until the new DNS record propagates over the internet. Click on OK.
Now we do the same procedure again for ns2.erikturk.com, but this time we enter 64.25.171.9 as IP address as ns2.erikturk.com should point to our ISPConfig server #2:
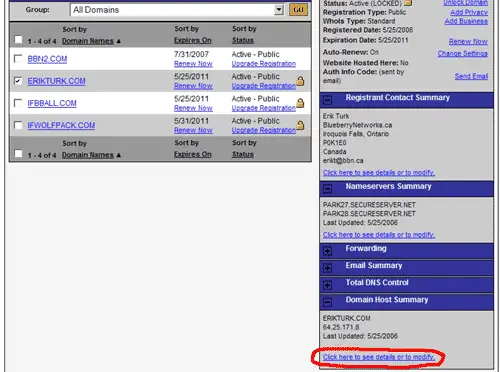
You can close the window with the DNS records now. Now we must register ns1.erikturk.com and ns2.erikturk.com as name servers, i.e., we must tell GoDaddy that we want to use these two servers as name servers. Back in the main GoDaddy interface, click on the + in front of Domain Host Summary:
Click on Click here to see details or to modify:
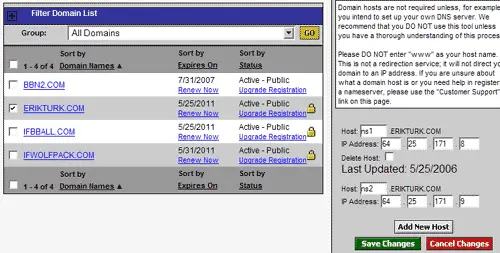
In the new form we enter ns1 and ns2 and their respective IP addresses and click on Save Changes:
The next screen confirms your changes:

Our name servers ns1.erikturk.com and ns2.erikturk.com have been created and registered. It takes approx. 24 - 48 hours until our changes propagate over the internet, but normally it works the next day. You should wait until then before you proceed.
Please note: the steps from this chapter have to be done only once. You don't have to do them again if you want to use ns1.erikturk.com and ns2.erikturk.com for other domains than ifwolfpack.com, too.
You can use the dig command on one of your Linux systems to check the status of ns1.erikturk.com and ns2.erikturk.com. After our changes have propagated, the output should look like this:
dig ns1.erikturk.com
; DiG 9.2.4 ns1.erikturk.com |
dig ns2.erikturk.com
; DiG 9.2.4 ns2.erikturk.com |

