Installing MyDNS-NG & MyDNSConfig 3 On Debian Lenny - Page 2
5 Installing MyDNSConfig 3
We can install MyDNSConfig 3 as follows:
cd /tmp
wget http://downloads.sourceforge.net/mydnsconfig/MyDNSConfig-3.0.1.tar.gz?use_mirror=
tar xvfz MyDNSConfig-3.0.1.tar.gz
cd mydnsconfig/install/
php -q install.php
This will start the MyDNSConfig 3 installer:
server1:/tmp/mydnsconfig/install# php -q install.php
--------------------------------------------------------------------------------
__ __ _____ _ _ _____ _____ __ _
| \/ | | __ \| \ | |/ ____|/ ____| / _(_)
| \ / |_ _| | | | \| | (___ | | ___ _ __ | |_ _ __ _
| |\/| | | | | | | | . ` |\___ \| | / _ \| '_ \| _| |/ _` |
| | | | |_| | |__| | |\ |____) | |___| (_) | | | | | | | (_| |
|_| |_|\__, |_____/|_| \_|_____/ \_____\___/|_| |_|_| |_|\__, |
__/ | __/ |
|___/ |___/
--------------------------------------------------------------------------------
>> Initial configuration
Operating System: Debian Lenny/Sid or compatible
Following will be a few questions for primary configuration so be careful.
Default values are in [brackets] and can be accepted with <ENTER>.
Tap in "quit" (without the quotes) to stop the installer.
Select language (en,de) [en]: <-- ENTER
Installation mode (standard,expert) [standard]: <-- ENTER
Full qualified hostname (FQDN) of the server, eg server1.domain.tld [server1.example.com]: <-- ENTER
MySQL server hostname [localhost]: <-- ENTER
MySQL root username [root]: <-- ENTER
MySQL root password []: <-- yourrootsqlpassword
MySQL database to create [dbmydnsconfig]: <-- ENTER
MySQL charset [utf8]: <-- ENTER
Configuring MyDNS
Configuring Apache
Configuring Firewall
Installing MyDNSConfig
MyDNSConfig Port [8080]: <-- ENTER
Installing Crontab
no crontab for root
Restarting services ...
Restarting web server: apache2 ... waiting .
Installation completed.
server1:/tmp/mydnsconfig/install#
The installer automatically configures all underlying services, so no manual configuration is needed.
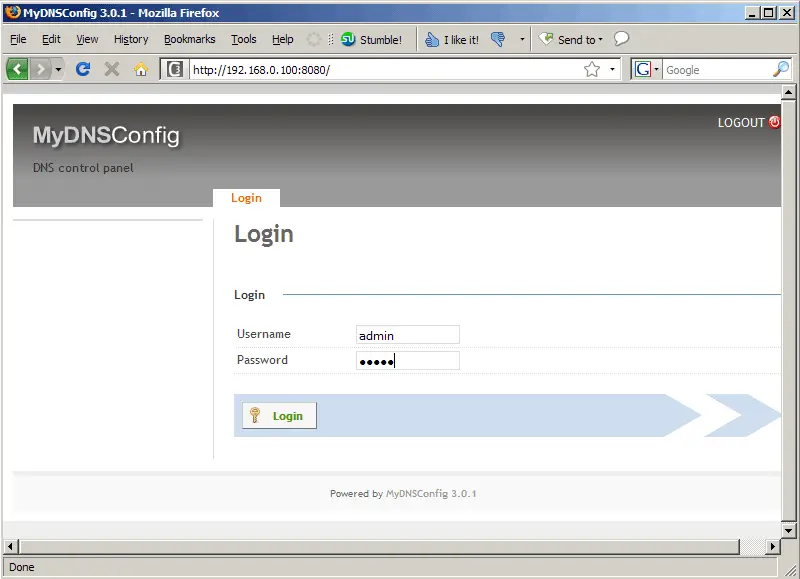
Afterwards you can access MyDNSConfig 3 under http://server1.example.com:8080/ or http://192.168.0.100:8080/. Log in with the username admin and the password admin (you should change the default password after your first login):
6 Using MyDNSConfig 3
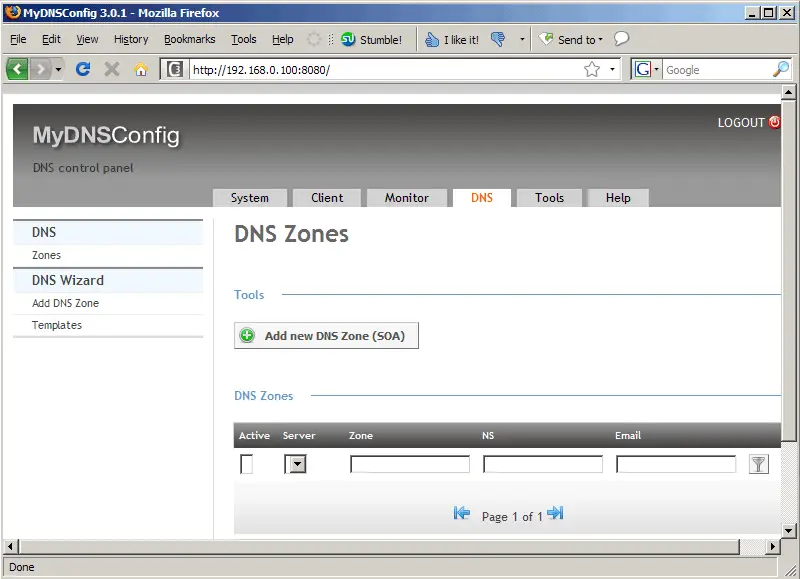
The DNS tab is the most important part of MyDNSConfig because that's where you can create zones and records, so I will focus on that tab.
To create a new zone, click on the Add new DNS Zone (SOA) button:
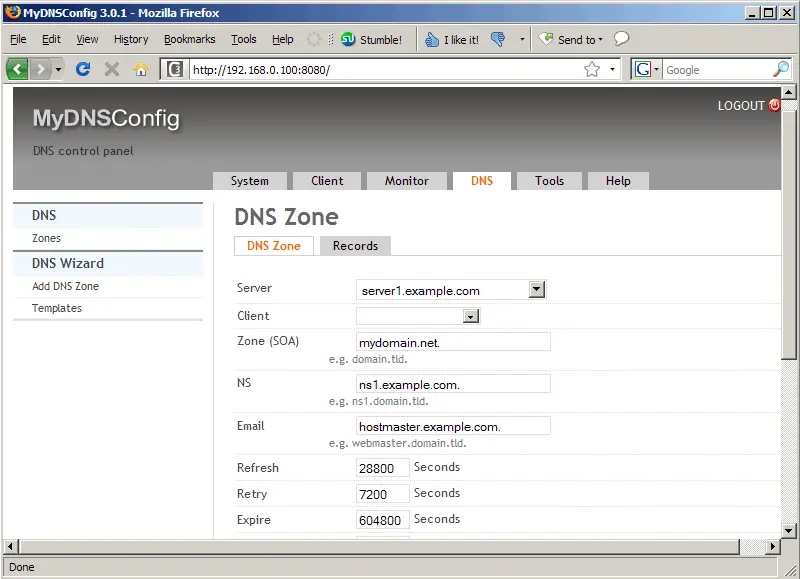
Now you can fill in the details of the zone, e.g. the domain name, the primary nameserver, and the email address of the zone administrator (please note that you must replace the @ sign with a dot!); these three details must end with a dot! You can leave the other details as they are. You can now save the zone or go directly to the Records tab (this will save the zone details automatically):
On the records tab, you can now create all kinds of DNS records (A, CNAME, MX, NS, TXT, etc.) - just click on the appropriate button:
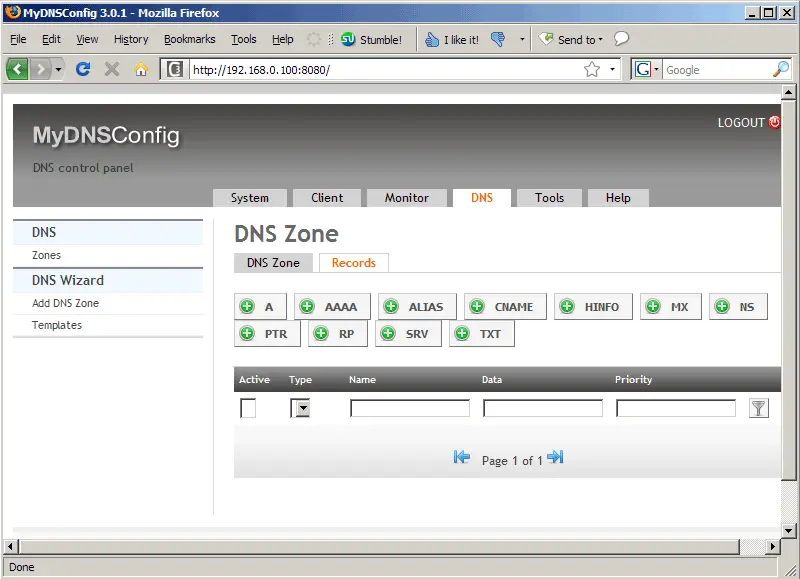
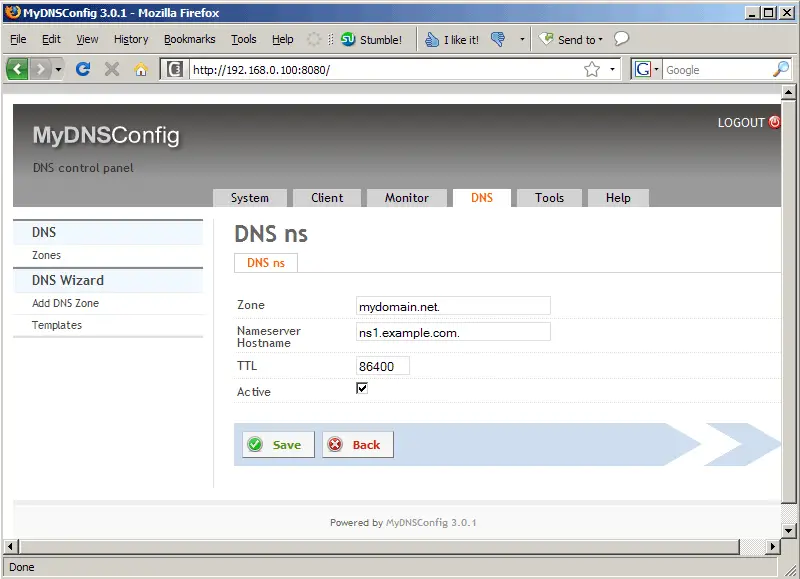
For example, here's the form for creating NS records (please keep in mind that if you write full hostnames, they must end with a dot!):
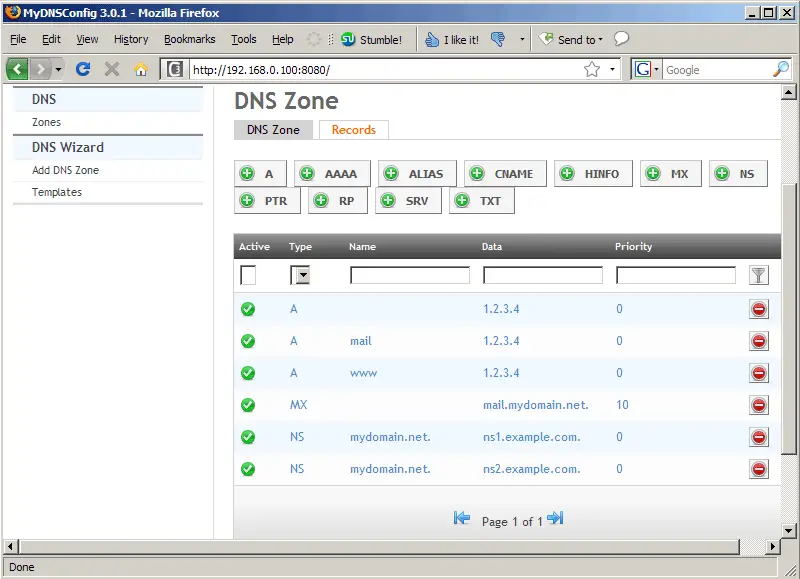
Here's the overview - as you see, I've created some more records:
7 Updating MyDNSConfig 3
Whenever there's a newer MyDNSConfig 3 release, you can update your MyDNSConfig 3 installation as follows:
mydnsconfig_update.sh
This will bring up the update wizard. PLEASE NOTE: you can upgrade to the latest stable version and to the svn version. It is highly recommended to upgrade to the latest stable version as the svn version is used for development and might contain bugs. YOU HAVE BEEN WARNED!!!
8 Upgrading From MyDNSConfig 1.x To MyDNSConfig 3.x
There's no direct upgrade path from MyDNSConfig 1.x to MyDNSConfig 3.x, however it is easy to import the DNS records from MyDNSConfig 1.x into MyDNSConfig 3.x.
In this chapter I assume that your old MyDNSConfig 1.x uses the database table mydns, and that your new MyDNSConfig 3 installation uses the database dbmydnsconfig.
First install MyDNSConfig 3 as follows:
cd /tmp
wget http://downloads.sourceforge.net/mydnsconfig/MyDNSConfig-3.0.1.tar.gz?use_mirror=
tar xvfz MyDNSConfig-3.0.1.tar.gz
cd mydnsconfig/install/
php -q install.php
Follow the installation wizard. After the installation has finished (and BEFORE you create any records in the MyDNSConfig 3 web interface!!!), open phpMyAdmin or a MySQL shell and execute the following MySQL queries (as the MySQL root user) to import the DNS records from your old MyDNSConfig 1.x installation into MyDNSConfig 3 (make sure you use the correct database names - you must replace `mydns` and `dbmydnsconfig` if your database names differ!):
ALTER TABLE `mydns`.`rr` ADD `server_id` int(11) NOT NULL default '1',
ADD `active` enum('N','Y') NOT NULL default 'Y',
ADD `stamp` timestamp NOT NULL default CURRENT_TIMESTAMP,
ADD `serial` int(10) unsigned default NULL;
ALTER TABLE `mydns`.`rr` MODIFY `sys_userid` int(11) unsigned NOT NULL AFTER `id`,
MODIFY `sys_groupid` int(11) unsigned NOT NULL AFTER `sys_userid`,
MODIFY `sys_perm_user` varchar(5) NOT NULL AFTER `sys_groupid`,
MODIFY `sys_perm_group` varchar(5) NOT NULL AFTER `sys_perm_user`,
MODIFY `sys_perm_other` varchar(5) NOT NULL AFTER `sys_perm_group`,
MODIFY `server_id` int(11) NOT NULL default '1' AFTER `sys_perm_other`;
INSERT INTO `dbmydnsconfig`.`dns_rr`
SELECT *
FROM `mydns`.`rr`;
UPDATE `dbmydnsconfig`.`dns_rr` SET `sys_userid` = 1,
`sys_groupid` = 0,
`sys_perm_user` = 'riud',
`sys_perm_group` = 'riud',
`sys_perm_other` = '',
`server_id` = 1;
ALTER TABLE `mydns`.`soa` ADD `server_id` int(11) NOT NULL default '1';
ALTER TABLE `mydns`.`soa` MODIFY `sys_userid` int(11) unsigned NOT NULL AFTER `id`,
MODIFY `sys_groupid` int(11) unsigned NOT NULL AFTER `sys_userid`,
MODIFY `sys_perm_user` varchar(5) NOT NULL AFTER `sys_groupid`,
MODIFY `sys_perm_group` varchar(5) NOT NULL AFTER `sys_perm_user`,
MODIFY `sys_perm_other` varchar(5) NOT NULL AFTER `sys_perm_group`,
MODIFY `server_id` int(11) NOT NULL default '1' AFTER `sys_perm_other`;
INSERT INTO `dbmydnsconfig`.`dns_soa`
SELECT *
FROM `mydns`.`soa`;
UPDATE `dbmydnsconfig`.`dns_soa` SET `sys_userid` = 1,
`sys_groupid` = 0,
`sys_perm_user` = 'riud',
`sys_perm_group` = 'riud',
`sys_perm_other` = '',
`server_id` = 1;
Afterwards, you can access MyDNSConfig 3 on port 8080 (e.g. http://server1.example.com:8080 or http://192.168.0.100:8080); the default login is username admin and password admin.
Please note that these MySQL queries make that all zones are owned by admin. If you have zones that should be owned by someone else, create a client for each user in MyDNSConfig 3 and go to the DNS tab and select the correct client for the zones.
9 Links
- MyDNS-NG: http://www.mydns.pl/
- MyDNSConfig: http://www.mydnsconfig.org/
- Debian: http://www.debian.org/

