NodeBB is a Node.js based forum software built for the modern web. It's built on either a MongoDB or Redis database. It utilizes web sockets for instant interactions and real-time notifications. NodeBB has many modern features out of the box such as social network integration and streaming discussions. Additional functionality is enabled through the use of third-party plugins. NodeBB is an open-source project which can be found on Github. In this guide, we will guide you step-by-step through the NodeBBB installation process on the FreeBSD 12 operating system using Nginx as the reverse proxy, MongoDB as the database, and acme.sh and Let's Encrypt for HTTPS.
Requirements
NodeBB requires the following software to be installed:
- Node.js version 6 or greater
- MongoDB version 2.6 or greater or Redis version 2.8.9 or greater
- Nginx version 1.3.13 or greater
- Git
NOTE: Installing NodeBB's dependencies may require more than 512 megabytes of system memory. It is recommended to enable a swap partition to compensate if your Linux system has insufficient memory.
Prerequisites
- A running FreeBSD 12 system with at least 1GB of RAM.
- Domain name with
A/AAAArecords set up. - A non-root user with sudo privileges.
Initial steps
Check your FreeBSD version:
uname -ro
# FreeBSD 12.0-RELEASE
Set up the timezone:
tzsetup
Update your operating system packages (software). This is an important first step because it ensures you have the latest updates and security fixes for your operating system's default software packages:
freebsd-update fetch install
pkg update && pkg upgrade -y
Install some essential packages that are necessary for basic administration of FreeBSD 12.0 operating system:
pkg install -y sudo vim unzip wget git bash socat gcc8 pkgconf vips
Step 1: Install Node.js and npm
NodeBB is built on Node.js. We are going to install the recommended version for NodeBB which is version 10 at the time of this writing.
Download and install Node.js:
sudo pkg install -y node10 npm-node10
NOTE: npm is distributed with Node.js - which means that when you download Node.js, you automatically get npm installed on your system.
Check the Node.js and npm versions:
node -v && npm -v
Npm is a separate project from Node.js and tends to update more frequently. As a result, even if you’ve just downloaded Node.js (and therefore npm), you’ll probably need to update your npm. Luckily, npm knows how to update itself! To update your npm, type this into your terminal:
sudo npm install -g npm@latest
This command will update npm to the latest stable version.
Re-check npm version with:
npm -v
And it should return the latest version numbers.
Step 2: Install and configure MongoDB
NodeBB needs a database to store its data, and it supports MongoDB and Redis. In this tutorial, we chose MongoDB as the data store engine.
To install the stable version of MongoDB package, issue the following command:
sudo pkg install -y mongodb40
Check the MongoDB version:
mongo --version | head -n 1 && mongod --version | head -n 1
Start and enable (set it to start on reboot) MongoDB service:
sudo sysrc mongod_enable=yes
sudo service mongod start
Check the MongoDB Database Server status by running:
sudo service mongod status
# active (running)
Next, create a MongoDB database and user for NodeBB.
Connect to MongoDB server first.
mongo
Switch to the built-in admin database.
> use admin
Create an administrative user.
> db.createUser( { user: "admin", pwd: "<Enter a secure password>", roles: [ { role: "readWriteAnyDatabase", db: "admin" }, { role: "userAdminAnyDatabase", db: "admin" } ] } )
NOTE: Replace the placeholder <Enter a secure password> with your own selected password.
Add a new database called nodebb.
> use nodebb
The database will be created and context switched to nodebb. Next, create the nodebb user with the appropriate privileges.
> db.createUser( { user: "nodebb", pwd: "<Enter a secure password>", roles: [ { role: "readWrite", db: "nodebb" }, { role: "clusterMonitor", db: "admin" } ] } )
NOTE: Again, replace the placeholder <Enter a secure password> with your own selected password.
Exit the Mongo shell.
> quit()
Restart MongoDB and verify that the administrative user created earlier can connect.
sudo systemctl restart mongodb.service
mongo -u admin -p your_password --authenticationDatabase=admin
If all went well, your MongoDB should be installed and prepared for NodeBB.
Step 3 - Install acme.sh client and obtain Lets Encrypt certificate
This step is optional. Securing your NodeBB Forum with HTTPS is not necessary, but it is a good practice to secure your site traffic. To obtain a TLS certificate from Let's Encrypt we will use acme.sh client. Acme.sh is a pure Unix shell software for obtaining TLS certificates from Let's Encrypt with zero dependencies.
Download and install acme.sh:
sudo su - root
git clone https://github.com/Neilpang/acme.sh.git
cd acme.sh
./acme.sh --install --accountemail your_email@example.com
source ~/.bashrc
cd ~
Check acme.sh version:
acme.sh --version
# v2.8.0
Obtain RSA and ECC/ECDSA certificates for your domain/hostname:
# RSA 2048
acme.sh --issue --standalone -d example.com --keylength 2048
# ECDSA
acme.sh --issue --standalone -d example.com --keylength ec-256
If you want fake certificates for testing you can add --staging flag to the above commands.
After running the above commands, your certificates and keys will be in:
- For RSA:
/home/username/example.comdirectory. - For ECC/ECDSA:
/home/username/example.com_eccdirectory.
To list your issued certs you can run:
acme.sh --list
Create a directory to store your certs. We will use /etc/letsencrypt directory.
mkdir -p /etc/letsecnrypt/example.comsudo mkdir -p /etc/letsencrypt/example.com_ecc
Install/copy certificates to /etc/letsencrypt directory.
# RSA
acme.sh --install-cert -d example.com --cert-file /etc/letsencrypt/example.com/cert.pem --key-file /etc/letsencrypt/example.com/private.key --fullchain-file /etc/letsencrypt/example.com/fullchain.pem --reloadcmd "sudo systemctl reload nginx.service"
# ECC/ECDSA
acme.sh --install-cert -d example.com --ecc --cert-file /etc/letsencrypt/example.com_ecc/cert.pem --key-file /etc/letsencrypt/example.com_ecc/private.key --fullchain-file /etc/letsencrypt/example.com_ecc/fullchain.pem --reloadcmd "sudo systemctl reload nginx.service"
All the certificates will be automatically renewed every 60 days.
After obtaining certs exit from root user and return to normal sudo user:
exit
Step 4: Install and configure Nginx
NodeBB can work fine with many web servers. In this tutorial, we selected Nginx.
Install Nginx package, by issue the following command:
sudo pkg install -y nginx
After the installation, you can verify the Nginx version by running:
nginx -v
Start and enable (set it to start on reboot) Nginx service:
sudo sysrc nginx_enable=yes
sudo service nginx start
Check the Nginx web server status by running:
sudo service nginx status
NodeBB by default runs on port 4567. To avoid typing http://example.com:4567, we will configure Nginx as a reverse proxy for the NodeBB application. Every request on port 80 or 443 (if SSL is used) will be forwarded to port 4567.
Run sudo vim /usr/local/etc/nginx/nodebb.conf and configure Nginx as an HTTPS reverse proxy.
server {

  listen [::]:443 ssl;
  listen 443 ssl;
  listen [::]:80;
  listen 80;

  server_name example.com;

  client_max_body_size 50M;

  # RSA
  ssl_certificate /etc/letsencrypt/example.com/fullchain.pem;
  ssl_certificate_key /etc/letsencrypt/example.com/private.key;
  # ECDSA
  ssl_certificate /etc/letsencrypt/example.com_ecc/fullchain.pem;
  ssl_certificate_key /etc/letsencrypt/example.com_ecc/private.key;

  location / {
    proxy_set_header X-Real-IP $remote_addr;
    proxy_set_header X-Forwarded-For $proxy_add_x_forwarded_for;
    proxy_set_header X-Forwarded-Proto $scheme;
    proxy_set_header Host $http_host;
    proxy_set_header X-NginX-Proxy true;
    proxy_pass http://127.0.0.1:4567;
    proxy_redirect off;
    # Socket.IO Support
    proxy_http_version 1.1;
    proxy_set_header Upgrade $http_upgrade;
    proxy_set_header Connection "upgrade";
  }

}
Run sudo vim /usr/local/etc/nginx/nginx.conf and add the below line to http {} block to include NodeBB config.
include nodebb.conf;Check Nginx configuration for syntax errors:
sudo nginx -t
Reload Nginx service:
sudo service nginx reload
Step 5: Install and setup NodeBB
Create a document root directory where NodeBB should reside in:
sudo mkdir -p /usr/local/www/nodebb
Navigate to the document root directory:
cd /usr/local/www/nodebb
Change ownership of the /usr/local/www/nodebb directory to your_user:
sudo chown -R your_user:your_user /usr/local/www/nodebb
NOTE: Replace your_user in the above command with your non-root user that you should have created as a prerequisite for this tutorial.
Clone the latest NodeBB repository into document root folder:
git clone -b v1.11.x https://github.com/NodeBB/NodeBB.git .
Initiate the setup script by running the app with the setup flag. Answer each of the questions:
./nodebb setup
After NodeBB setup is completed, run ./nodebb start to manually start your NodeBB server:
./nodebb start
After running this command, you should be able to access your brand new forum in your web browser:
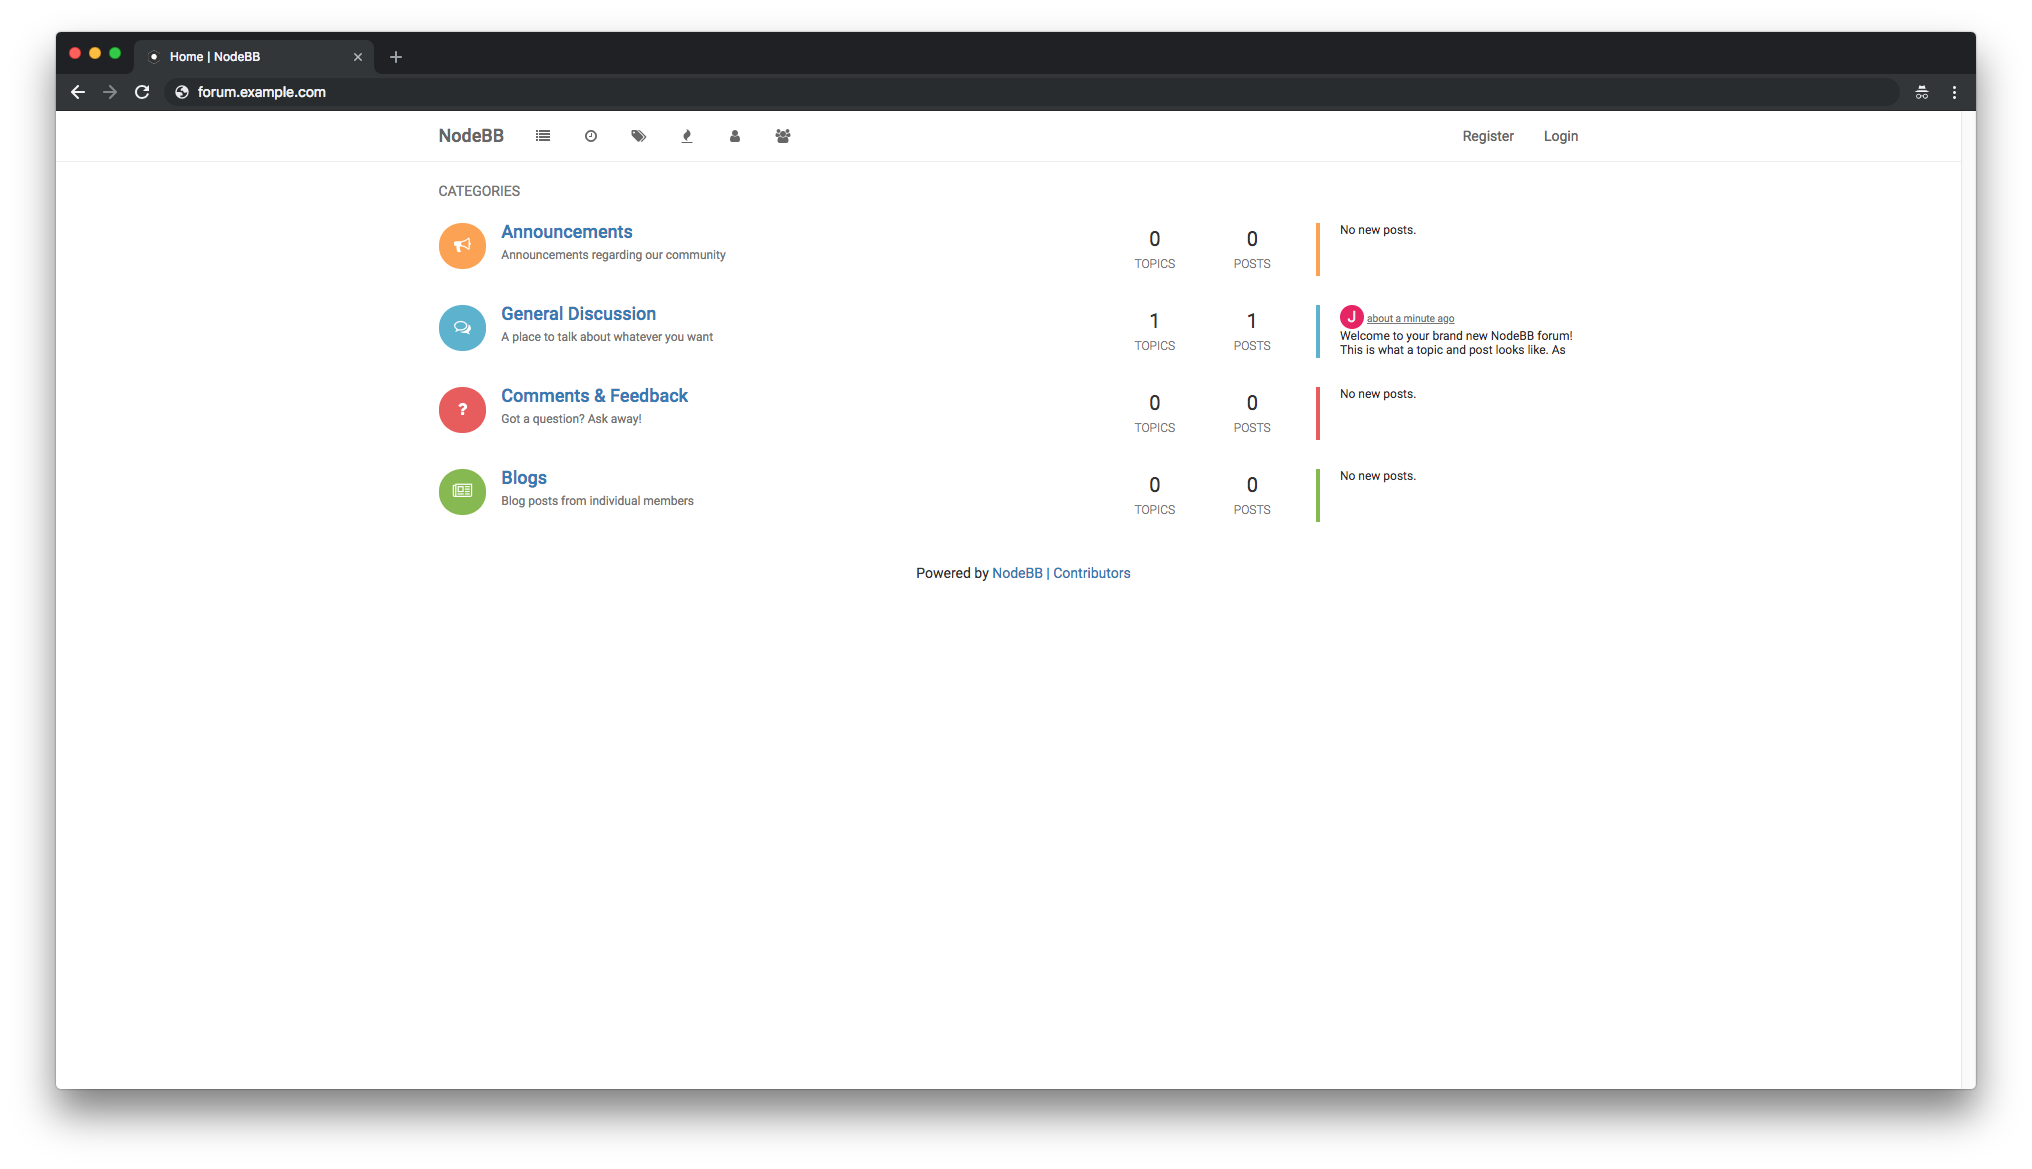
Step 6: Running NodeBB persistently via PM2
When started via ./nodebb start, NodeBB will not automatically start up again when the system reboots. To avoid that, we will need to set up NodeBB as a system service.
If running, stop NodeBB:
./nodebb stop
Install PM2 globally:
sudo npm install pm2 -g
Check the PM2 version:
pm2 -v
# 3.5.0
Navigate to the NodeBB document root:
cd /usr/local/www/nodebb
Start NodeBB via PM2:
pm2 start app.js
List NodeBB process:
pm2 ls
Detect available init system with:
pm2 startup
Copy and paste in the CLI the output of this command to set up your startup hook.
Save your process list with:
pm2 save
That's it. Your NodeBB instance is now up and running.
Congratulations! You have successfully installed and deployed the NodeBB discussion platform on the FreeBSD 12 system. You should be able to access your forum on your domain and interact with your forum.