This tutorial exists for these OS versions
- Ubuntu 16.04 (Xenial Xerus)
- Ubuntu 11.04 (Natty Narwhal)
On this page
Basic HTTP Authentication with Nginx
This tutorial shows how you can use basic HTTP authentication with Nginx to password-protect directories on your server or even a whole website. This is the Nginx equivalent to basic HTTP authentication on Apache with .htaccess /.htpasswd.
1 Preliminary Note
I'm using the website www.example.com here with the document root /var/www/www.example.com/web/ and the Nginx vhost configuration file /etc/nginx/sites-enabled/www.example.com.vhost. The directory I want to password-protect is /var/www/www.example.com/web/test/.
2 Creating the Password File
We need a password file where users that should be able to log in are listed with their passwords (in encrypted form). To create such a password file, we can either use Apache's htpasswd tool, or we use the Python script from http://trac.edgewall.org/browser/trunk/contrib/htpasswd.py.
2.1 Using Apache's htpasswd Command
If you want to use Apache's htpasswd command, check if it exists on your system:
which htpasswd
root@server1:~# which htpasswd
/usr/bin/htpasswd
root@server1:~#
If you get an output like the one above, everything is fine - htpasswd is already installed. If the command returns without any output, htpasswd does not exist on your system, and you must install it. On Debian/Ubuntu, it's part of the apache2-utils package which we can install as follows:
apt-get -y install apache2-utils
I want to create the password file /var/www/www.example.com/.htpasswd now and store the user falko in it (you can give the password file any name you like - it's not necessary to name it .htpasswd; I just named it .htpasswd because that's the way password files are named under Apache):
htpasswd -c /var/www/www.example.com/.htpasswd falko
You will be asked for a password for the user falko. Please note that the -c switch makes that the file is created from scratch; if it didn't exist before, it will be created; if it existed before, it will be overwritten with a new one, and all users from the old file will be lost! Therefore, if you want to add another user without deleting all existing users, use the htpasswd command without the -c switch:
htpasswd /var/www/www.example.com/.htpasswd till
The last command adds the user till to /var/www/www.example.com/.htpasswd so that we now have the users falko and till in it.
2.2 Using the htpasswd.py Python Script
If you don't want to or cannot use Apache's htpasswd command, you can use the Python script from http://trac.edgewall.org/browser/trunk/contrib/htpasswd.py.
We download it to /usr/local/bin and make it executable as follows:
cd /usr/local/bin
wget http://trac.edgewall.org/export/14464/trunk/contrib/htpasswd.py
chmod 755 /usr/local/bin/htpasswd.py
I want to create the password file /var/www/www.example.com/.htpasswd now and store the user falko in it (you can give the password file any name you like - it's not necessary to name it .htpasswd; I just named it .htpasswd because that's the way password files are named under Apache):
htpasswd.py -c -b /var/www/www.example.com/.htpasswd falko falkossecret
Please replace falkossecret with a password for the user falko. Please note that the -c switch makes that the file is created from scratch; if it didn't exist before, it will be created; if it existed before, it will be overwritten with a new one, and all users from the old file will be lost! Therefore, if you want to add another user without deleting all existing users, use the htpasswd.py command without the -c switch:
htpasswd.py -b /var/www/www.example.com/.htpasswd till tillssecret
The last command adds the user till to /var/www/www.example.com/.htpasswd so that we now have the users falko and till in it.
3 Configuring Nginx
Now that we have our password file in place, we just need to add it to our Nginx vhost configuration in /etc/nginx/sites-enabled/www.example.com.vhost, inside the server {} container.
nano /etc/nginx/sites-enabled/www.example.com.vhost
Because I want to password-protect the test directory in the document root, I use location /test {} here (to password-protect the whole website, you'd use location / {}):
server {
       listen 80;
       server_name www.example.com example.com;
       root /var/www/www.example.com/web;
[...]
       location /test {
                auth_basic "Restricted";
                auth_basic_user_file /var/www/www.example.com/.htpasswd;
       }
[...]
}
Reload Nginx afterwards:
service nginx reload
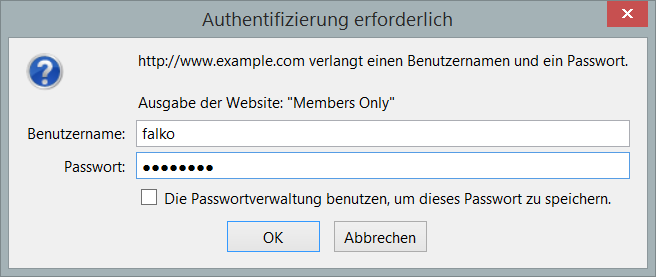
That's it! You can now go to your test directory in a browser (http://www.example.com/test), and you should be asked for a username and password:
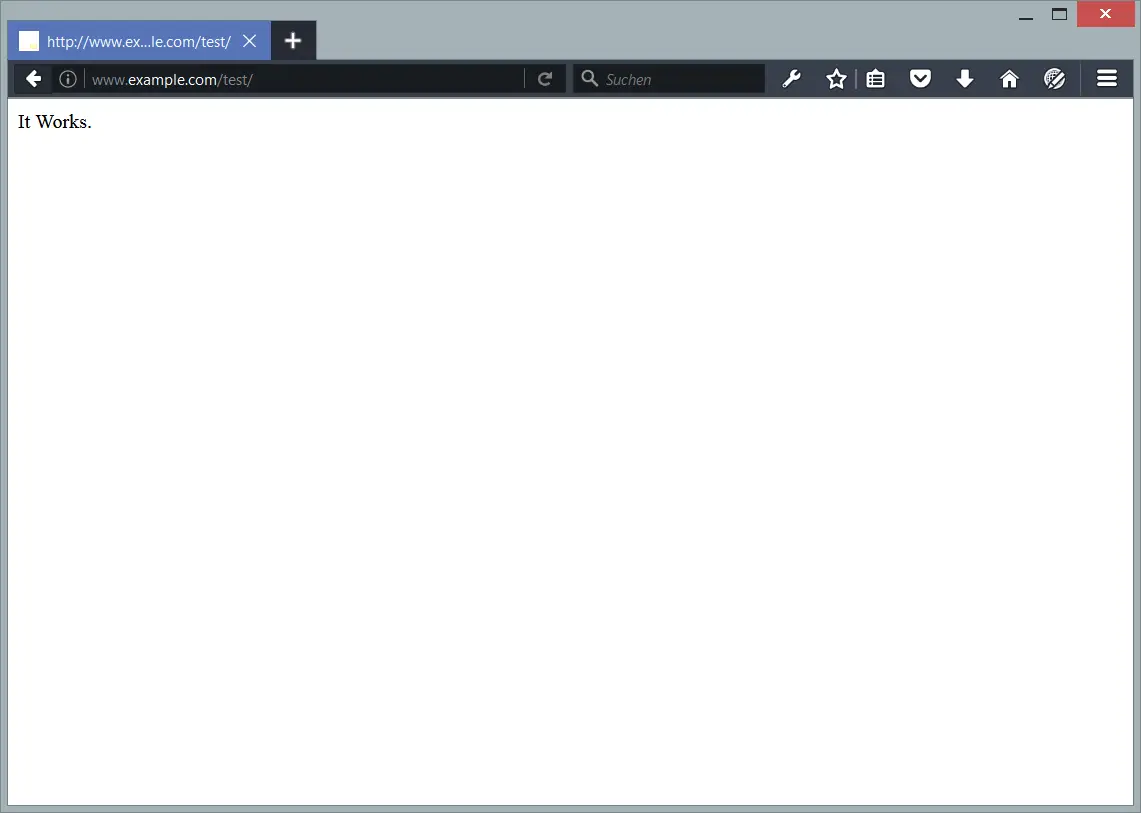
If you enter the correct username and password, you'll be granted access:
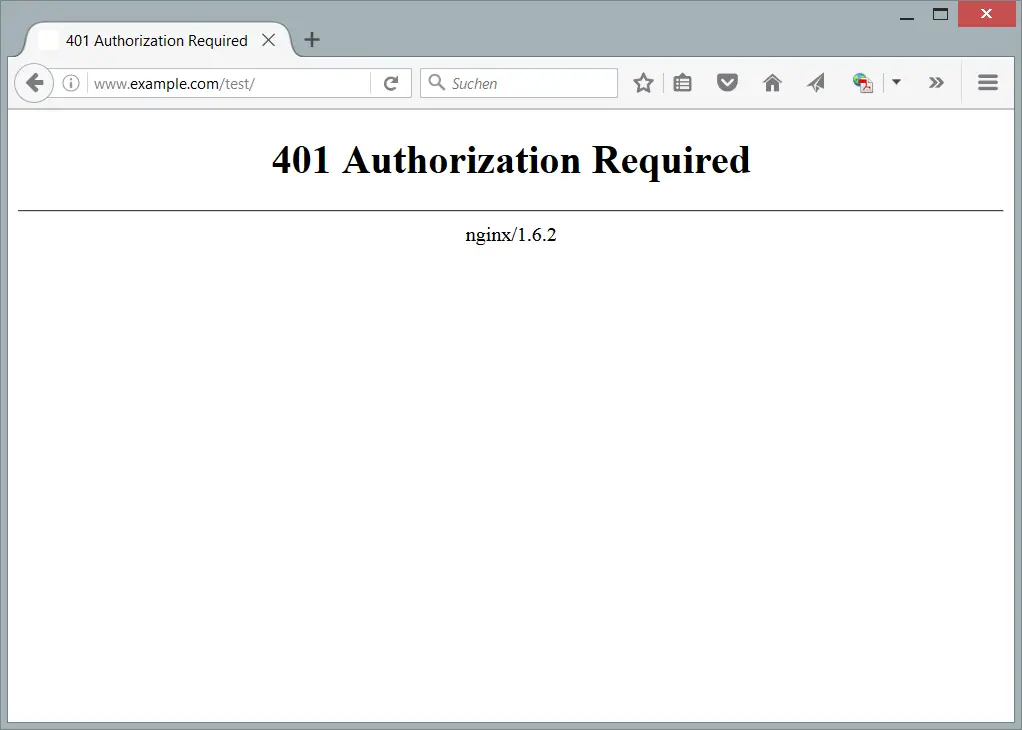
Otherwise, you will see a 401 Authorization Required error message:
4 Links
- Nginx: http://nginx.org/
- Nginx Wiki: http://wiki.nginx.org/
- htpasswd.py Python Script: http://trac.edgewall.org/browser/trunk/contrib/htpasswd.py
About The Author

Falko Timme is the owner of ![]() Timme Hosting (ultra-fast nginx web hosting). He is the lead maintainer of HowtoForge (since 2005) and one of the core developers of ISPConfig (since 2000). He has also contributed to the O'Reilly book "Linux System Administration".
Timme Hosting (ultra-fast nginx web hosting). He is the lead maintainer of HowtoForge (since 2005) and one of the core developers of ISPConfig (since 2000). He has also contributed to the O'Reilly book "Linux System Administration".

